Sign In
Upload
Download
Table of Contents
Contents
Add to my manuals
Delete from my manuals
Share
URL of this page:
HTML Link:
Bookmark this page
Add
Manual will be automatically added to "My Manuals"
Print this page
×
Bookmark added
×
Added to my manuals
Manuals
Brands
Flexicon Manuals
Laboratory Equipment
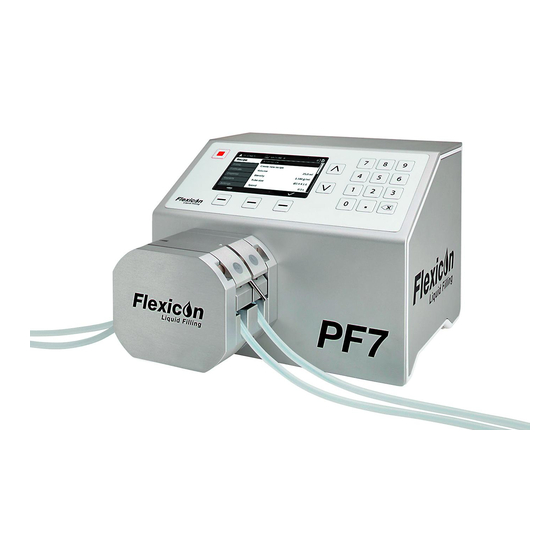
PF7
User manual
Flexicon PF7 User Manual
Peristaltic filler with pumphead
Hide thumbs
Also See for PF7
:
User manual
(42 pages)
1
Table Of Contents
2
3
4
5
6
7
8
9
10
11
12
13
14
15
16
17
18
19
20
21
22
23
24
25
26
27
28
29
30
31
32
33
34
35
36
37
38
39
40
41
42
43
44
45
46
47
48
49
50
51
52
53
54
55
56
57
58
59
60
61
62
63
64
65
66
67
68
69
70
71
72
73
74
75
76
77
78
79
80
81
82
83
84
85
86
87
88
89
90
91
92
93
94
95
96
97
98
99
100
101
102
103
104
105
106
107
108
109
110
111
112
113
114
115
116
117
118
119
120
121
122
123
124
125
126
127
128
129
130
131
132
133
134
135
136
137
138
139
140
141
142
143
144
145
146
147
148
149
150
151
152
153
154
155
156
157
158
159
160
161
162
163
164
165
166
167
168
169
170
171
172
173
174
175
176
177
178
179
page
of
179
Go
/
179
Contents
Table of Contents
Troubleshooting
Bookmarks
Table of Contents
Table of Contents
Section 1 - Safety Notes and Installation
Disclaimers
Declaration of Conformity
Declaration of Incorporation
Safety Information
Definitions of Symbols on the Pump or Pumphead
Intended Purpose
Tube Bridge Open Indicator
Shipping and Handling
Peristaltic Pumps - an Overview
When You Unpack Your Pump
Before Storage
After Storage
Lifting and Carrying
Key Features of QC14 Pumphead
Pumphead Mounting and Removal
Installation Position
Setting up the Fluid Path
Tube Selection
Y-Connector Selection
Fluid Path Layout
Changing the Tube
Maximising Tube Life
Connecting to a Power Supply
Checking and Replacing the Fuse
Control Wiring
Section 2 - Pump Operation
Pump Controls and Interface
Keypad Operation
USB Keyboard Operation
USB Devices
Compatible Devices
USB Device Troubleshooting
Glossary of Icons
Switching the Pump on for the First Time
Powering up
Language Selection
Enable United States Food and Drug Administration (FDA) 21CFR Part 11 Compliance
FDA 21CFR Part 11 Compliant Functions
Setting the Time Zone
Setting the Filling Method
Setting the Pump Administrator
Setting a Password
Switching the Pump on after Initial Setup
Log in
Select a User
Enter the Username if FDA 21CFR Part 11 Compliance Is Enabled
Entering Your Password
Menu Navigation
Recipe Mode
Load Recipe
Create New Recipe
Volume
Density
Tube Size
Speed
Acceleration
Deceleration
Anti-Drip
Start Delay
End Delay
First Fill Delay
Between Fill Delay
Vial Weight
Vial Weight Tolerance
Weigh Check Frequency
Fill Tolerance
Setting Fill Tolerance Limits
Auto-Recalibration Tolerance
Recalibration Reminder
Recalibration Pause
Protected Recipe
Save Recipe
Print Recipe
Delete Recipe
Priming and Continuous Pumping Mode
Prime Slow and Prime Fast
Continuous Pumping
Fluid Recovery
Priming the Pump
Eliminating Trapped Air from the Tube
Calibrate Mode
Single-Fill Calibration with a Balance Connected
Calibration Value Entry
Calibration Summary
Single-Fill Calibration Without a Balance Connected
Calibration Summary
Multi-Fill Calibration with a Balance Connected
Calibration Summary
Multi-Fill Calibration Without a Balance Connected
Calibration Summary
Dispense Mode
Batch Size
Batch Name
Start Manual Batch
Calibration Whilst Dispensing
Auto-Recalibration
Pausing a Batch
Calibration Whilst Paused
Add Note to Report
Fluid Sample
End Batch
Start Zero Waste Batch
Start Zero Waste Batch
Zero Waste Filling - Weigh Checked Fill
Zero Waste Filling - Non Weigh Checked Fill
Pausing a Zero Waste Batch
Resuming a Zero Waste Batch
Test Fill
Index Filling Machine
Reports Mode
View Batch Report
Print Batch Report
Delete Batch Report
Export Reports to USB Flash Drive
Settings Mode
Log out
Filling Method
Units
Language
Change Password
Operator Access Restrictions
Supervisor Access Restrictions
Printer and Balance
Default Recipe
Session Timeout Period
Session Timeout While Pumping Fluid
Password Expiry Duration
Users
Block User
Prime Speeds
Calibration Settings
First Calibration Fill Amount
Recalibration Averaging
Weigh Check Option
Remove from Batch Option
Reporting
Batch Reports
Auto Delete
Time and Date
Pump Info
Sound Level
Network
Dhcp
Backup and Reset
Delete All Reports
Delete All Recipes
Import All Data
Export All Data
Start USB Firmware Update
Factory Reset
WMFTG Nettools - Network and User Account Setup
Connecting Pump to a PC Directly-Connection Option
Configure Pump for Direct Connection
Configure PC for Direct Connection
Connecting Pump to a PC Via Ethernet Network-Connection Option 2
Initial Pump Set-Up
User Account Setup for PC to Pump Network Connectivity
Generate a Security Certificate (Optional)
Generate a CA Certificate
Install CA Certificate in Windows
Use the CA Certificate to Generate a Device Certificate Which Is Installed on the PF7
WMFTG Nettools - Installation and Operation
Installation of Nettools
Launch Nettools
User Interface
Logging in to the Pump
Changing the Pump Name
Saving a Recipe
Saving a Report
Saving an Audit Trail Log
Saving a Batch Report Without a Network Using USB Flash Drive
Export as PDF
Section 3 - Technical Specifications and Ordering
Pump Specifications
Materials of Construction
Dimensions
Spares and Accessories
Pump Maintenance (Including Cleaning)
Service
Cleaning
Troubleshooting
Warranty
Conditions
Exceptions
Returning Pumps
Name and Address of Manufacturer
Trademarks
Version History
Section 4 - List of Figures and Tables
List of Figures
List of Tables
Advertisement
Quick Links
Download this manual
PF7/PF7+ Peristaltic Filler with QC14 Pumphead User
Manual
PF7/PF7+ Peristaltic Filler with QC14 Pumphead User Manual
1
Table of
Contents
Previous
Page
Next
Page
1
2
3
4
5
Advertisement
Table of Contents
Troubleshooting
USB device troubleshooting
42
Troubleshooting
168
Need help?
Do you have a question about the PF7 and is the answer not in the manual?
Ask a question
Questions and answers
Subscribe to Our Youtube Channel
Related Manuals for Flexicon PF7
Laboratory Equipment Flexicon PF7 User Manual
Peristaltic filler (42 pages)
Laboratory Equipment Flexicon QC14 User Manual
Peristaltic filler with pumphead (179 pages)
Laboratory Equipment Flexicon FF20 Instruction Handbook Manual
(21 pages)
Laboratory Equipment Flexicon FS32 Instruction Handbook Manual
(16 pages)
Laboratory Equipment Flexicon FF30 Instruction Handbook Manual
(29 pages)
Laboratory Equipment Flexicon FS10 Instruction Handbook Manual
(16 pages)
This manual is also suitable for:
Pf7+
Qc14
Table of Contents
Save PDF
Print
Rename the bookmark
Delete bookmark?
Delete from my manuals?
Login
Sign In
OR
Sign in with Facebook
Sign in with Google
Upload manual
Upload from disk
Upload from URL


Need help?
Do you have a question about the PF7 and is the answer not in the manual?
Questions and answers