Table of Contents
Advertisement
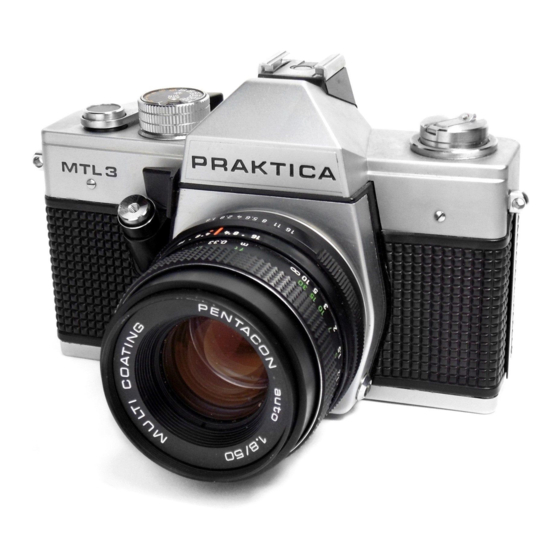
Praktica MTL3
This page is copyright by
This page may not be sold or distributed without
I have no connection with any camera company.
If you find this manual useful, how about a donation of $3 to:
M. Butkus, 29 Lake Ave., High Bridge, NJ 08829-1701
and send your e-mail address so I can thank you.
Most other places would charge you $7.50 for a electronic copy
This will help me to continue to host this site,
buy new manuals, and pay their shipping costs.
Use the above address for a check, M.O. or cash.
<<<
IF YOU WOULD LIKE THIS OR ANY PDF FILE PRINTED, BOUND AND
MAILED TO YOU, SEE THIS OUTSIDE COMPANY'S OFFER
Click here to see Praktica MTL 3
manual in PDF format
Posted 5-11-02
This camera manual library is for reference
and historical purposes, all rights reserved.
the expressed permission of the producer.
On-line camera manual library
or $18.00 for a hard to read Xerox copy.
It'll make you feel better, won't it?
If you use Pay Pal, use the link below.
www.PayPal.me/butkus
Venmo @mike-butkus-camera
Back to main camera manual page
, M. Butkus, NJ.
>>>
Advertisement
Table of Contents

Related Manuals for Praktica MTL3


Summary of Contents for Praktica MTL3
- Page 1 Venmo @mike-butkus-camera <<< IF YOU WOULD LIKE THIS OR ANY PDF FILE PRINTED, BOUND AND MAILED TO YOU, SEE THIS OUTSIDE COMPANY'S OFFER >>> Back to main camera manual page Click here to see Praktica MTL 3 manual in PDF format...
- Page 2 We wish you all success with this modern reflex camera. You own a camera with the novel metal-blade focal- plane shutter for maximum shutter speed stability and minimum synchronization for electronic flash photography. The camera is fitted with a through the-lens light metering system for a coupled determination of shutter speed, diaphragm numeral, and film speed.
- Page 3 Control Parts of the PRAKTICA MTL 3 1. Shutter speed setting knob 2. Metering key 3. Shutter release with cable release 4. Self-timer release knob 5. Self-timer winding lever 6. Rewind button 7. Rewind release 8. Accessory shoe with center contact 9.
- Page 4 18. Rewind catch 19. Cartridge chamber 20. Metal-blade focal- plane shutter 21. Film sprocket 22. Support 23. Take-up spool 24. Film loading mark 25. Wire brackets 26. Eyepiece mount with accessory adapter 27. Rewind release 28. Battery compartment with battery 29.
- Page 5 Opening the camera back Pull rewind button (6) upwards to its hard stop, thus the camera back is unlocked and can be hinged open. Simultaneously, exposure counter (11) automatically returns into its initial position. Film loading Insert the cartridge and observe that wire- brackets (25) do not stand upwards. Turn at the knurled spool disk, if required.
-
Page 6: Shutter Speed Setting
Film speed setting Automatic exposure control demands setting of the film speed. Pull the knurled ring of the shutter-speed dial (1) up and turn it till the DIN or ASA film index on dial (13) will meet the white mark (12). The rim locks when released. -
Page 7: Diaphragm Setting
Diaphragm setting Set the desired diaphragm number on diaphragm setting ring (17) of the lens opposite to the mark on the lens mount. When lenses with automatic pressure diaphragm (ADB)-are used, the diaphragm remains fully open and closes to the set value only when the shutter release is pressed. - Page 8 Metering with lenses without automatic diaphragm system How to control: Set the diaphragm to its smallest diaphragm number - focus the lens--balance the system by stopping down. Functional range of the automatic exposure control system Outside of the range of the Table below the metering system is switched off. The meter needle is in rest position below the circular mark in the minus range.
-
Page 9: Depth-Of-Field Scale
Focusing Focusing is possible as to metering wedges, microprism screen, or circular ground glass area. Focusing on the measuring wedges Turn the distance setting ring until defined outlines of the picture parts will stand opposite to one another. Focusing on the microprism screen Maximum sharpness is attained when the image in the microprism screen is clear and does not flicker. - Page 10 Releasing and winding Please note before pressing the shutter release: 1. The signal (must be a red triangle visible when the shutter is wound) is visible in the viewfinder on the left: camera not ready for snapping - swivel the rapid rewind lever (10) to the stop.
-
Page 11: Lens Changing
Lens changing Any lenses having the international M 42 x 1 PRAKTICA thread can be applied. Grip the lens body and unscrew it in counterclockwise direction; screw in the other lens in clockwise direction to the stop. Flash photography This camera has been designed for synchronization of flash bulbs and electronic flash units. - Page 12 The use of electronic flash units These will be synchronized at setting to the symbol t which corresponds to a shutter speed of about1/125 sec. Longer shutter speeds can be set. Battery replacement The automatic exposure control system is powered by a PX 625 mercury oxide element or a corresponding type of 1.35 Volt rated voltage.
- Page 13 Handling the camera carelessly or contrary to instructions may lead to damages which, we regret to say, are not covered by our guarantee. Our consistent efforts to improve our products may lead to some slight deviations of the PRAKTICA MTL 3 from the present details.
Need help?
Do you have a question about the MTL3 and is the answer not in the manual?
Questions and answers