Advertisement
Quick Links
INSTALLATION GUIDE
GUIDE D'INSTALLATION
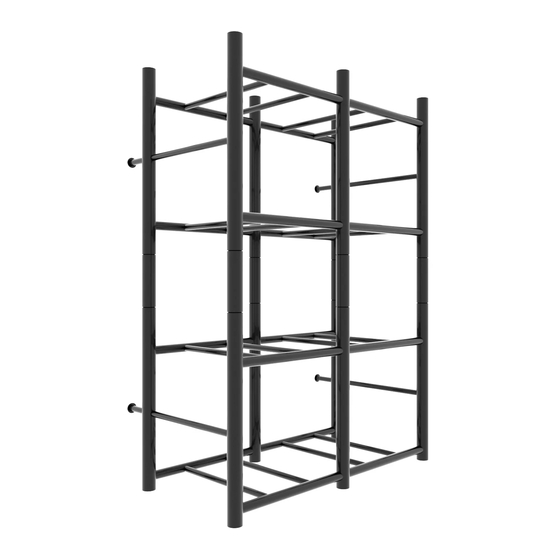
HEAVY-DUTY 8 TOTE RACK
SUPPORT ULTRA-ROBUSTE POUR 8 BACS
Questions, problems, missing parts? Before returning to the store, call
Proslat Customer Service — 8 a.m. – 5 p.m., EST, Monday – Friday
Questions, problèmes, pièces manquantes ? Avant de retourner cet article en
magasin, communiquez avec le service à la clientèle de Proslat.
8 h-17 h, heure de l'Est, du lundi au vendredi
Solutions Murales PROSLAT inc.
225 Industriel blvd
Chateauguay (QC) J6J 4Z2
1 888 691-2944
Retain this manual for future use.
Conservez ce manuel
pour une future utilisation.
We appreciate the trust and confidence you have placed in Proslat through the purchase of this product. Visit us online to see our full line of
Nous apprécions la confiance que vous avez eu en Proslat pour l'achat de cet article. Nous nous efforçons de créer en permanence des
produits de qualité conçus pour améliorer votre demeure. Merci d'avoir choisi Proslat !
products available for your home storage needs. Thank you for choosing Proslat!
HEAVY-DUTY 8 TOTE RACK /
SUPPORT ULTRA-ROBUSTE POUR 8 BACS
Model / Modèle # 65021
THANK YOU/ MERCI
BW_8_totes_HD_Jan21
Advertisement

Related Manuals for BIN WAREHOUSE 65021


Summary of Contents for BIN WAREHOUSE 65021
- Page 1 HEAVY-DUTY 8 TOTE RACK / SUPPORT ULTRA-ROBUSTE POUR 8 BACS Model / Modèle # 65021 INSTALLATION GUIDE GUIDE D’INSTALLATION HEAVY-DUTY 8 TOTE RACK SUPPORT ULTRA-ROBUSTE POUR 8 BACS Questions, problems, missing parts? Before returning to the store, call Proslat Customer Service — 8 a.m. – 5 p.m., EST, Monday – Friday Questions, problèmes, pièces manquantes ? Avant de retourner cet article en...
- Page 3 Pre-Installation / Pré-installation TOOLS REQUIRED / OUTILS REQUIS Powered drill with 2 Phillips-Head Tip / Perceuse électrique dotée d’une tête Phillips n ° Screwdriver / Tournevis PARTS LIST / LISTE DES PIÈCES 1. 8 x Horizontal crossbars Barres horizontales 2. 4 x Center verticals Barres centrales verticales 3.
-
Page 4: Installation
Installation Assembling the central bars / Assemblage des barres centrales PARTS NEEDED / PIÈCES : 8 x #1 4 x #2 Alignment dimples / Encoches d’alignement Short side to floor / Le côté court vers le plancher □ Insert horizontal crossbars (#1) through the four center verticals (#2). Make sure to insert the arrow side first all crossbars must be inserted from the same side. - Page 5 Installation (continued / suite) Slide rails assembly to back grid / Insertion des glissières à la grille arrière PARTS NEEDED / PIÈCES : 16 x #8 Back grid Grille arrière □ Connect 16 horizontal slide rails (#8) to both back sides. Connectez les 16 glissières horizontales (n°8) aux deux grilles arrières.
- Page 6 Installation (continued / suite) CHOOSE YOUR CONFIGURATION BETWEEN 8 TOTE OR 2 X 4 TOTE CHOISISSEZ VOTRE CONFIGURATION ENTRE 8 BACS OU 2 X 4 BACS If you choose the 8 tote configuration, go to step 5. Si vous choisissez la configuration à 8 bacs, allez à l’étape 5. If you choose the 2 x 4 tote configuration, go to step 7 on page 8.
- Page 7 Installation (continued / suite) Stacking of the two units / Superposition des deux unités □ Insert the remaining unit on the assembly performed in step 5. Insérez l’unité restante sur l’assemblage effectué à l’étape 5. □ Up against wall, make the necessary adjustments to make the unit straight and level.
- Page 8 Installation (continued / suite) Inserting the wall mount extension tube and fasten (different configuration) / Insertion et fixation des tubes d’extension murale (autre configuration) PARTS NEEDED / PIÈCES : □ Move away from wall and insert wall mount 4 x #7 extensions tubes (#7) through the back side of rear corner verticals.
- Page 9 (n°1) Note: One screw per flange. CONSEIL : Une vis par bride. Congratulations! We hope you enjoy your Bin Warehouse rack! Félicitations ! Nous espérons que vous apprécierez votre unité de stokage! PROSLAT.COM Please contact 1 888 691-2944 for further assistance. / SVP contactez-nous au 1 888 691-2944 pour de l’assistance...
-
Page 10: Warranty / Garantie
Solutions Murales PROSLAT inc. (hereafter Proslat) warrants its Bin Warehouse Rack against defects in material or workmanship for a lifetime period. Proslat will replace any defective Rack as long as it was installed and maintained according to the printed instructions. Any Proslat Bin Warehouse Rack replaced under the terms of the Lifetime Warranty inherits the remaining warranty period from the original purchase. - Page 12 Questions, problems, missing parts? Before returning to the store, call Proslat Customer Service — 8 a.m. – 5 p.m., EST, Monday – Friday Questions, problèmes, pièces manquantes ? Avant de retourner cet article en magasin, communiquez avec le service à la clientèle de Proslat. 8 h-17 h, heure de l’Est, du lundi au vendredi 1-888-691-2944 info@proslat.com...
Need help?
Do you have a question about the 65021 and is the answer not in the manual?
Questions and answers