Advertisement
Pairing Radio Linked Alarms Instructions
PLEASE NOTE
!
Assemble ALL ALARMS as per points 1 & 2 before moving to point 3
Note the 10 SECOND WINDOW at point 3.7. If you miss this 10 second window,
If you have difficulty connecting your alarms, please watch our interlink video guide or
0800 612 6537
CONNECT
1
1.0 Plug alarm into pattress and switch on radio
base, the pattress led will flash green twice
per second. If not please complete step 6.0
ALARM ASSEMBLY
2
2.0 Bring alarm & radio base together then twist/slide to lock into place.
Wait for smoke or heat alarm to
PAIRING TWO ALARMS
3
3.1 Place two alarms on the table spaced approximately
20cm APART.
3.2 Press the TEST BUTTON on one alarm and wait
THREE SECONDS.
3.3 Press the TEST BUTTON on the other alarm.
3.4 Watch carefully as both pattresses
AND RED
3.5 As soon as one
FLASHES GREEN
3.6 The other pattress will continue to flash red/green until it
(The CO will
BEEP
3.7 There is now a 10 SECOND WINDOW to allow another device to be added to the system Step 4.0
If no other devices are to be added proceed to Step 5.0
3.1
20cm
PLEASE read all instructions BEFORE beginning to pair a system!
you will need to reset all alarms and start again
contact Safelincs' customer support team.
www.safelincs.co.uk/firehawk-interlink-video-guide
– or –
BEEP
TWICE
(Repeat steps 1.0 and 2.0 for each alarm)
FLASH GREEN
ONLY, move it to one side.
FOUR
TIMES) THE TWO ALARMS ARE NOW PAIRED.
3.2
PRESS
& WAIT
FOR 3
SECS.
SMOKE ALARM
FHB10W
HEAT ALARM
support@safelincs.co.uk
Wait for the CO alarm to
3.2
PAIRED
BEEPS
3.3
3.4
FHH10W
CO ALARM
CO7B (10Y)W
BEEP
FOUR TIMES
3.3
20cm
UNPAIRED
ALARM(S)
,then it will
FLASH GREEN
3.5
PAIRED
Advertisement
Table of Contents

Subscribe to Our Youtube Channel
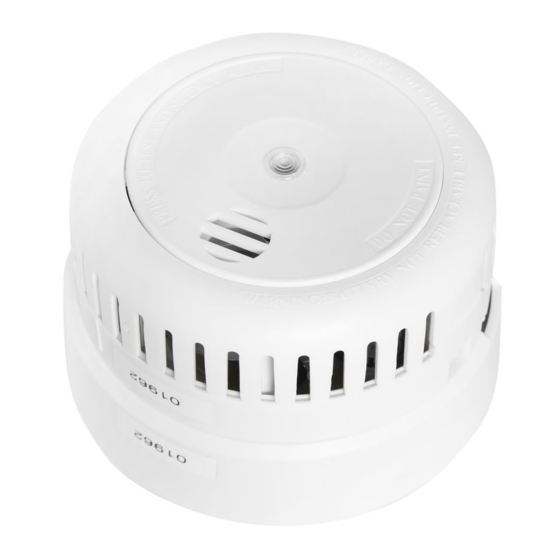
Summary of Contents for Firehawk FHB10W
- Page 1 SMOKE ALARM FHB10W HEAT ALARM FHH10W CO ALARM CO7B (10Y)W Pairing Radio Linked Alarms Instructions PLEASE NOTE Assemble ALL ALARMS as per points 1 & 2 before moving to point 3 Note the 10 SECOND WINDOW at point 3.7. If you miss this 10 second window,...
- Page 2 PAIRING ADDITIONAL ALARMS 4.1 To add additional alarms to the system simply PLACE THE PAIRED ALARM THAT BEEPED (see section 3.6) approximately 20cm apart to a ASSEMBLED ALARM (see point 2.0) UNPAIRED ALARM. 4.2 Firstly, press the TEST BUTTON on the PAIRED ALARM and wait THREE SECONDS. 4.3 Then press the TEST BUTTON on the UNPAIRED ALARM.


Need help?
Do you have a question about the FHB10W and is the answer not in the manual?
Questions and answers