Advertisement
Quick Links
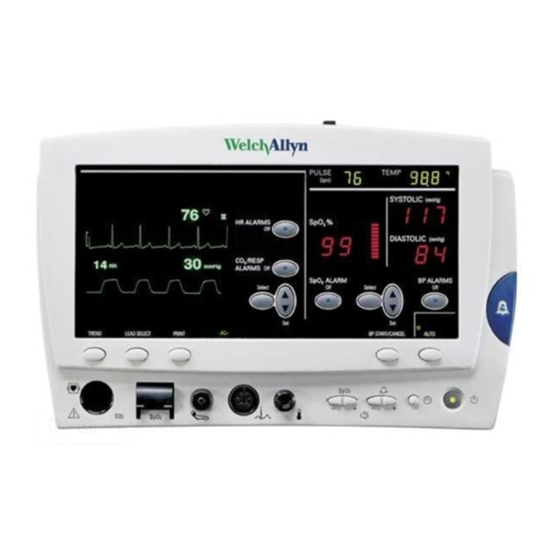
Disassembly and Repair
About Section 4
This section is a guide for disassembly and reassembly of the Atlas Monitor. Always refer to
current revision schematics, diagrams and final safety test procedures before attempting to
service this device.
Do not attempt to service this instrument unless you have received Service Training from
Welch Allyn or an authorized Training Agent, and are equipped with approved processes
and test equipment. For more information about training call the Welch Allyn Customer
Service phone number listed in Section 1 of this manual.
General:
The outside housing is removable in order to provide full access to all internal printed cir-
cuit boards and other components. Most of these are held in position with the surrounding
"E-Pac" foam. E-Pac foam provides shock absorption, ventilation channels, and spaces for
the components and boards. Pneumatic tubing and cables must be placed correctly in E-Pac
to avoid problems with pinched tubing.
Problems During Service:
A Technical Support phone number is listed in Section 1 of this manual to answer questions
you may have during the servicing of the Atlas Monitor.
Printer:
Print-head, printer motor, and printer roller can be replaced as necessary.
Printed Circuit Boards:
There are no component level repairs for the Printed Circuit Boards(PCB). These are
replaced if found to be defective. During the warranty period, boards that are found to be
defective should be returned to Welch Allyn.
CAUTION
CRT:
The CRT and CRT Deflection Board are aligned at the factory and as such are replaced as a
matched set if one or the other should fail in service.
Service Manual 6200-43E Rev. D
Electrical Shock Hazard
EXERCISE EXTREME CAUTION WHEN
SERVICING THE ATLAS MONITOR! THE
CRT ASSEMBLY AND CRT DEFLECTION
BOARD OPERATE ON APPROXIMATELY
8,000 VOLTS.
Section 4
Welch Allyn Atlas Monitor 63
Advertisement

Subscribe to Our Youtube Channel
Related Manuals for Welch Allyn 220


Summary of Contents for Welch Allyn 220
- Page 1 Do not attempt to service this instrument unless you have received Service Training from Welch Allyn or an authorized Training Agent, and are equipped with approved processes and test equipment. For more information about training call the Welch Allyn Customer Service phone number listed in Section 1 of this manual.
- Page 2 1. Battery Door Removal Remove the two screws holding the bat- tery door. Remove the battery door. 2. Battery Removal Remove the battery connector from the main PCB. Remove battery. 64 Welch Allyn Atlas Monitor Service Manual 6200-43E Rev. D...
- Page 3 3.2 Pull the rear housing away from the front panel. Take special care not to dam- age any cables. 3.3 Flip the housing forward. Take special care not to damage any cables. Service Manual 6200-43E Rev. D Welch Allyn Atlas Monitor 65...
- Page 4 4. Printer cable and Display Cable Removal Remove both Printer and Display PCB cables from the Main PCB. 5. Power Supply Ground Wire Removal Remove the two ground connectors from power supply chassis. 66 Welch Allyn Atlas Monitor Service Manual 6200-43E Rev. D...
- Page 5 Use a tool T-16654 to pry the main Board away from the Deflection Board. Pull the E-pac tab to the right as you pry. Support the Main PCB while titling it away. Service Manual 6200-43E Rev. D Welch Allyn Atlas Monitor 67...
- Page 6 Main PCB. 11. Pump Removal. Remove the pump assembly from the E- Pac foam. NOTE: Notice how pump fits in E-Pac Foam and how wires are routed out of pump. 68 Welch Allyn Atlas Monitor Service Manual 6200-43E Rev. D...
- Page 7 E-Pac foam. 13. Pryon PCB Removal. Remove connectors from Pryon PCB. Pull Pryon PCB from E-Pac foam. 14. E-Pac Foam Removal (Top). Remove the top E-Pac foam. Service Manual 6200-43E Rev. D Welch Allyn Atlas Monitor 69...
- Page 8 Slide the power supply out from the E-Pac Foam. 16. Power Supply Fuse Location NOTE: Notice power supply and power supply fuse location. Fuse 17. Fan Removal Slide fan out from E-Pac foam. 70 Welch Allyn Atlas Monitor Service Manual 6200-43E Rev. D...
- Page 9 20. CRT Removal Remove the two machine screws holding CRT to the front panel. NOTE: Notice how the ground wire is attached and is located along the side of CRT. Service Manual 6200-43E Rev. D Welch Allyn Atlas Monitor 71...
- Page 10 21. Display PCB Removal Remove all 9 self tapping screws that hold the Display PCB to the Bezel. NOTE: Notice the correct orientation of CRT screw and washer. 72 Welch Allyn Atlas Monitor Service Manual 6200-43E Rev. D...
- Page 11 NOTE: Notice how the printer button is being removed. 23. Printer Assembly Locking Tab Release. Locking Tab Pull the locking tab down and towards the front of the rear housing assembly. Service Manual 6200-43E Rev. D Welch Allyn Atlas Monitor 73...
- Page 12 26. Printer Lip Assembly. Observe how the printer assembly fits into the lip of the rear housing. 74 Welch Allyn Atlas Monitor Service Manual 6200-43E Rev. D...
- Page 13 Disassembly and Repair Section 4 27. Printer Cable Routing. Observe how the printer cable lies over the printer PCB. Service Manual 6200-43E Rev. D Welch Allyn Atlas Monitor 75...
Need help?
Do you have a question about the 220 and is the answer not in the manual?
Questions and answers