Subscribe to Our Youtube Channel
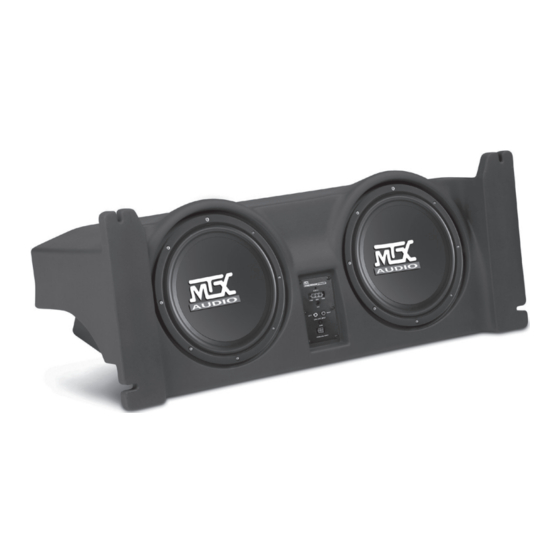
Summary of Contents for MTX Thunder Form JWTJ97C20A-TN
- Page 1 JWTJ97C20A-TN / JWTJ97T20A-TN JEEP WRANGLER VEHICLE SPECIFIC SUBWOOFER ENCLOSURE OWNER’S MANUAL M T X . C O M...
-
Page 2: We're Here To Help
MTX! WE’RE HERE TO HELP We’re here to help with any installation or technical support. Visit mtx.com to chat, call 1-800-225-5689 to speak with an MTX Technical Support representative, or visit youtube.com/user/MTXAudioUSA to view product videos. -
Page 3: Specifications
FEATURES • Includes two MTX 10" Terminator Subwoofers • Integrated Amplifier Easily Connects to Existing Systems • Rotationally Molded Design, Finished in Charcoal and Tan • Mounts Behind Rear Seat • EBC and Wiring Harness Included SPECIFICATIONS • Dual 10" Amplified Subwoofer Enclosure •... -
Page 4: Installation
INSTALLATION Step 1 - Flip rear seat to full forward position. This will give you more room to work with. Step 2 - You may also want to remove the top to make moving around the vehicle, during installation, easier. Step 3 - Place enclosure on the floor behind the rear seats with woofers firing down as shown below. - Page 5 Step 13 - Cut 10ga red power wire to length, connect the supplied fuse holder from the wire kit to the end of the wire. Step 14 - Remove 20 amp fuse from MTX fuse holder. Connect furnished ring terminal to positive side of battery. Remove 10mm nut from factory battery terminal. Place ring terminal on battery post and retighten nut.
- Page 6 Level input harness wires and plug into the matching port on the pre-amp. Although, MTX has made every effort to assure proper wiring colors, MTX is not responsible for any changes made by the vehicle manufacturer which sometime occur. If wiring colors do not match then physical verification is required.
- Page 7 Step 18 - Plug power wire harness into amplifier pre-amp. Step 19 - Replace 20 amp fuse under hood. Step 20 - When amp turns on, LED will display red during diagnostic mode, and then green, signaling amp is on and functioning. Amp will only turn on when radio is on. Step 21 - Adjust gain.
- Page 8 Step 24 - Making sure the enclosure is at the far rear of the vehicle with the rear mounting feet pressed against the tail gate threshold, secure enclosure into place. Attach brackets to mounting feet on front of enclosure an secure to the sides of the cargo area using a right angle skewdriver as shown below.
- Page 9 NOTES M T X . C O M...
- Page 10 NOTES M T X . C O M...
-
Page 11: Warranty Period
WARRANTY PERIOD At MTX Audio we engineer products that will stand up to the test of time. We also realize that from time to time a problem may occur. That’s why our products carry a 2-year limited warranty that begins at the time of sale to the end user. - Page 12 Like, Follow, & Subscribe © 2021 MiTek Corporation. All rights reserved. MTX is a trademark of MiTek Corporation. All other trademarks are property of their respective owners. Designed and Engineered in the U.S.A. Due to continual product development, all specifications are subject to change without notice.


Need help?
Do you have a question about the Thunder Form JWTJ97C20A-TN and is the answer not in the manual?
Questions and answers