Table of Contents
Advertisement
Quick Links
Thank you for purchasing one of our Xomax products! We appreciate your confidence. Enjoy your
Please read the following manual carefully before you install and use the unit. Please save this
manual in case you will need to clarify further possible questions regarding installation and usage
We are constantly trying to keep our online-library of user's manuals for our products up-to-date.
In case you miss some information or if something should be unclear, please visit our homepage
www.xomax.de for a current version of user's manual or contact our customer service.
Please note: Any alternations and changes of technical data or/and design due to technical update
of some models need no advertisement.
We appreciate our environment, so to keep it safe and clean, we do not print our manuals on
paper but provide our products with manuals in digital version created in *.pdf format. You can
find and download them anytime on our homepage www. xomax.de, view them on your mobile
devices and print them for yourself if needed.
Handling by stop only
To avoid any accidents please don't handle the unit while you driving. Please stop and park the
vehicle at safety place and handle the unit casually.
Installation
Please read the following manual carefully before you install the unit. We recommend you to let
the technician install the unit in your vehicle.
Regular loudness
Please set the loudness of the unit to the appropriate level so you were still able to hear exterior
brand new multimedia unit!
Safety instructions and precautions
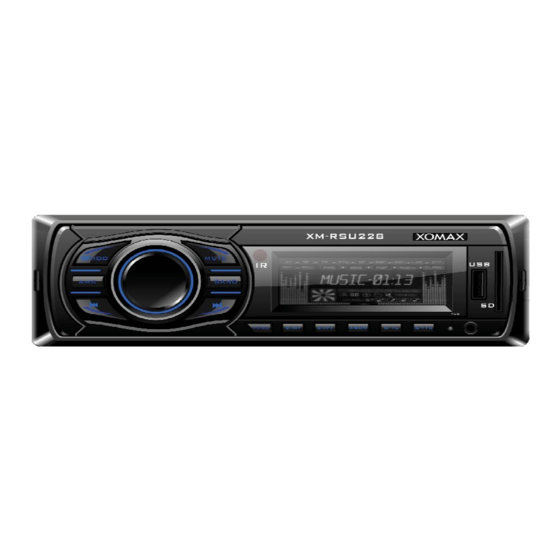
XOMAX
XM-RSU228
of our product.
* * *
Advertisement
Table of Contents

Related Manuals for Xomax XM-RSU228


Summary of Contents for Xomax XM-RSU228
- Page 1 XOMAX XM-RSU228 Thank you for purchasing one of our Xomax products! We appreciate your confidence. Enjoy your brand new multimedia unit! Please read the following manual carefully before you install and use the unit. Please save this manual in case you will need to clarify further possible questions regarding installation and usage of our product.
-
Page 2: Installation
Here you can find relevant installation notes and common information. The detailed installation manual you can find on our homepage www. xomax.de. The printed version of a common installation manual you can find in the package. We recommend you to let the technician install... - Page 3 the unit in your vehicle. WARNING! Please read the following manual carefully before you install the unit. Damages caused due to an inappropriate installation will not be covered by warranty. If you do not want to risk your warranty entitlement, please let the technician install the unit in your vehicle.
-
Page 4: Startup Operations
electrical tape. All the cables should be layed and fixated tidy and properly. The cables should not contact any movable or hot objects. If your vehicle doesn't have an "ACC" ignition position, please connect the red cable with the ignition switch. Otherwise the unit will not turn off automatically, causing the discharging of the vehicle battery. - Page 5 Unit on/off Press the POWER button to turn the unit on. If the unit is already on, keep the POWER button pressed for a couple of seconds to turn it down. AUX input The AUX input is a 3,5 mm jack plug on the front operating panel. Herewith you can connect the unit with on of the external playback devices: MP3 player, smartphone, cellphone or tablet PC.
-
Page 6: Remote Control
* * * Remote control Nr.: Button Power on / off EQ settings Clock settings Volume Radio stations search Radio frequency band Mute on / off Mode select LCD display USB playback SD playback M6 memory cell M5 memory cell M4 memory cell / Random play M3 memory cell / Repeat play M2 memory cell / Intro play... -
Page 7: Basic Functions
Choose the frequency band Next track/station USB playback SD playback Play / Pause Stored radio stations (memory cells M1 – M6) Repeat function Random function 10 tracks skip forwards 10 tracks skip backwards * * * Basic functions 1. POWER Turns the unit on / off. -
Page 8: Radio Mode
pressed for a couple of seconds till the time prompt starts to twinkle. Use the arrow keys to adjust the time and press the ELK button to confirm your adjustments. * * * Radio mode 1. Choose the frequency band Press the BND button to switch to the radio mode and to select one of the frequency bands: FM1 →... -
Page 9: Aux Input
traffic announcement. After the announcement it switches back to the initial mode. AF function (Alternative Frequency) The AF function switches automatically to alternative radio station as soon as you leave the receiving area of the current station. We recommend you to deactivate this function in-city. Otherwise the searching starts each time you drive through the tunnel.
Need help?
Do you have a question about the XM-RSU228 and is the answer not in the manual?
Questions and answers