
Related Manuals for MTX X3-17-SW-D


Summary of Contents for MTX X3-17-SW-D
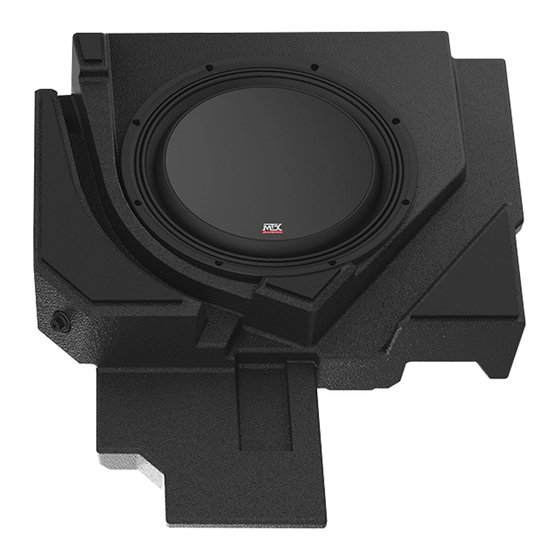
- Page 1 X3-17-SW-D CAN-AM MAVERICK X3 DRIVER SUBWOOFER ENCLOSURE ® OWNER’S MANUAL M T X . C O M...
-
Page 2: We're Here To Help
MTX! WE’RE HERE TO HELP We’re here to help with any installation or technical support. Visit mtx.com to chat, call 1-800-225-5689 to speak with an MTX Technical Support representative, or visit youtube.com/user/MTXAudioUSA to view product videos. -
Page 3: Specifications
X-MS Turbo RR ..............................2020 X-DS Turbo RR / Max X-DS Turbo RR ....................2020 - 2021 FIT GUIDE NOTES Only the X3-17-SW-D driver side enclosure includes the signal harness from the amp. IN THE BOX • X3-17-SW-D Loaded Subwoofer Enclosure • Adhesive Foam Tape •... -
Page 4: Installation
INSTALLATION Step 1 - Release the lower seat belt strap from the harness by feeding it back through the tension assembly. This will allow you to feed the shoulder straps through the hole at the top of the seat. Step 2 - Remove two (2) 13mm bolts and nuts at the front of the seat frame. M T X . - Page 5 Step 3 - Access the rear 18mm nuts using a socket with extension either by aligning the holes in the seat base over the nuts or by sliding the seat fully forward and reaching behind. Step 4 - With the seat free, disconnect the seat belt sensor and speed sensor cables from the seat assembly.
- Page 6 Step 7 - Remove the cable clamp from the brake line. Step 8 - Wrap the brake line with the strip of adhesive backed foam tape included in the box. Note: This step is to prevent the brake line from rattling against the enclosure under high bass output and any chaffing due to movement of the brake line while the vehicle is in motion.
- Page 7 Step 9 - Tilt the front of the enclosure down and slide it under the forward crossbar as you set it in place onto the floor of the vehicle tucking the brake line into the pre-molded slot in the bottom of the enclosure.
- Page 8 Step 12 - Align the threaded inserts at the front corners of the enclosure with the holes in the bottom of the seat brackets and insert two (2) T-40 Torx screws. Step 13 - Once all fasteners are in place, tighten to secure the enclosure. M T X .
- Page 9 Step 14 - Route the subwoofer cable to the desired connection point. Note: If installing as part of a kit, the subwoofer plug will connect to the main harness supplied. If not installing as part of a kit, the plug will need to be removed and additional speaker wire added.
- Page 10 NOTES M T X . C O M...
-
Page 11: Warranty Period
WARRANTY PERIOD At MTX Audio we engineer products that will stand up to the test of time. We also realize that from time to time a problem may occur. That’s why our products carry a 2-year limited warranty that begins at the time of sale to the end user. - Page 12 Like, Follow, & Subscribe © 2021 MiTek Corporation. All rights reserved. MTX is a trademark of MiTek Corporation. All other trademarks are property of their respective owners. Designed and Engineered in the U.S.A. Due to continual product development, all specifications are subject to change without notice.
Need help?
Do you have a question about the X3-17-SW-D and is the answer not in the manual?
Questions and answers