Sign In
Upload
Download
Table of Contents
Contents
Add to my manuals
Delete from my manuals
Share
URL of this page:
HTML Link:
Bookmark this page
Add
Manual will be automatically added to "My Manuals"
Print this page
×
Bookmark added
×
Added to my manuals
Manuals
Brands
Takstar Manuals
Microphone
X3HH
User manual
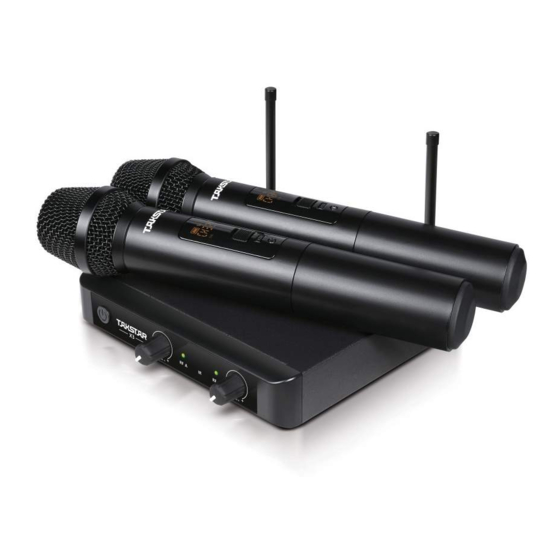
Takstar X3HH User Manual
Uhf wireless microphone
Hide thumbs
1
2
3
4
5
6
7
8
9
10
11
12
13
14
15
16
17
18
19
20
21
22
23
24
25
26
27
28
page
of
28
Go
/
28
Contents
Table of Contents
Bookmarks
Table of Contents
汉语
Table of Contents
产品特性
适用范围
包装清单
技术参数
功能示意
正面板
背面板
手持麦克风
腰挂发射器
显示屏
发射器安装
手持麦克风安装
麦克风使用方法
对频操作
安全警示
关于图标含义解释
环保说明
产品服务保证卡
English
Application
Features
Product
Product Content
Specification
Function Instruction
Front Panel
Rear Panel
Handheld Microphone
Bodypack Transmitter
Display Screen
Transmitter Installation
Handheld Microphone Installation
Frequency Matching Operation
Microphone Operation
Safaty Instruction
The Meaning of Lcon
Advertisement
Quick Links
1
Frequency Matching Operation
Download this manual
/
Table of
Contents
Previous
Page
Next
Page
1
2
3
4
5
Advertisement
Chapters
汉语
2
English
15
Table of Contents
Need help?
Do you have a question about the X3HH and is the answer not in the manual?
Ask a question
Questions and answers
Related Manuals for Takstar X3HH
Microphone Takstar X6 User Manual
Intelligent uhf wireless microphone (6 pages)
Microphone Takstar X3PP User Manual
Uhf wireless microphone (28 pages)
Microphone Takstar X5 User Manual
Intelligent induction wireless microphone (12 pages)
Microphone Takstar BM-650 User Manual
Boundary microphone (15 pages)
Microphone Takstar DG-K10USB User Manual
(6 pages)
Microphone Takstar SGC-598 Quick Start Manual
(2 pages)
Microphone Takstar HM-200W User Manual
Wireless headworn microphone - led display version (16 pages)
Microphone Takstar E-340 Quick Start Manual
Karaoke microphone (2 pages)
Microphone Takstar PH 125 Manual
Smart phone microphone (20 pages)
Microphone Takstar WPM-200 User Manual
Uhf wireless monitor system (6 pages)
Microphone Takstar BM-630 Manual
Boundary microphone (2 pages)
Microphone Takstar SGC-600 User Manual
Shotgun microphone (24 pages)
Microphone Takstar TS-K300 Series User Manual
(20 pages)
Microphone Takstar TA-55D Quick Start Manual
Professional dynamic microphone (2 pages)
Microphone Takstar TS-K201 User Manual
Portable wireless microphone (32 pages)
Microphone Takstar SP-16P User Manual
Wireless headset microphone (12 pages)
This manual is also suitable for:
X3pp
Table of Contents
Print
Rename the bookmark
Delete bookmark?
Delete from my manuals?
Login
Sign In
OR
Sign in with Facebook
Sign in with Google
Upload manual
Upload from disk
Upload from URL


Need help?
Do you have a question about the X3HH and is the answer not in the manual?
Questions and answers