Advertisement
Quick Links
Advertisement

Subscribe to Our Youtube Channel
Related Manuals for Takstar X5


Summary of Contents for Takstar X5
- Page 1 USER MANUAL INTELLIGENT INDUCTION WIRELESS MICROPHONE...
-
Page 2: Table Of Contents
TABLE OF CONTENTS 1. TABLE OF CONTENTS 2. SAFETY INSTRUCTIONS/FEATURES/CALIBRATION NOTES 03-04 3. RECEIVER FUNCTION & OPERATION 4. LCD PANEL OPERATION 04-07 5. HOW TO OPERATE 07-08 6. TROUBLESHOOTING 7. USAGE & STORAGE 8. SPECIFICATIONS/PACKING LIST 09-10 CAUTION Please read this manual thoroughly for correct operation method and safe-keep it for future reference. -
Page 3: Safety Instructions/Features/Calibration Notes
SAFETY INSTRUCTIONS • Only use the supplied power adapter, and confirm whether the power supply voltage is consistent with the adapter requirements before connecting. Power adapter of other specifications may damage the device. • The external power adapter of this device uses 220V~AC. Using other voltages may cause fire and failure. -
Page 4: Receiver Function & Operation
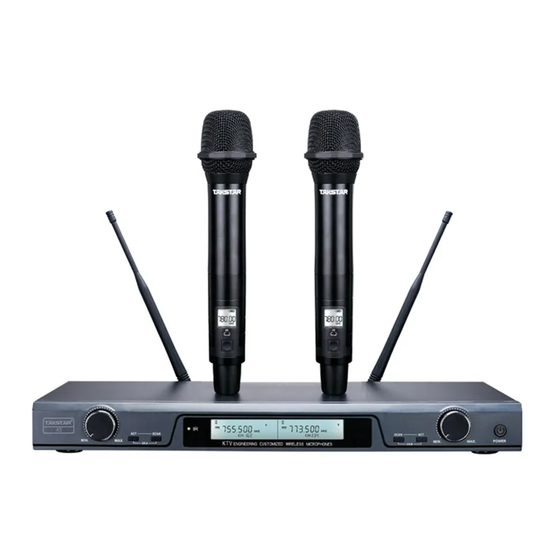
RECEIVER FUNCTION & OPERATION FRONT PANEL (1) Power switch: turns on and off the power supply of the device. When the power switch is on, the LCD display lights up. (2) Volume dial: adjusts the output volume level. (3) Function keys: used for frequency adjustment, frequency matching, key lock, auto search and other operations. -
Page 5: Lcd Panel Operation
HANDHELD MICROPHONE (1) Mic grille & capsule: the mic grille protects the capsule which converts sound into electrical signal, reduces pop noise and prevents the mic from rolling on the table. (2) LCD screen: shows information such as operating frequency, battery power and IR lock status. (3) Power/Induction switch: for turning on/off the transmitter power and induction sensing. - Page 6 BUTTON & OPERATION 1. Press [SCAN] key to automatically scan frequency, and press [ACT] key to automatically pair frequency. 2. Press and hold [SCAN] to start manual frequency adjustment, then press and hold [ACT] to lock on. LCD PANEL OPERATION A.
- Page 7 Figure ③ D. Power Off 1. To power off the device, press and hold [POWER] button, the LCD screen shows like Figure ⑥ before shutdown. Figure ④ Figure ⑤ Figure ⑥ E. Mic LCD Display & Button Operation 1. When the transmitter is turned on, the LCD screen will illuminate and show the current operating frequency, batter y level and infrared lock status, as shown in Figure ⑦...
-
Page 8: How To Operate
3. Enable/Disable Induction Sensing Disable: when the induction sensing function is enabled (by factory default), power on the transmitter, then press and hold its power button for 7~10 seconds until the LCD screen shows SENSE, followed by OFF. Next, restart the transmitter, and its induction sensing will be turned off. Enable: when the induction sensing function is disabled, power on the transmitter, then press and hold its power button for 7~10 seconds until the LCD screen shows SENSE, followed by ON. -
Page 9: Troubleshooting
3. HOW TO PROPERLY USE MULTIPLE SETS OF WIRELESS MICS IN ONE PLACE (1) First, use non-intermodulation frequency setup. Within the 50MHz bandwidth, usually 12 transmitters can be used at the same time. To use more sets of wireless mics, you should include models that operate in other frequency bands. -
Page 10: Usage & Storage
USAGE & STORAGE! Do not use or store the device in environments with high humidity, strong electromagnetic fields, strong direct sunlight or high temperature. If not used for a long time, unplug the receiver and remove the transmitter battery. Cleaning: Unplug the power plug before cleaning. Clean with a damp cloth. Do not use any cleaning agents or dissolving liquids, otherwise the surface finish will be damaged. -
Page 11: Specifications/Packing List
PACKING LIST X5 Receiver 1 PCS Handheld Mic 2 PCS Audio Cable 1 PCS Power Adapter 1 PCS Antenna 2 PCS Angle Bracket Set 1 PCS 1.5V AA Battery 4 PCS User Manual 1 PCS...
Need help?
Do you have a question about the X5 and is the answer not in the manual?
Questions and answers