Advertisement
Quick Links
Synopsis
Due to an issue with manufacturing, some power MOSFETs and/or diodes may be stuck
to the PCB with conformal coating. This prevents a spring from firmly pressing the
components to the heatsink, causing premature component failure. The SureSine must be
disassembled and each of 12 components must be inspected to ensure that they are not
stuck to the PCB. Stuck parts must be broke free of the conformal coating. These
instructions detail the preventative action required to eliminate failure due to this issue.
Tools Required
Flat-head screw driver
#1 Philips screwdriver
#2 Philips screwdriver
Anti-static wrist strap
Contact Information
For questions or concerns please contact:
Morningstar Corporation
1098 Washington Crossing RD
Washington Crossing, PA 18977 USA
Phone:
215 321 4457
Fax:
215 321 4458
Email:
info@morningstarcorp.com
WARNING!: USE AN ANTI-STATIC STRAP WHEN HANDLING THE SURESINE PCB. STATIC CAN
DAMAGE SENSITIVE ELECTRONIC COMPONENTS.
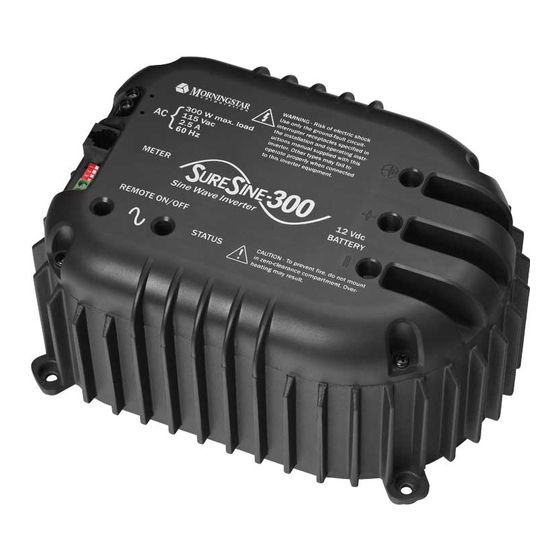
SureSine-300
Repair Instructions
Advertisement

Summary of Contents for Morningstar SureSine-300
- Page 1 SureSine-300 Repair Instructions Synopsis Due to an issue with manufacturing, some power MOSFETs and/or diodes may be stuck to the PCB with conformal coating. This prevents a spring from firmly pressing the components to the heatsink, causing premature component failure. The SureSine must be disassembled and each of 12 components must be inspected to ensure that they are not stuck to the PCB.
- Page 2 UNSCREW Remove the four screws with a #2 DESAPARAFUSE Philips screwdriver as shown. DESTORNILLE (#2 Philips) Remove the plastic lid.
- Page 3 UNSCREW DESAPARAFUSE DESTORNILLE UNSCREW (#1 Philips) DESAPARAFUSE DESTORNILLE (#2 Philips) Remove the four spring screws with a #2 Philips screwdriver as shown. Also remove the grounding screw with a #1 Philips screwdriver as shown.
- Page 4 GENTLE SUAVE APACIBLE Gently separate the circuit board assembly from the aluminum body/heatsink. Lift the circuit board assembly up as shown at left. INSPECT INSPECIONE Slightly wiggle each of the 12 INSPECCIONE components shown at right with your finger. Each component should move freely.
- Page 5 If one of the 12 components is stuck (glued down by conformal coating), it must be pried loose. Place the tip of a flat blade screwdriver between the metal tab of the component and the circuit board as shown below. Twist the screwdriver gently but firmly to free the component from the conformal coating.
- Page 6 CLEAN LIMPE LIMPIE Inspect all twelve (12) PCB holes shown at left. Remove any conformal coating that may be clogging the holes.
- Page 7 CLEAN LIMPE LIMPIE Inspect all three (3) thermal pads as shown at left. Remove any dirt, debris, or metal shards before re- assembly.
- Page 8 SCREW PARAFUSO TORNILLO (#2 Philips) SCREW PARAFUSO TORNILLO (#1 Philips) Re-assemble the springs with four (4) screws and a #2 Philips screwdriver as shown. Insert and secure the ground screw with a #1 Philips screwdriver. If any screws are damaged, use replacement screws as needed.
- Page 9 SCREW PARAFUSO TORNILLO (#2 Philips) Replace and secure the lid with four screws with a #2 Philips screwdriver as shown. Record the SureSine serial number for reference.


Need help?
Do you have a question about the SureSine-300 and is the answer not in the manual?
Questions and answers