Advertisement
Quick Links
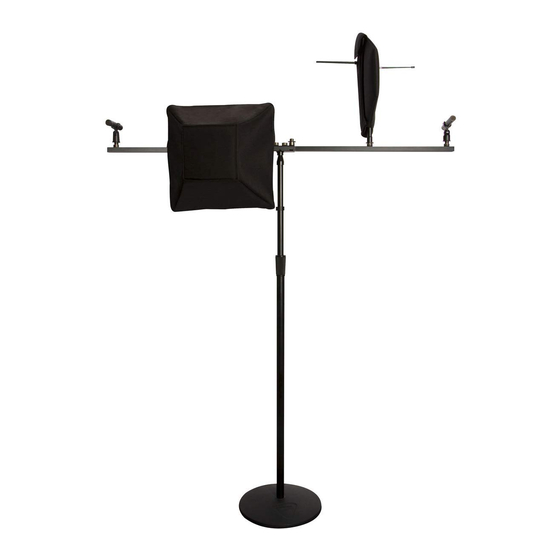
Components Included:
(2) 24" mic bars
(1) speaker stand adapter
Assembly Instructions:
1. With the mic bar track facing up, slide the
threaded insert into the end of one of the mic
bars until two of the insert's holes are inside the
bar, leaving the other two holes exposed.
MY950
Mic / Antenna Bar
(1) center bracket with 5/8"-27
female threading
(4) multi-position mounting lugs with
5/8"-27 male threading
If any parts are missing, please contact On-Stage customer service.
(1) threaded insert
(2) center bracket mounting lugs with
2. With the socket of the center bracket facing
down, slide the center bracket over the threaded
insert and mic bar.
3. Slide the second mic bar into the opposite end of
the center bracket so the threaded insert slides into
the end of the mic bar as in step 1. Push the two mic
bars together until they meet in the center. Align the
four holes of the threaded insert with the four holes
of the center bracket.
(2) security lugs
5/8"-27 male threading
Advertisement

Subscribe to Our Youtube Channel
Related Manuals for on stage MY950


Summary of Contents for on stage MY950
- Page 1 MY950 Mic / Antenna Bar Components Included: (1) threaded insert (2) 24” mic bars (1) center bracket with 5/8”-27 (2) security lugs female threading (1) speaker stand adapter (4) multi-position mounting lugs with (2) center bracket mounting lugs with 5/8"-27 male threading 5/8"-27 male threading...
- Page 2 4. Depending on your desired mic/antenna 5. Screw the two center bracket mounting position, screw the two security lugs into either lugs into the remaining two holes of the the two inner or the two outer holes of the center bracket and threaded insert bracket and threaded insert.
Need help?
Do you have a question about the MY950 and is the answer not in the manual?
Questions and answers