Yolink YS1603-UC Installation Manual & Users Manual
Hub
Hide thumbs
Also See for YS1603-UC:
- User manual (31 pages) ,
- Installation manual & users manual (12 pages)
Table of Contents
Advertisement
Quick Links
A
Introduction
Thank you
for purchasing YoLink products! Whether you are
adding additional hubs to expand your system's range or if this is
your first YoLink system, we appreciate you trusting YoLink for
your smart home/home automation needs. Your 100% satisfaction
is our goal. If you experience any problems with your installation,
with our product or if you have any questions that this manual
does not answer, please contact us right away. See the Customer
Support section for more info.
The YoLink Hub is the central controller of your YoLink system
and the gateway to the Internet for your YoLink devices. As
opposed to many smart home systems, the individual devices
(sensors, switches, outlets, etc.) are not on your network or Wi-FI
and are not directly connected to the internet. Instead, your devices
communicate with the Hub, which connects to the internet, the
cloud server and the app.
The Hub connects to the internet via a wired and/or WiFi
connection to your network. As the wired method is "plug & play" we
recommend using this method, because it is the easiest to set-up
and it does not require making changes to settings for your phone
or network equipment (now, or in the future -- changing your WiFi
password later would require changing the password for the Hub).
The Hub may otherwise be connected to the internet via a 2.4GHz
(only*) band WiFi provided by your network. See the Support section
of this manual for more information. *5GHz band is not supported at
this time.
Your system may have more than one Hub, due to the number of
devices (one Hub can support at least 300 devices), and/or the
physical size of your home or building(s) and/or property. YoLink's
unique Semtech® LoRa®-based long-range/low-power system
offers industry-leading range - up to 1/4 mile reach in open air!
YoLink Hub
YS1603-UC
Installation Manual & User Guide
B
In the Box
YoLink Hub
C
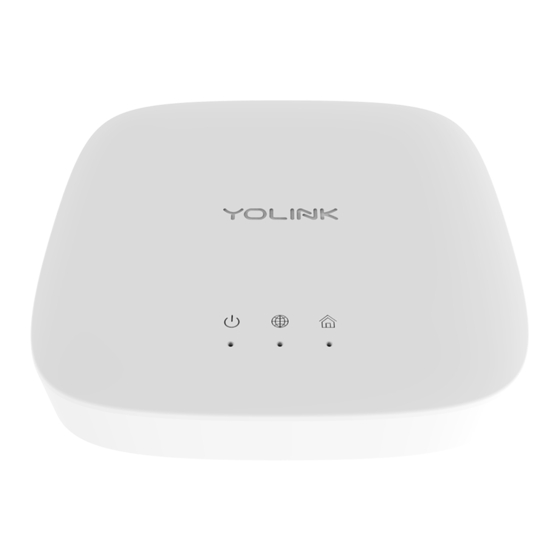
Get to Know Your Hub
Rev 1.2
NORMAL (ON, CONNECTED TO INTERNET)
ABNORMAL (ON, INTERNET NOT CONNECTED)
RESTORING TO FACTORY DEFAULTS:
OFF
Fast blinking yellow indicates normal data transmission
Slow blinking yellow indicates no response from the router
Green light on indicates port is connected to router or switch
Either light off indicates something is wrong
(Disregard LEDs if port is not being used)
Ethernet
USB
Cable
Cable
("Patch
(Micro B)
Cord")
POWER
HUB STATUS
WIFI SETTINGS CHANGE:
DEVICE UPDATING:
LED BEHAVIORS KEY
ON
ETHERNET JACK LED BEHAVIORS
AC/DC
Quick-
Power
Start
Supply
Guide
Adapter
("QSG")
ETHERNET
POWER PORT
SET BUTTON
WALL-
MOUNTING
SLOT
(ON REAR,
NOT SHOWN)
HUB STATUS
LED
INDICATORS
LED INDICATORS
INTERNET FEATURE
BLINK
SLOW BLINK
Advertisement
Table of Contents

Related Manuals for Yolink YS1603-UC


Summary of Contents for Yolink YS1603-UC
- Page 1 LED INDICATORS POWER INTERNET FEATURE The YoLink Hub is the central controller of your YoLink system and the gateway to the Internet for your YoLink devices. As opposed to many smart home systems, the individual devices (sensors, switches, outlets, etc.) are not on your network or Wi-FI HUB STATUS and are not directly connected to the internet.
- Page 2 When prompted, click Bind Device. A message the device has been bound appears Install the free YoLink app on your phone or tablet (search in the store or click the QR code below) Close the pop-up message by clicking Close...
- Page 3 (for express set-up) if using the WiFi method. Due to the industry-leading long-range of YoLink's LoRa-based wireless communication technology, most customers will experience no issues whatsoever with system signal strength, no matter where they place their Hub in their home or business. Generally, most place their Hub next to their router, which is often a convenient location, with open Ethernet ports.
- Page 4 20 or more seconds puts the Hub Ensure Location Services is on/enabled in Reset Mode, restoring all settings to factory defaults Scroll down to the YoLink app, click Select While Using the App Figure 1 Enable Precise Location In the app, click the “Please confirm above operation”...
- Page 5 Installation Once your Hub is working satisfactorily, if you temporarily set up Wall-mount the Hub, or place it on a stable surface, as desired your Hub before a more permanent installation, find a suitable permanent location for it. Please familiarize yourself with the Installation Considerations section before you finalize your installation Introduction to the App...
- Page 6 Firmware Update Your YoLink products are constantly being improved, with new features added. It is periodically necessary to make changes to your device's firmware. For optimal performance of your system, and to give you access to all available features for your devices, these firmware updates should be installed when they become available Refer to Figure 1.
- Page 7 God (such as floods, lightning, earthquakes, etc.). This warranty is limited to repair or replacement of the YoLink Hub only at YoSmart's sole discretion. YoSmart will NOT be liable for the cost of installing, removing, nor reinstalling this product, nor direct, indirect, or consequential damages to persons or property resulting from the use of this product.
Need help?
Do you have a question about the YS1603-UC and is the answer not in the manual?
Questions and answers