Advertisement
Quick Links
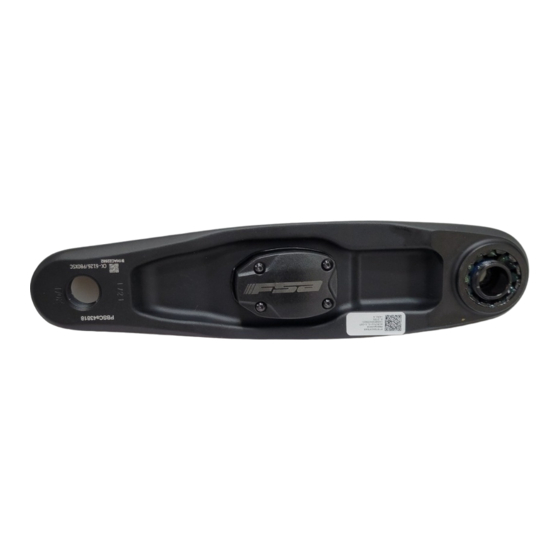
PowerBox SC Alloy Crankset Installation Instructions
Published – May, 2021. ZSP022.v0 © Full Speed Ahead
Introduction
Congratulations on your Full Speed Ahead product. Please read these instructions and follow them for correct use. Failure to follow the warnings and instructions could result in damage to product not covered under warranty,
damage to bicycle; or cause an accident resulting in injury or death. Since specific tools and experience are necessary for proper installation, it is recommended that the product be installed by a qualified bicycle technician.
FSA & Vision assumes no responsibility for damages or injury related to improperly installed components.
Warranty
Full Speed Ahead (FSA) warrants all FSA and Vision products to be free from defects in materials or workmanship for a period of two years after original purchase unless otherwise stated in the full warranty policy. The warranty
is non-transferable and valid to the original purchaser of the product only. Any attempt to modify the product in any way such as drilling, grinding, and painting will void the warranty. For more information on warranty policy
and instructions for completing a warranty claim, check out the Full Warranty Policy found at our website: https://www.fullspeedahead.com/en/technology
Specification
Model Name / Item Number PowerBox SC Cranksets / CK-OS6126 / CK-6126
Assembly
1. Remove the 4 screws
2. Install supplied 2450
from the top of the
battery with "+" side
battery cover, and
up. Wait until the LED
remove the cover from
flashes green and turns
the battery housing.
off. Proceed to next step.
4. Place 4 screws into holes on the
cover.
3. Replace cover onto
Pod.
5. Use 1.5mm wrench tighten the screws
to a torque 15.3 kgf.cm / 1.5 Nm / 13.3
in.lbs.
Activation
1. Rotate the crank.
The PowerBox SC was designed and
engineered for ease of use and simple
set-up utilizing an easy "1-2-3" set-up
process:
1. Place the non-drive crank into six
2. Calibrate via head unit or via phone
3. Once the pod flashes blue white light, the
2. Pod displays yellow LED light then
blue LED light.
Note: Before calibrating on each outdoor
ride, it is strongly recommended to leave
3. It is ready to connect to computer.
the crank at outdoor temperature for 10
minutes.
Calibration
Green – High battery
o'clock direction.
Yellow – Medium battery
application.
PowerBox SC is calibrated successfully
and you are ready to ride.
Red – Low battery
Blue – Stand by
Bluewhite – Calibration
LED Indication
Advertisement

Related Manuals for FSA CK-OS6126


Summary of Contents for FSA CK-OS6126
- Page 1 Warranty Full Speed Ahead (FSA) warrants all FSA and Vision products to be free from defects in materials or workmanship for a period of two years after original purchase unless otherwise stated in the full warranty policy. The warranty is non-transferable and valid to the original purchaser of the product only. Any attempt to modify the product in any way such as drilling, grinding, and painting will void the warranty. For more information on warranty policy and instructions for completing a warranty claim, check out the Full Warranty Policy found at our website: https://www.fullspeedahead.com/en/technology...
- Page 2 FCC Statement FCC ID: 2ALMLPBSC This device complies with Part 15 of the FCC Rules.Operation is subject to the following two conditions: (1) this device may not cause harmful interference and (2) this device must accept any interference received, including interference that may cause undesired operation of the device. This equipment has been tested and found to comply with the limits for a Class B digital device, pursuant to part 15 of the FCC rules.
Need help?
Do you have a question about the CK-OS6126 and is the answer not in the manual?
Questions and answers