Advertisement
Table of Contents
- 1 Table of Contents
- 2 Important Safety Instructions
- 3 Warnings & Precautions
- 4 Technical Specification
- 5 Step 1 - Positioning
- 6 Step 2 - Fastening
- 7 Step 3 - Plumbing Connection
- 8 Step 4 - Electrical Connection
- 9 Step 5 - Assembly
- 10 Step 6 - Commissioning
- 11 Tap Operation
- 12 Troubleshooting
- 13 Cleaning
- 14 End of Life Disposal
- Download this manual
Advertisement
Table of Contents

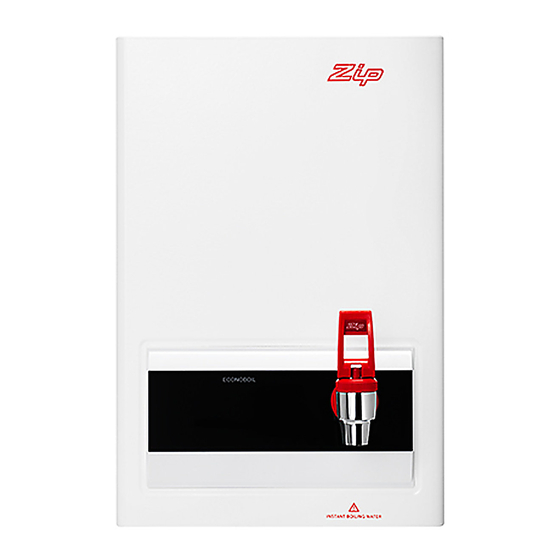
Summary of Contents for Zip Econoboil 3L
- Page 1 Installation instructions Zip Econoboil & Hydroboil On wall boiling water. Models: Econoboil: 3L, 5L, 7.5L Hydroboil: 3L, 5L, 7.5L, 10L, 15L, 25L, 40L 807062 v1.00 03.21 EB HB Install Instructions...
-
Page 2: Table Of Contents
Contents Contents IMPORTANT SAFETY INSTRUCTIONS ..........3 WARNINGS & PRECAUTIONS ............4 TECHNICAL SPECIFICATION ............5 Step 1 – Positioning ..............6 Step 2 – Fastening ................7 Step 3 – Plumbing connection ............9 Step 4 – Electrical connection ............. 10 Step 5 – Assembly ...............12 Step 6 –... -
Page 3: Important Safety Instructions
IMPORTANT SAFETY INSTRUCTIONS Safety This appliance can be used by children aged from 8 years and above and persons with reduced physical, sensory or mental capabilities or lack of experience and knowledge if they have been given supervision or instruction concerning use of the appliance in a safe way and understand the hazards involved. -
Page 4: Warnings & Precautions
WARNINGS & PRECAUTIONS 1. For continued safety of this appliance it must be installed, operated and maintained in accordance with the manufacturer’s instructions. 2. This appliance may deliver water at high temperature. Refer to the Plumbing Code of Australia (PCA), local requirements and installation instructions to determine if additional delivery temperature control is required. -
Page 5: Technical Specification
TECHNICAL SPECIFICATION Heat up Heat up Tank Dimensions Filled time time size Rated voltage and power W x D x H weight (Inlet (Inlet (litres) (mm)* (kg) 15°C) 10°C) 220-240V, 50Hz, 1400W 16mins 17mins 300 x 183 x 439 220V, 60Hz, 1250W 16mins 17mins 329 x 201 x 473... -
Page 6: Step 1 - Positioning
Step 1 – Positioning 3L, 5L, 7.5L: ≥ 65mm 15L, 25L, 40L: ≥ 150mm ≥ 20mm Mark corners of the ≥ 100mm appliance on the wall. Observe clearance around the appliance for service access 15L, 25L, 40L: ≥ 150mm Place supplied paper template on the wall. Drill holes as shown. -
Page 7: Step 2 - Fastening
Step 2 – Fastening Remove cover screws. Remove the cover. Use supplied screws to mount the appliance to the wall. 3 - 7.5 litre models 10 - 40 litre models 807062 v1.00 03.21 EB HB Install Instructions... - Page 8 3 - 7.5 litre models Terminal block Concealed access Strain relief bush (cable gland) Tap nut Escutcheon 10 - 40 litre models Terminal block Concealed access Strain relief bush (cable gland) Filter (AU/NZ models) 807062 v1.00 03.21 EB HB Install Instructions...
-
Page 9: Step 3 - Plumbing Connection
Step 3 – Plumbing connection Cold water inlet and vent outlet IMPORTANT: • Cold water pipes must be flushed before connection to the inlet to prevent blockages from affecting operation of the appliance. CLEARANCE ZONE • An isolation valve (not supplied) must be fitted to the water supply. •... -
Page 10: Step 4 - Electrical Connection
Step 4 – Electrical connection All wiring must be performed by a qualified electrician. Refer to local relevant electrical codes and guidelines for installation requirements, cable size and selection to ensure suitability for local installation conditions and your product’s power rating. 220-240V AC, 50Hz Exposed electrical connection for 3L, 5L, 7.5L models... - Page 11 Element Step 4 – Electrical connection L1 L2 L3 L4 Red/Blk Contactor 220-240V AC, 1-phase T1 T2 T3 T4 Single-phase power supply 1(Red) 2(Blu) Overload 1(Red) 2(Blu) 15-25L models: These models have single- phase connection. No bridging is required. 40L models: There are two connection options: Heating Thermostat...
-
Page 12: Step 5 - Assembly
Step 5 – Assembly Refit cover. Fix with screws, Apply thread tape to thread. top and bottom. Turn tap until it touches the Use spanner (supplied) to lock nut and is upright. tighten the lock nut. 807062 v1.00 03.21 EB HB Install Instructions... -
Page 13: Step 6 - Commissioning
Step 6 – Commissioning Warning: This appliance must be earthed Do not turn ON electrical power until instructed. Water must be available from the tap outlet to prevent damage. Water dispensed during commissioning may be boiling. Check earthing Earthing continuity must be tested by a qualified technician <... -
Page 14: Tap Operation
Tap operation Hydroboil and Econoboil are fitted with a two-way, cool-touch tap. Boiling water will be dispensed Press lever to dispense boiling water. Push to lock for continuous flow. If lever does not lock, rotate it 180° before dispensing. 807062 v1.00 03.21 EB HB Install Instructions... -
Page 15: Troubleshooting
Troubleshooting In the event of a fault or failure, isolate power and water. Do not use the appliance. Contact a Zip authorised service agent for assistance, service, spare parts or enquiries. Symptom Possible cause Solution Water isolating valve turned off. - Page 16 Telephone: (+612) 9796 3100 | Free Call: 1800 947 827 specify.zipwater.co.uk zipwater.com Zip products described in this publication are manufactured under one or more patents and further patent applications are pending. As Zip policy is one of continuous product improvement, changes to specifications may be made without prior notice.


Need help?
Do you have a question about the Econoboil 3L and is the answer not in the manual?
Questions and answers