
Related Manuals for Best-Rite MOORECO 62853


Summary of Contents for Best-Rite MOORECO 62853
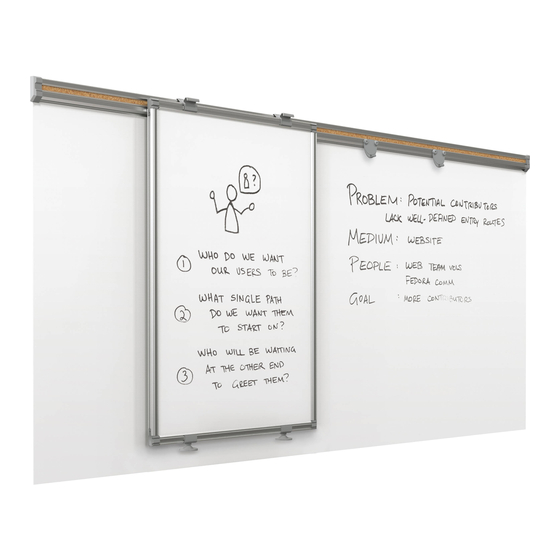
- Page 1 Best-Rite Whiteboard Track System - 8' Track and 1 Sliding Whiteboard Panel and 4' x 8' Sharewall Instruction Manual...
- Page 2 1 2 3 4 5 6 7 8 9 0 1 2 3 4 5 6 7 8 9 0 1 2 3 4 5 6 7 8 9 0 1 2 1 2 3 4 5 6 7 8 9 0 1 2 3 4 5 6 7 8 9 0 1 2 3 4 5 6 7 8 9 0 1 2 1 2 3 4 5 6 7 8 9 0 1 2 1 2 3 4 5 6 7 8 9 0 1 2 3 4 5 6 7 8 9 0 1 2 3 4 5 6 7 8 9 0 1 2 1 2 3 4 5 6 7 8 9 0 1 2 3 4 5 6 7 8 9 0 1 2 3 4 5 6 7 8 9 0 1 2 1 2 3 4 5 6 7 8 9 0 1 2 1 2 3 4 5 6 7 8 9 0 1 2 3 4 5 6 7 8 9 0 1 2 3 4 5 6 7 8 9 0 1 2 1 2 3 4 5 6 7 8 9 0 1 2 3 4 5 6 7 8 9 0 1 2 3 4 5 6 7 8 9 0 1 2 1 2 3 4 5 6 7 8 9 0 1 2 1 2 3 4 5 6 7 8 9 0 1 2 3 4 5 6 7 8 9 0 1 2 3 4 5 6 7 8 9 0 1 2 1 2 3 4 5 6 7 8 9 0 1 2 3 4 5 6 7 8 9 0 1 2 3 4 5 6 7 8 9 0 1 2 1 2 3 4 5 6 7 8 9 0 1 2...
- Page 3 EWhiteboard Track System Part Drawing Description Hardware List Track 1 EA Long Screw (1-1/4” ) Top Bracket 2 EA Bottom Bracket 2 EA Screw Anchor - Concrete Bottom Wheel 2 EA Screw Anchor - Drywall Top Bracket Screw 2 EA Bottom Bracket Screw 2 EA Bottom Bracket Washer 2 EA...
- Page 4 To Assemble and Attach to Wall: Identify and Separate all the Parts and Hardware. 2. Remove the right End Cap’s securing screw and the right End Cap on the Track (P-1) assembly. Slide the Tack Strip out of the Track. You may also remove the plastic Paper Holders out of the Track as shown in illustration #1.
- Page 5 3A. For Masonry Walls: Follow Step 3 and drill through the Track (P-1) and into the masonry wall with a 1/8” diameter drill on 16” centers and about 6” from each end. Remove the Track and drill a 1/4” diameter hole into each 1/8”...
- Page 6 Hanging a board on the Intuition Track System: Slide on two Top Brackets (P-2) over the top extrusion of your board as shown in illustration #5. Push one Top Brackets to the far left and one to the far right of your board. Install one Top Bracket Screw (D) into each Top Bracket (P-2) and finger tighten to secure in place.
- Page 7 7. Slide each Bottom Bracket assembly on the bottom extrusion of your board as shown in illustration #7. Finger tighten each Bottom Bracket Screw (E) to secure Bottom Bracket assemblies in place. Illustration # 7 8. Hook your board’s Top Brackets over the top of the Track (P-1). Your board should now be able to slide right or left on the Intuition Track System.
Need help?
Do you have a question about the MOORECO 62853 and is the answer not in the manual?
Questions and answers