Sign In
Upload
Download
Add to my manuals
Delete from my manuals
Share
URL of this page:
HTML Link:
Bookmark this page
Add
Manual will be automatically added to "My Manuals"
Print this page
×
Bookmark added
×
Added to my manuals
Manuals
Brands
RAM Manuals
Amplifier
Pi Series
Operation manual
RAM Pi Series Operation Manual
Professional power amplifiers
Hide thumbs
1
2
3
4
5
6
7
8
9
10
11
12
13
14
15
16
page
of
16
Go
/
16
Bookmarks
Advertisement
Quick Links
Download this manual
Professional Power Amplifiers
Pi
Series
Pi2 3K-5K
Pi4 6K-10K
OPERATION MANUAL
BEDIENUNGSANLEITUNG
MANUAL DE EMPLEO
P-8004-155
© 2021 by C.E. Studio-2 s.l. - Spain (EEC)
QXPDQXDoc
ramaudio.com
e-mail: support@ramaudio.com
4/21
Previous
Page
Next
Page
1
2
3
4
5
Advertisement
Need help?
Do you have a question about the Pi Series and is the answer not in the manual?
Ask a question
Questions and answers
Related Manuals for RAM Pi Series
Amplifier RAM PCS300 User Manual
Phones amplifier (15 pages)
Amplifier RAM Pi4-6K Operation Manual
Professional power amplifiers (16 pages)
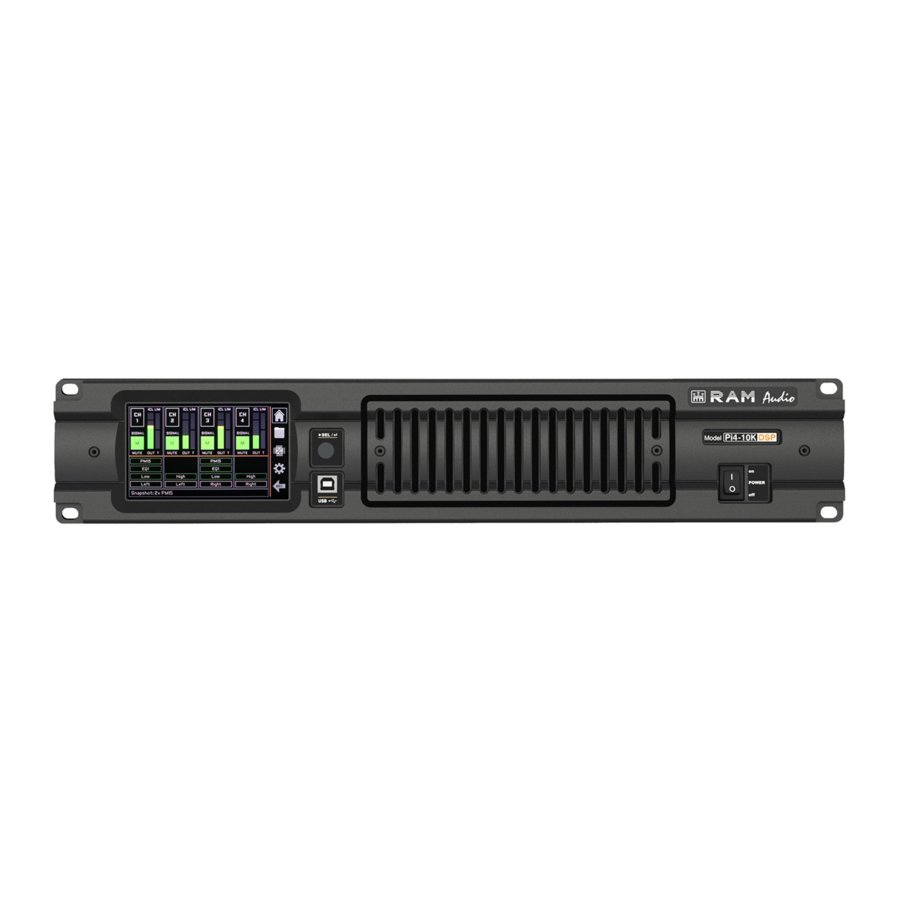
Amplifier RAM Pi4-10K Operation Manual
Professional power amplifiers (16 pages)
Amplifier RAM PRT666 User Manual
Versatile audio desk (19 pages)
Amplifier RAM PRF76 User Manual
Headphone amplifier with gpio (17 pages)
Amplifier RAM 1500 Service Manual
S series professional power amplifiers (46 pages)
Amplifier RAM 1000 BU Series Operation Manual
Professional power amplifiers bu series (13 pages)
Amplifier RAM MA400 Operation Manual
Ma series dual channel power amplifiers (4 pages)
Amplifier RAM BUX 2.8 Operation Manual
Professional power amplifiers (13 pages)
Amplifier RAM 1.0 Operation Manual
Bux series professional power amplifiers (12 pages)
Amplifier RAM S Series Operation Manual
Professional power amplifiers (15 pages)
Amplifier RAM 1500 Operation Manual
Professional power amplifiers s series (15 pages)
Amplifier RAM V-6000 Operation Manual
Professional power amplifiers v series (16 pages)
Amplifier RAM 285 Owner's Manual
Reference amplifier (16 pages)
Amplifier RAM MB Series 1200 Operation Manual
(13 pages)
Amplifier RAM MDi Series Operation Manual
Professional power amplifiers (13 pages)
This manual is also suitable for:
Pi2-3k
Pi2-5k
Pi4-6k
Pi4-10k
Print
Rename the bookmark
Delete bookmark?
Delete from my manuals?
Login
Sign In
OR
Sign in with Facebook
Sign in with Google
Upload manual
Upload from disk
Upload from URL


Need help?
Do you have a question about the Pi Series and is the answer not in the manual?
Questions and answers