Advertisement
Quick Links
Advertisement

Related Manuals for Viatom OxySmart PC-60F


Summary of Contents for Viatom OxySmart PC-60F
- Page 1 OxySmart Finger/p Oximeter User Manual Model:PC-60F...
- Page 2 Notes ● Please read the manual very carefully before using this device. Failure to follow these instruc9ons can cause measuring abnormality or damage to the Oximeter. ● The contents contained in this manual are subject to change without no9ce. ● Informa9on furnished by our company is believed to be accurate and reliable.
- Page 3 temperature over 37°C, burning hurt may occur because of over-hea9ng of the sensor at this situa9on. Necessary maintenance must be performed only by • qualified service technicians. Users are not permiGed to service this device. The Oximeter must not be used with devices and •...
- Page 4 condi9on is found, please change the posi9on of Oximeter. DO NOT clip this device on edema or tender 9ssue. • The light (the infrared light is invisible) emiGed • from the device is harmful to the eyes. Do not stare at the light.
-
Page 5: Declara/On Of Conformity
DO NOT operate the buGon on the front panel with • sharp materials or sharp point. DO NOT use high temperature or high pressure • steam disinfec9on on the Oximeter. Refer to the instruc9ons regarding cleaning and disinfec9on. The equipment is IP22 with protec9on against •... - Page 6 Cau+on: U.S. federal law restricts this device to sale or use by or on the order of a physician. Table of Contents 1 OVERVIEW .............. 3 OPERATION ............. 5 PACKING LIST ............
- Page 7 7 TROUBLESHOOTING ......... 8 KEY OF SYMBOLS ..........9 FREQUENTLY ASKED QUESTIONS ....APPENDIX EMC ............
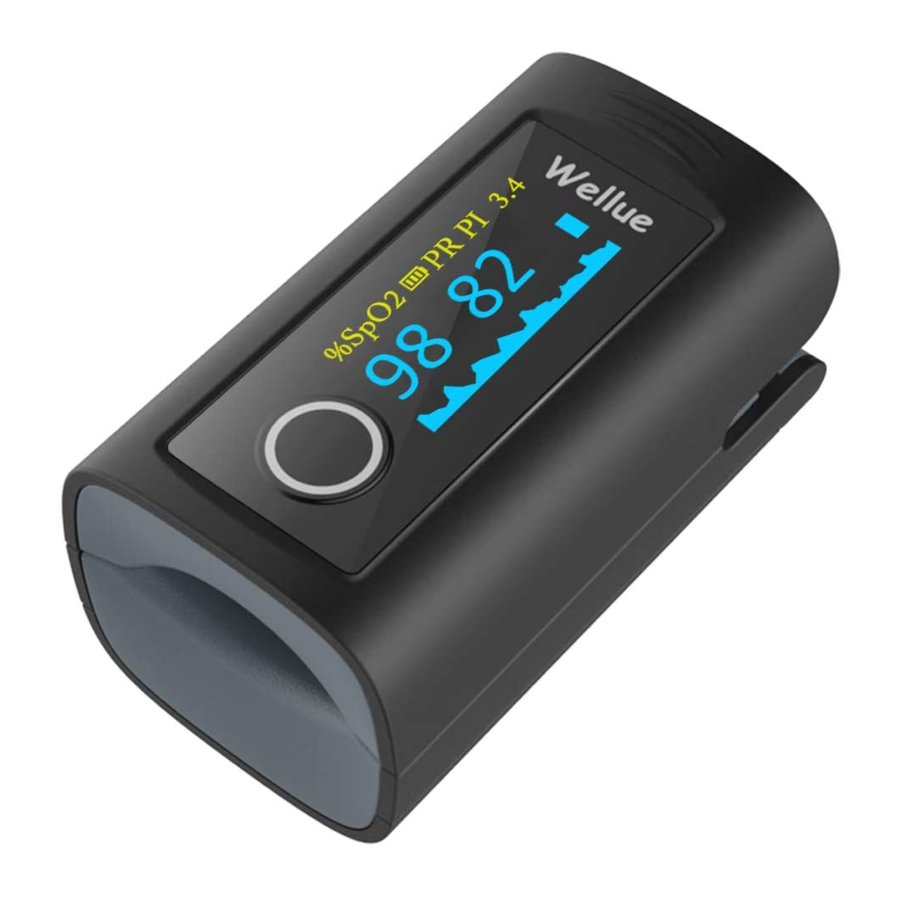
- Page 8 1 Overview 1.1 Appearance Display Key Display Screen Figure 1 Front View BaGery Cover Lanyard Hole Figure 2 Rear View Note: the appearance is for demonstra9on only, please refer to the oximeter you purchased.
-
Page 9: Battery Installation
1.2 Intended Use This Finger9p Oximeter is intended for measuring the pulse rate and func9onal oxygen satura9on (SpO through a pa9ent’s finger. It is applicable for checking and pulse rate of adult and pediatric pa9ents in homes and medical clinics. 1.3 Configura/on ●... - Page 10 Figure 3 BaGery Installa9on 1. Refer to Figure 3, insert two AAA size baGeries into the baGery compartment properly, and note the polarity markings. 2. Replace the cover. • Please make sure that the baGeries are correctly installed. Incorrect installa9on may cause the device not to work.
- Page 11 3 Opera/on 1. Start. Open the clip and put finger inside the rubber cushions of the clip (make sure the finger is in the correct posi9on), and then clip the finger, as shown in figure 4. Figure 4 Put finger into the Oximeter Wait 2 seconds, the Oximeter will power on automa9cally and start to measure;...
- Page 12 F i g u r e Figure 6 Icon “ ” on display screen means the coun>ng-down >me if the Oximeter works at Spot check mode. The total measuring >me for Spot check mode is 30 seconds. 4.Recording & recall Recording &...
- Page 13 Figure 7 If the >me from displaying valid readings to the end of measurement is less than 5 seconds, then no recording will be done. Up to 12 groups of records can be stored in the record list, the newest record is marked as M1, and the oldest record is marked as M12.
- Page 14 Figure 8 Menu setup: Short 9me press Display Key to choose the selng item; Long9me press Display Key to ac9ve the selng item, then short 9me press it to modify the selng parameter; Next, long9me press Display Key to confirm the modifica9on and exit from this selng item.
- Page 15 and short 9me pressing it can mute the over-limits indica9on sound and pulse beep for 90 seconds. A@en/on to the opera/on • The finger should be put into the sensor correctly. Do not shake the finger and relax during • measurement.
- Page 16 necessary. • If the first reading appears with poor waveform (irregular or not smooth), then the reading is unlikely true, the more stable value is expected by wai9ng for a while, or a restart is needed when necessary.
- Page 17 4 Technical Specifica/ons A. SpO Measurement Transducer: dual-wavelength LED sensor with wavelength: Red light: 663 nm, Infrared light: 890 nm. Maximal average op/cal output power: ≤2mW display range: 35%~100% measuring accuracy: ≤ 2% for SpO range from 70% to 100% B.
- Page 18 low limit seXng range: 85%~99%, step: 1% Default seXng: 90% Pulse Rate: Low limit seXng range: 30~60bpm, step: 1bpm; High limit seXng range: 100~240bpm, step: 5bpm; Default seXng: high: 120bpm; low: 50bpm Audible & visual alert func/on When measuring, if SpO value or pulse rate value exceeds the preset limit, the device will alert with beep automa9cally and the value which exceeds...
- Page 19 I. Low Perfusion Performance: The accuracy of SpO and PR measurement s9ll meet the precision described above when the modula9on amplitude is as low as 0.6%. J. Ambient Light Interference: The difference between the SpO value measured in the condi9on of indoor natural light and that of darkroom is less than ±1%.
-
Page 20: Repair And Maintenance
The equipment is IP22 with protec9on against harmful solid foreign objects and ingress of liquid. Electro-Magne/c Compa/bility: Group I, Class B 5 Packing List 1) Finger9p Oximeter 2) User Manual 3)BaGeries 4)Pouch 5)Lanyard Note: the items and its quan9ty are subject to change, please refer to your subject in hand. - Page 21 dry. Do not allow liquid to enter the device. Please take out the baGeries if the Oximeter will • not be used any more than 7 days. The recommended storage environment of the • device: ambient temperature: -20ºC ~60ºC, rela9ve humidity 10%~95%, atmospheric pressure: 50kPa~107.4kPa.
- Page 22 should be selected when use of SpO simulator, e.g. for Index 2 series SpO simulator from Fluke Biomedical Corpora9on, please set "Make" to "DownLoadMake: KRK", then the user can use this par9cular R-curve to test the Oximeter. If the SpO simulator does not contain "KRK"...
- Page 23 7 Troubleshoo/ng Problem: 1.The SpO and Pulse Rate display instable 2. Can not turn on the device 3. No display Solu/on 1.Place the finger correctly inside and try again. 2.Changing baGeries. 3.Let the pa9ent keep calm. 4.Please shake the Oximeter with a certain force to make the movable metal ball move freely.
- Page 24 8 Key of Symbols...
- Page 25 Symbol Descrip/on %SpO Pulse oxygen satura9on Pulse rate (beats per minute) Perfusion Index (%) Pulse Strength Bar Graph Low baGery voltage CE mark Serial number Date of manufacture...
- Page 26 Authorised representa9ve in the European community Manufacturer (including address) BF type applied part AGen9on ─ refer to User Manual Follow WEEE regula9ons for disposal 9 Frequently Asked Ques/ons 1. Q: What's SpO A: SpO means the satura9on percentage of oxygen in the blood.
- Page 27 A: The normal range varies by individual, but usually over 95%, otherwise, please consult your physician. 3. Q: What's the normal range of PR value for healthy people? A: Usually, the normal range is 60bpm~100bpm. 4.Q: Why do the display value of SpO and PR vary with 9me? A: The measured SpO...
- Page 28 accurate? A: Hold breath for a while (50 seconds or more), if the value significantly decreases, it means that the reading truly reflects the physiological condi9on change. 7.Q: When to replace the baGeries? A: The icon of low baGery will appear on the screen when the baGery voltages are low.
- Page 29 b) Exposure to excessive illumina9on, such as surgical lamps, bilirubin lamps, fluorescent lights, infrared hea9ng lamps, or direct sunlight; c) Vascular dyes or external used color-up product such as nail enamel or color skin care; d) Excessive pa9ent movement; e) Placement of a sensor on an extremity with a blood pressure cuff, arterial catheter, or intravascular line;...
- Page 30 if necessary. Appendix EMC The equipment meets the requirements of IEC 60601-1-2:2014. Table 1 Guidance and manufacturer’s declara/on- electromagne/c emission The Finger9p Oximeter is intended for use in the electromagne9c environment specified below. The customer or the user of the Finger9p Oximeter should assure that it is used in such an environment.
- Page 31 The Finger9p Oximeter uses RF energy only for its internal func9on. Therefore, its RF RF emissions Group 1 emissions are very CISPR 11 low and are not likely to cause any interference in nearby electronic equipment. RF emissions The Finger9p Class B CISPR 11 Oximeter suitable for...
- Page 32 Table 2 Guidance and manufacturer’s declara/on- electromagne/c emission The Finger9p Oximeter is intended for use in the electromagne9c environment specified below. the customer or the user of the Finger9p Oximeter should assure that it is used in such an environment. Electromagn Compl Immunity...
- Page 33 Floors should be wood, concrete or Electrosta ±8 kV ceramic 9le. contac if floors are discharge( ±8 kV contact covered with ESD) ±15kV air ±15kV synthe9c IEC61000- material, the rela9ve humidity should be at least 30% Electrical ±2kV for fast power transient/ Supply lines...
- Page 34 ±1kV line (s) Surge to line(s) ±2kV line(s) 61000-4-5 to earth Voltage <5% U dips, (>95% dip in ) for 0.5 short cycle interrup9 <40% U ons and (60% dip in voltage ) for 5 cycles varia9ons <70% U on power (30% dip in supply ) for 25...
- Page 35 Power frequency Power magne9c frequency fields should be at levels 50Hz/ characteris9 c of a typical 60Hz) 3A/m 3A/m loca9on in a magne9c typical field commercial IEC61000- or hospital environment NOTE : U is the a.c. mains voltage prior to applica9on of the test level.
- Page 36 The Finger9p Oximeter is intended for use in the electromagne9c environment specified below. The customer or the user of The Finger9p Oximeter should assure that it is used in such an electromagne9c environment. IEC6060 Electromagne/c Immunit Complian 1 test environment y test ce level level...
- Page 37 Portable and mobile RF communica9ons equipment should be used no closer to any part of The Finger9p Conduct 3 Vrms Oximeter, ed RF 150 kHz including cables, IEC6100 to 80 than the 0-4-6 recommended separa9on distance calculated from the equa9on Radiate applicable to the d RF...
- Page 38 NOTE 1: At 80 MHz and 800 MHz, the higher frequency range applies. NOTE 2: These guidelines may not apply in all situa9ons. Electromagne9c propaga9on is affected by absorp9on and reflec9on from structures, objects and people.
- Page 39 a: Field strengths from fixed transmiGers, such as base sta9ons for radio (cellular / cordless) telephones and land mobile radios, amateur radio, AM and FM radio broadcast and TV broadcast cannot be predicted theore9cally with accuracy. To assess the electromagne9c environment due to fixed RF transmiGers, and electromagne9c site survey should be considered.
- Page 40 Recommended separa/on distances between portable and mobile RF communica/on the equipment The Finger9p Oximeter is intended for use in an electromagne9c environment in which radiated RF disturbances are controlled. The customer or the user of The Finger9p Oximeter can help prevent electromagne9c interference by maintaining a minimum distance between portable and mobile RF communica9ons equipment (transmiGers) and the...
- Page 41 maximum output 150kHz to 80MHz to 80MHz to power of 80MHz 800MHz 2,5GHz transmi@e d=1.2 d=1.2 d=2.3 W(Wa@s) 0,01 0.12 0.23 0.38 0.73...
- Page 42 For transmiGers rated at a maximum output power not listed above, the recommended separa9on distance d in meters (m) can be determined using the equa9on applicable to the frequency of the transmiGer, where P is the maximum output power ra9ng of the transmiGer in waGs (W) according to the transmiGer manufacturer.
- Page 43 Version: A Shenzhen Viatom Technology Co., Ltd. Website: www.getwellue.com Email: service@getwellue.com Manufacturer: Shenzhen Crea/ve Industry Co., Ltd. Shanghai Interna/onal Holding Corp. GmbH (Europe) Eiffestrasse 80, 20537 Hamburg Germany...
Need help?
Do you have a question about the OxySmart PC-60F and is the answer not in the manual?
Questions and answers
what is the 2nd number on the display?