
Related Manuals for Bose Lifestyle 28 Series I


Summary of Contents for Bose Lifestyle 28 Series I
- Page 1 ® LIFESTYLE DVD Home Entertainment Systems Operating Guide October 30, 2001 AM259776_01_V.pdf...
-
Page 2: Important Safety Information
Save your owner’s guide for future reference. ©2001 Bose Corporation. No part of this work may be reproduced, modified, distributed or otherwise used without prior written permission. Manufactured under license from Dolby Laboratories. “Dolby” and the double-D symbol are trademarks of Dolby Laboratories. Confidential Unpublished Works. -
Page 3: Important Safety Instructions
Opening or removing covers may expose you to dangerous voltages or other hazards. Please call Bose to be referred to an authorized service center near you. 15. To prevent risk of fire or electric shock, avoid over- loading wall outlets, extension cords, or integral convenience receptacles. -
Page 4: Note To Catv System Installer
©2001 Bose Corporation, The Mountain, Framingham, MA 01701-9168 USA 255805 AM Rev.00 JN10494... -
Page 5: Table Of Contents
Where to find … Introduction ..............Welcome . - Page 6 Contents Reference ..............34 Changing the house code settings .
-
Page 7: Introduction
Welcome Thank you for purchasing a LIFESTYLE proprietary Bose technologies and innovative LIFESTYLE rior performance for both music and video programming from an elegant and easy-to-use system. Note: Because DVD is a relatively new technology, please take the time to read through this manual and familiarize yourself with the features of your new system. - Page 8 Introduction Chapter – In DVD-Video, a division of a title. Technically called a part of title (PTT). Component video – A video system containing three separate color component signals, either red/green/blue (RGB) or chroma/color difference (YPbPr), in analog or digital form. The MPEG-2 encoding system used by DVD is based on color-difference component digital video.
-
Page 9: Controls And Indicators
The remote control The advanced radio-frequency remote control works from anywhere within most homes. Sim- ply press the desired button. You do not need to aim the remote at the media center. Note: Some types of buildings create “dead spots” where the remote will not operate. Move the remote a foot or two and try again. - Page 10 Controls and Indicators The remote control – continued System MENU/NAVIGATION controls Mute Mute SOURCE / INPUT Tape CD/DVD FM/AM TV Input Power Power Power MENU / NAVIGATION Guide Exit Settings Menu Tune Tune Seek Enter Seek Channel Chapter Volume Preset Track Tune Seek...
-
Page 11: Playback Controls
The remote control – continued PLAYBACK controls Note: All playback controls, except Shuffle and Repeat, can also be used to control your VCR. See “Programming your LIFESTYLE Mute Mute SOURCE / INPUT Tape CD/DVD FM/AM TV Input Power Power Power MENU / NAVIGATION Guide Exit... -
Page 12: Media Center Controls And Indicators
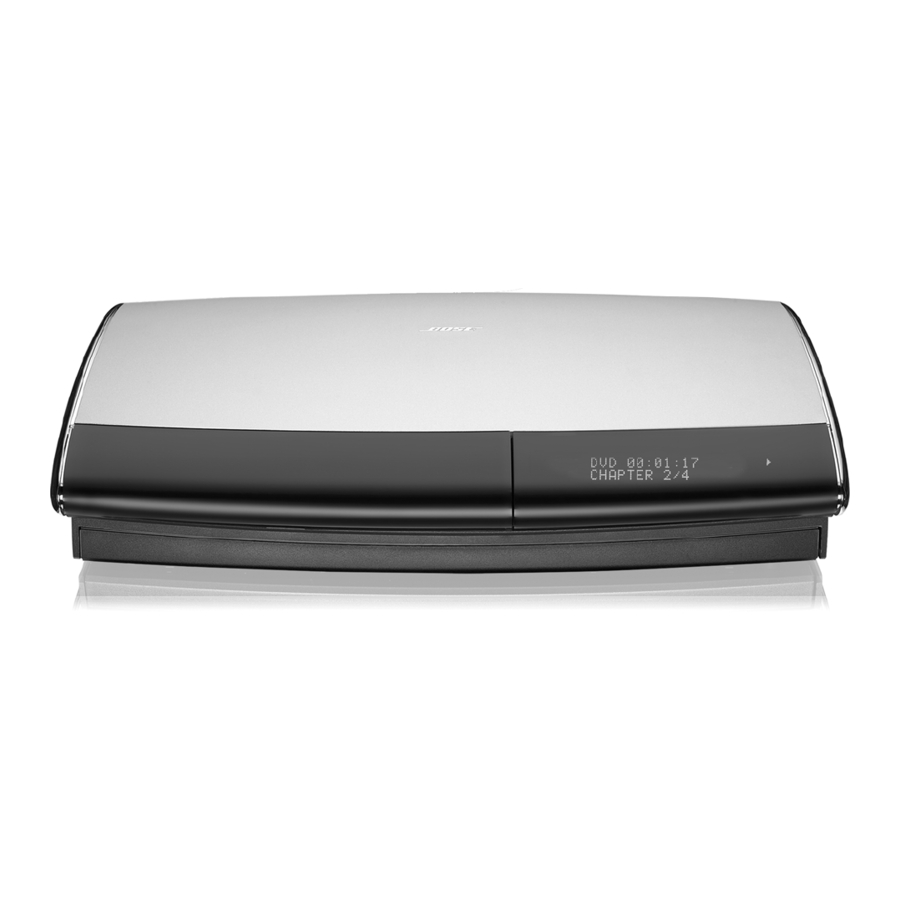
Controls and Indicators Media center controls and indicators The media center has a control panel and CD tray located under the front door. The informa- tion display window fills the right half of the front (Figure 1). Front panel door - lift up to open Figure 1 Media center front DVD/CD tray... -
Page 13: Media Center Display Window
Media center display window The media center display window shows you information about your system (Figure 2). Figure 2 Twenty characters display system messages and source-related information. Elements of the media center display SLEEP ZONE-1 2 STEREO SETTINGS SHUFFLE REPEAT Note: When you make changes using the on-screen display on your TV, the changes may not appear simultaneously on the media center’s display. -
Page 14: General System Operation
General System Operation Turning your system on and off You can turn your system on and off using the On/Off button on the remote control or the media center button panel. When you turn it on with either On/Off button, the source that was played last is automatically selected. -
Page 15: Playing A Video Dvd
Before you play your first DVD This section tells you how to use the DVD player in your system to play video DVDs. Before you play your first DVD, make note of the following: • Make sure that you are familiar with the functions of the remote control buttons (see “The remote control”... -
Page 16: Using Parental Controls
Playing a Video DVD Basic DVD operations – cont. If you want to: Skip to the previous chapter … Repeat a chapter … Search backward or forward … Press and hold Using parental controls Playback restrictions can be placed on your DVD player by choosing a level of parental con- trol and setting up a system password using the settings menu. -
Page 17: Playing An Audio Cd
Playing an audio CD Your system can play regular audio CDs and MP3 CDs. While playing a CD, the media center display window will show you the track number, track time, and repeat or shuffle mode. 1. Press 2. Lift up the media center front door and press 3. -
Page 18: Listening To Am/Fm Radio
Listening to AM/FM Radio Turning the radio on Press FM/AM When it turns on, the radio will be playing the most recently selected FM or AM station. Tuning You can tune to a radio station in the following ways: If you want to: Switch between FM and AM …... -
Page 19: Erasing A Station Preset
Erasing a station preset 1. Lift up the media center door. 2. Using the remote, select the preset you want to erase. 3. Press 4. Press Selecting a preset station You can select preset stations using the remote control or the on-screen settings menu. To select a preset with the remote control: •... -
Page 20: Playing External Sources
Playing External Sources Controlling external sources Follow the instructions in your LIFESTYLE nal component. Turn on your component directly or by using its remote control. If you like, you can program your new LIFESTYLE cable/satellite control boxes. An infrared (IR) emitter is included behind the media center dis- play to communicate with any component your remote is programmed to control. -
Page 21: Programming Your Lifestyle Remote To Control Your Cable/Satellite Box
7. Select VCR Device Code. The first 4-digit device code is shown. 8. Press VCR Power off. 9. If you cannot turn off your VCR, press the VCR Power button again. Test each device code until you find one that turns your VCR off and on again when pressing the VCR Power button. -
Page 22: Playing External Sources
Playing External Sources Changing channels using a VCR or cable/satellite box You may want to change TV channels using a VCR or a cable/satellite box instead of using the tuner in your TV. To do this you will need to change the TV tuner selection in the system settings menu: 1. -
Page 23: Changing System Settings
Using the settings menus To display the settings menu on your TV screen: Press the Settings button. The displayed menu will contain items related to the currently selected source. For example, if you press the Settings button while watching a DVD, you will see a menu similar to the one in Figure 3. - Page 24 Changing System Settings To enter a submenu: When you see the Enter button symbol to the right of the selected item, then that item has a submenu of additional items. With the item selected, press Enter to go to the submenu. To exit the settings menu and clear it from your TV screen: Press the Settings button again.
-
Page 25: Changing Dvd Play Options
Changing DVD play options While playing a DVD movie, there are several play options that can be changed. Figure 5 shows you a map to the DVD Play Options menu. Figure 5 Mute Mute The DVD Play options menu SOURCE / INPUT CD/DVD FM/AM Tape... -
Page 26: Changing Cd Settings
Changing System Settings Changing CD settings To change the CD settings, press the Settings button while the CD source is selected. Figure 6 shows you a map of the CD settings menu. Figure 6 Mute Mute The CD settings menu SOURCE / INPUT CD/DVD FM/AM... -
Page 27: Changing Fm Settings
Changing FM settings To change the FM settings, press the Settings button while the FM source is selected. Figure 7 shows you a map of the FM settings menu. Figure 7 Mute Mute The FM settings menu SOURCE / INPUT CD/DVD FM/AM Tape... -
Page 28: Changing Am Settings
Changing System Settings Changing AM settings To change the AM settings, press the Settings button while the AM source is selected. Figure 8 shows you a map of the AM settings menu. Figure 8 Mute Mute The AM settings menu SOURCE / INPUT CD/DVD FM/AM... -
Page 29: Changing Tv/Vcr/Aux/Tape Settings
Changing TV/VCR/AUX/TAPE settings To change the settings for the TV, VCR, AUX, or TAPE source, press the Settings button while one of these sources is selected. Figure 9 shows you a map of the settings menu when one of these sources is selected. Figure 9 TV / VCR / AUX / Mute... -
Page 30: Making Audio Adjustments
Selects Track 1, Track 2, or both of the Dolby Digital 1+1 (dual mono) audio tracks. Mono Decoding: Automatically engages Bose Digital bitstream indicates that it contains a mono program. This feature can process a one-channel program into five-speaker sound, directing the signals so that dialogue remains locked on-screen, while music and ambient effects fill the room. - Page 31 Menu Item Settings What each setting does Center Channel: –8 to 8 Focuses or softens the presentation of center-channel sound. In 2-speaker mode “--” appears instead of a numeric value. Audio Status: Displays system audio information. The example in Figure 11 shows you a DVD audio status.
-
Page 32: Changing The System Setup
Changing System Settings Changing the system setup Press the Settings button to open the Settings menu on your TV screen. Using the down arrow button ( button to display the System Setup menu. Figure 12 Map of the System Setup Menus Settings Mute... -
Page 33: System Setup Menu
Not used in zone 1 for this system. Provides the correct output (variable level) at the SPEAKER ZONE 2 connector for Bose powered speaker systems Acoustimass 5P and Acoustimass 20P. Provides the correct output (fixed level) at the SPEAKER ZONE 2 connector for other Bose powered speaker systems. -
Page 34: Dvd Setup Submenu
Changing System Settings DVD setup submenu The DVD setup submenu lists options for how the DVD player should operate, including Parental Control. Menu Item Auto Select Audio Track: Auto Subtitle: DVD Autoplay: On Aspect Ratio: Image Format: Pan & Scan Parental control setup submenu The parental control submenu lists options for how to restrict access to certain DVDs. -
Page 35: Remote Control Setup Submenu
Remote control setup submenu This menu allows you to program your LIFESTYLE cable/satellite box. Menu Item TV Tuner TV Brand: TV Device Code: VCR Brand: VCR Device Code: Code1 / Code2 / etc. Chooses the IR code that the VCR remote con- AUX Device: AUX Brand: AUX Device Code: Code1 / Code2 / etc. -
Page 36: Reference
Reference Changing the house code settings Each LIFESTYLE with its corresponding media center. If commands given from your remote ever conflict with those of another nearby LIFESTYLE system and its remote control(s) by doing the following: 1. Open the remote control battery cover and locate the miniature switches (Figure 13). 2. -
Page 37: Setting Up A Second Listening Zone
SPEAKER ZONES 2 connector on the rear panel of the media center. • A second LIFESTYLE See your dealer or contact Bose for information on obtaining additional powered speakers, remote controls, cables, and adapters for connecting additional equipment. How do I set up a second remote to control zone 2? 1. -
Page 38: Taking Care Of Your Lifestyle System
Reference Taking care of your LIFESTYLE Caring for your system may include: • Cleaning the system’s enclosures • Cleaning your compact discs • Replacing the remote control batteries Cleaning the media center • Use only a soft, dry cloth to clean the outside of the music center. •... -
Page 39: Replacing The Remote Control Batteries
Replacing the remote control batteries Slide the battery compartment door off of the back of the remote. Find the polarity markings (+ and –) inside the compartment and install the batteries accordingly. Slide the cover back on the remote and snap it closed. Figure 16 Opening the remote con- trol battery compartment... - Page 40 Reference Problem What to do No sound from center • Make sure the center speaker cable is connected at both ends. speaker • Select 3- or 5-speaker mode. Too much sound from • Decrease the Center Channel setting in the Audio Setup menu. See “Making audio center speaker adjustments”...
- Page 41 • If you still cannot control your external components successfully, you may need to con- nect an external IR emitter (available from Bose) to the IR EMITTER jack on the rear panel of the media center.
-
Page 42: Technical Information
Reference Technical information Media center power pack rating USA/Canada: 120V Media center inputs TAPE: 2Vrms, maximum AUX: 2Vrms, maximum VCR: 2Vrms, maximum TV: 2Vrms, maximum DIGITAL: SPDIF (1 each for TV, VCR, TAPE, and AUX) COMPOSITE VIDEO: NTSC or PAL format 1V S-VIDEO: Luminance 1V Component video: NTSC or PAL 1V OPTICAL INPUT: SPDIF digital, mapped to input... -
Page 43: Accessories
Please be sure to fill out the information section on the card and mail it to Bose. Contacting customer service For additional help in solving problems, contact Bose Customer Service. See the address and phone number list included with your system. AM259776_01_V.pdf ®... - Page 44 October 30, 2001 AM259776_01_V.pdf...
- Page 45 AM259776_01_V.pdf October 30, 2001...
- Page 46 ©2001 Bose Corporation The Mountain, Framingham, MA 01701-9168 USA 259777 AM Rev.01 JN20713...
Need help?
Do you have a question about the Lifestyle 28 Series I and is the answer not in the manual?
Questions and answers