Advertisement
Advertisement

Related Manuals for Haier HH-OT53P


Summary of Contents for Haier HH-OT53P
- Page 1 HH-OT53P Cooker Hood Instruction Manual...
-
Page 2: Table Of Contents
Content 1…………………………………..………………………………Safety instructions 2…………………………………..………………………………Technical Specifications 3…………………………………..………………………………Installation 4…………………………………..………………………………Start using your cooker hood 5…………………………………..………………………………Troubleshooting 6…………………………………..………………………………Maintenance and cleaning 7…………………………………..………………………………Environment protection... -
Page 3: Safety Instructions
SAFETY INSTRUCTIONS his manual explains the proper installation and use of your cooker hood, please read it carefully before using even if you are familiar with the product. The manual should be kept in a safe place for future reference. Never to do: Always to do: ●... - Page 4 Always to do: Always to do: ● ● lways put lids on pots and pans aution: The appliance and its when cooking on a gas cooker. accessible parts can become hot during operation. Be careful to avoid ● hen in extraction mode, air in the touching the heating elements.
-
Page 5: Technical Specifications
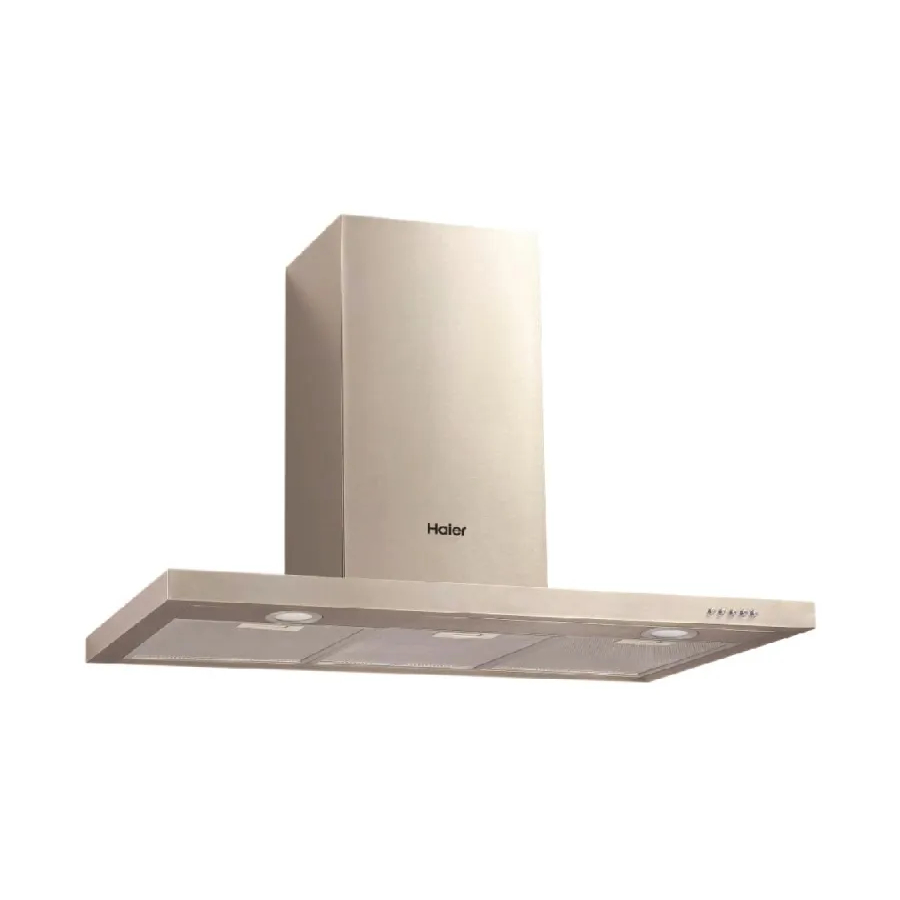
TECHNICAL SPECIFICATIONS Model No. HH-OT53P Width 900mm Depth 500mm Height 450-830mm Supply voltage 220 - 240 V, 50 Hz Control Push button Suction power 700 m Motor power 190 W Lamp power 2×2W LED... -
Page 6: Installation
INSTALLATION (VENT OUTSIDE) MOUNTING OF THE V-FLAP If the cooker hood does not have an assembled V-flap 1, you should mount the half- parts to its body.The images only show an example of how to mount the V-flap, because the outlet may vary according to different models and configurations. To mount the V-flap 1 you should: •... - Page 7 2. The cooker hood should be placed at a distance of 65~75cm above the cooking surface for best effect. 3. Install the hook on a suitable place once the installation height is fixed, and keep it in line. The fixed position of the inside chimney bracket is the place of chimney. See pic 2.
- Page 8 6. Lay the expansion pipe to the wall outlet and fix the body with safety screws. Adjust the height of the inside chimney to the position of the inside chimney bracket and fix it with screws. Note: The two safety vents are positioned on the back housing, with a diameter of 6mm.
-
Page 9: Start Using Your Cooker Hood
WARNING: For safety reason, please use only the same size of fixing or mounting screws which are recommended in this instruction manual. Failure to install the screws or fixing device in accordance with these instructions may result in electrical hazards. -
Page 10: Maintenance And Cleaning
work, motor does Refit mains power cable to Mains power cable is loose or not work power outlet. disconnected Switch power outlet on. One way valve and the outlet Take down the one way valve are not tightly sealed and seal with sealant. Oil leakage Leakage from the connection of Take chimney down and seal. - Page 11 The inlay control panel can be cleaned using warm soapy water. Ensure the cloth is clean and well wrung before cleaning. Use a dry soft cloth to remove any excess moisture left after cleaning. Important Using neutral detergents and avoid using harsh cleaning chemicals, strong household detergents or products containing abrasives,as this will affect the appearance of the appliance and potentially remove any printing of artwork on the control panel and will void manufactures warrantee.
- Page 12 NOTE: Make sure the filter is securely locked. Otherwise, it would loosen and cause danger. When activated carbon filter attached, the suction power will be lowered. BULB REPLACEMENT The bulb must be replaced by the manufacturer, its Important : service agent or similarly qualified persons.
-
Page 13: Environment Protection
ENVIRONMENTAL PROTECTION: This product is marked with the symbol on the selective sorting of waste electronic equipment. This means that this product must not be disposed of with household waste but must be supported by a system of selective collection in accordance with Directive 2012/19/EU. - Page 14 INFORMATION FOR DISMANTLING Do not dismantle the appliance in a way which is not shown in the user manual. The appliance could not be dismantled by user. At the end of life, the appliance should not be disposed of with household waste. Check with your Local Authority or retainer for recycling advice.
Need help?
Do you have a question about the HH-OT53P and is the answer not in the manual?
Questions and answers