Advertisement
Available languages
Available languages
Quick Links
Advertisement

Subscribe to Our Youtube Channel
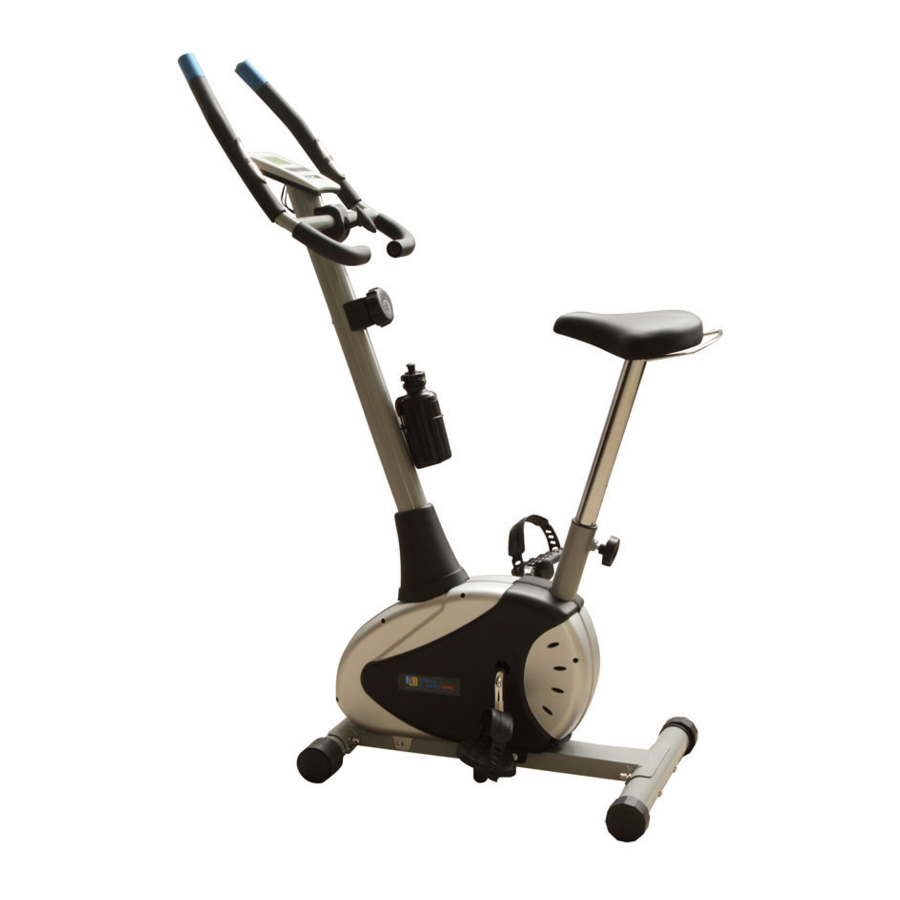
Summary of Contents for habitat et jardin Mariejo
- Page 1 Mariejo 1332_83772...
- Page 2 1332_83772 (1/1) (1/1) (1/1) M8×L74 (1/1) (1/1) (Φ8.5×1.5×Φ25) (1/1) (1/1) (1/1) (1/1) (1/1) (1/1) (1/1) (1/1) (1/1) (1/1) (1/1) (1/1) (1/1) (1/1) (1/1) (1/1) (1/1) (1/1) (1/1) (1/1) (1/1) FR : SAV/INFORMATION /VIDEO/CONTACT EN: AFTER-SALES (1/1) SERVICE/INFORMATION/VIDEO/CONTACT (1/1) DE : REPARATUR-SERVICE UND ERSATZTEILE /INFORMATIONEN /VIDEO/KONTAKT (1/1) ES: SERVICIO...
-
Page 4: Avis De Sécurité Important
IMPORTANT! Lisez attentivement les instructions avant d'utiliser ce produit. Conservez ce manuel pour référence future. Les spécifications de ce produit peuvent varier légèrement des illustrations et sont sujets à un changement sans préavis. AVIS DE SÉCURITÉ IMPORTANT Notez les précautions suivantes avant d'assembler et de faire fonctionner la machine. Assemblez la machine exactement comme expliqué... -
Page 5: Instructions De Montage
REMARQUE : La plupart du matériel de montage répertorié a été emballé séparément, mais certains éléments matériels ont été préinstallés dans des pièces d'assemblage identifiées. Dans ces cas, il suffit de retirer et réinstaller le matériel. Référencez les différentes étapes d'assemblage et prenez note du matériel préinstallé. INSTRUCTIONS DE MONTAGE Etape 1: Fixez le tube inférieur avant (2) et arrière (3) sur le châssis principal (1) avec un Boulon de... - Page 6 Etape 3: A : Fixez la selle (16) et support (15) à la tige de selle (12) avec la rondelle plate (14), l'écrou en nylon (13) en tant que pic 2-a / 2-b montré. B : Insérez le support de selle (12) dans le poste de cadre principal (1), et fixez ensuite avec le bouton (11) après ajustement à...
- Page 7 Etape 5: Réglez le guidon (20) à une position appropriée, puis le fixez sur le Guidon (34) avec Boulon (17) couvre poignée (18), Bague (19), la rondelle plate (14) Etape 6: Insérez le fil de connexion (24) dans le trou de l'ordinateur (22), puis installez l'ordinateur (22) sur le support d'ordinateur sur le haut du poteau de guidon, fixé-le avec la Croix vis à...
- Page 8 Etape 7: Attachez le Porte-bouteille (30) au support de guidon (34) avec la Croix vis à tête cylindrique (32) et la rondelle plate (31). Enfin mettez la bouteille (33) dans le porte-bouteille (30). PULSE INPUT...
- Page 9 INSTRUCTION CONSOLE BOUTONS FONCTIONNELS: MODE Appuyez sur ce bouton pour sélectionner les fonctions pendant 3 secondes pour réinitialiser le temps, la distance et les calories. SET(si le bouton existe sur cette machine) Pour définir la valeur du temps, la distance et les calories lorsqu'ils ne sont pas en mode de balayage.
- Page 10 SPECIFICATIONS Scan automatique Toutes les 4 secondes Durée de course 00 : 00 ~ 99 : 59(Minute : Seconde) Le signal max est 99.9KM / H ou MILE Vitesse actuelle / H (ou 9999RPM) Distance parcourue 0.0 ~ 999.9 KM or MILE FONCTION Calories 0 ~ 999.9~ 9999 Kcal...
-
Page 11: Important Safety Notice
IMPORTANT ! Please read all instructions carefully before using this product. Retain this manual for future reference. The specifications of this product may vary slightly from the illustrations and are subject to change without notice. IMPORTANT SAFETY NOTICE Note the following precaution before assembling and operating the machine. 1. -
Page 12: Assembly Instruction
NOTE: Most of the listed assembly hardware has been packaged separately, but some hardware items have been preinstalled in the identified assembly parts. In these instances, simply remove and reinstall the hardware as assembly is required. Please reference the individual assembly steps and make note of all preinstalled hardware. ASSEMBLY INSTRUCTION Step One: Fix the Front Bottom Tube (2) and Rear Bottom Tube (3) onto the Main Frame (1) with Carriage Bolt... - Page 13 Step Three: A:Fix the Saddle (16) & Bracket (15)to Saddle Post (12) with Flat washer (14),Nylon nut (13) as pic 2-a/2-b shown. BInsert the S addle Post (12) into the post of Main Frame (1), and then fix with Knob (11) after adjusting to a suitable height.
- Page 14 Step Five: Adjust the Handlebar (20) to a suitable position and then fix it on the Handlebar Post (34) with Bolt (17) Handle Chuck Cover (18), Bushing (19), Flat Washer (14) Step Six: Insert the Connecting wire (24) to the hole of the Computer (22), and then install the Computer (22) onto the computer bracket on the top of the Handlebar post, secured it with the Cross-pan head screw (23).
- Page 15 Step Seven: Attach the Bottle holder (30) to the Handlebar post (34) with Cross pan head screw (32) and Flat washer (31). Finally put the Bottle (33) into the Bottle holder (30). PULSE INPUT...
- Page 16 EXERCISE COMPUTER INSTRUCTION MANUAL FUNCTIONAL BUTTONS: MODE – Press it to select functions. – Hold it for 3 seconds to reset time, distance and calories. SET(IF HAVE)– To set value of time, distance and calories when not in scan mode. RESET (IF HAVE) –...


Need help?
Do you have a question about the Mariejo and is the answer not in the manual?
Questions and answers