
Subscribe to Our Youtube Channel
Related Manuals for Petsafe ZPA00-16201


Summary of Contents for Petsafe ZPA00-16201
- Page 1 Installation Guide ZPA00-16201 ZPA00-16202 ZPA00-16203 PPA00-16942 PPA00-16943 PPA00-16944 Wall Entry Pet Door Please read this entire guide before beginning...
- Page 2 If placing screws into vinyl siding it may be necessary to drill a hole through the siding slightly larger than the heads of the screws. This will allow the screws to tighten flush with plywood and not buckle the vinyl siding. www.petsafe.net...
-
Page 3: Table Of Contents
Customer Care Center at 1-800-732-2677. To get the most protection out of your warranty, please register your product within 30 days at www.petsafe.net. By registering and keeping your receipt, you will enjoy the product’s full warranty and should you ever need to call the Customer Care Center, we will be able to help you faster. -
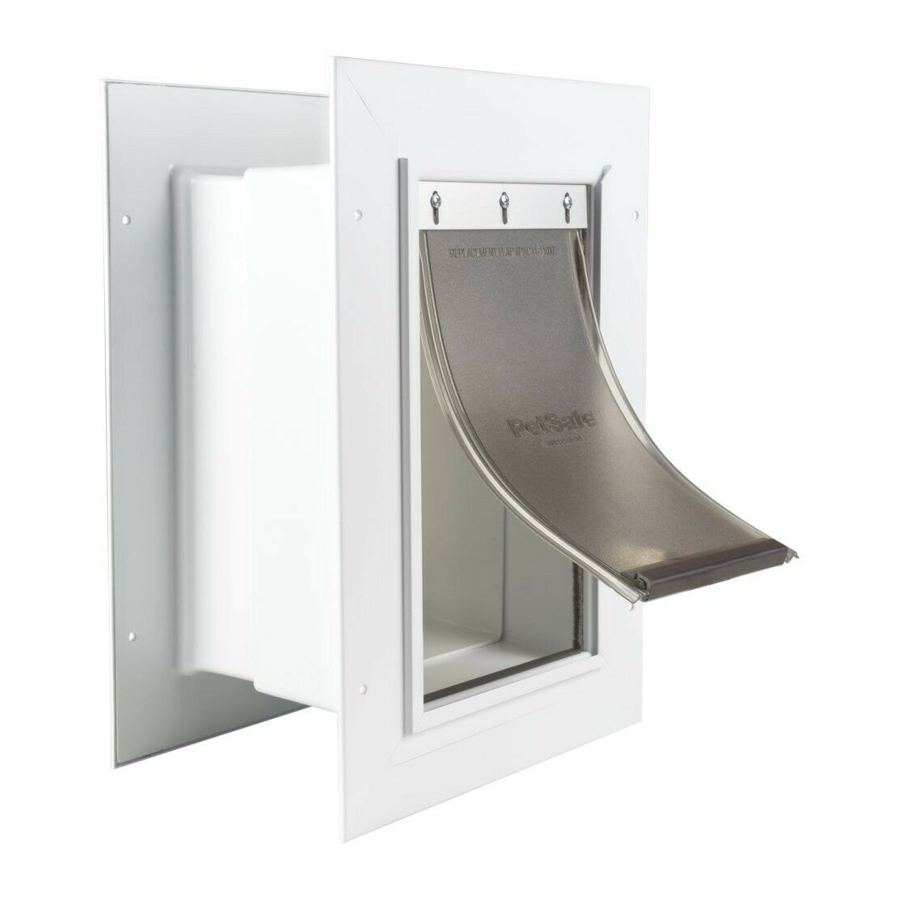
Page 4: Components
Replacement Flap Size: Overall flap size when removed from pet door Flap Opening Size: Usable flap space for pet to enter and exit through the pet door Interior Frame: Pet door frame on the inside of home Exterior Frame: Pet door frame on the outside of home www.petsafe.net... -
Page 5: Installing Your Wall Entry Pet Door
Installing Your Wall Entry Pet Door Step 1 Measure 1A. Locate the site for the Wall Entry Pet Door. Locate the studs in Center Between the proposed area. Locate the center between the two studs. Studs Shoulder Height Using a pencil, draw a 5” (12.7 cm) vertical line on center about 10”... -
Page 6: Cut Exterior
Remove the pet door from the inside wall. Drill out the marked holes with your ⁄ ” (8mm) drill bit. Be careful to keep these holes as straight as possible. Helpful Tip: Use both hands to hold drill steady and straight at a 90° angle. www.petsafe.net... - Page 7 4F. You are now ready to work from the outside wall. Line up the three holes on the template with the three holes that you just drilled. Check for square and tape in position. 4G. Drill out the four corners of the rectangular hole with a 5⁄16” (8 mm) drill bit.
-
Page 8: Install And Attach Interior
Helpful Tip: You may need to start the toggle bolt into the hole. Be careful not to overtighten. Sometimes you need to hold the screw out so the toggle is locked while you tighten the screw until the toggle is tight enough that it will hold itself in place while you finish tightening. www.petsafe.net... -
Page 9: Install And Attach Exterior
Step 6 Install and Attach Exterior 6A. You are now ready to work from the outside wall. With B side in position, mark location of 4 toggle bolt holes. Remove B side of the pet door. 6B. Drill marked locations with ½” (13 mm) drill bit. 6C. -
Page 10: Replacement Flaps
Push bar towards flap and tighten screws in place. Replacement Parts and Accessories To purchase replacement parts for your PetSafe Wall Entry Pet Door, contact our Customer Care Center at 1-800- ® 732-2677 or visit our website at www.petsafe.net. -
Page 11: Terms Of Use And Limitation Of Liability
One Year Non-Transferrable Limited Warranty This Product has the benefit of a limited manufacturer’s warranty. Complete details of the warranty applicable to this Product and its terms can be found at www.petsafe.net and/or are available by contacting your local Customer Care Center: Radio Systems PetSafe Europe Ltd, 2nd Floor, Elgee Building, Market Square Dundalk, Co. - Page 12 Should you have any queries or require any further information, please contact our Customer Care Center on 1800 786 608 (Australia) or 0800 543 054 (New Zealand). www.petsafe.net...
Need help?
Do you have a question about the ZPA00-16201 and is the answer not in the manual?
Questions and answers