Advertisement
Quick Links
Advertisement

Subscribe to Our Youtube Channel
Related Manuals for TrustCare Let's Go Out


Summary of Contents for TrustCare Let's Go Out
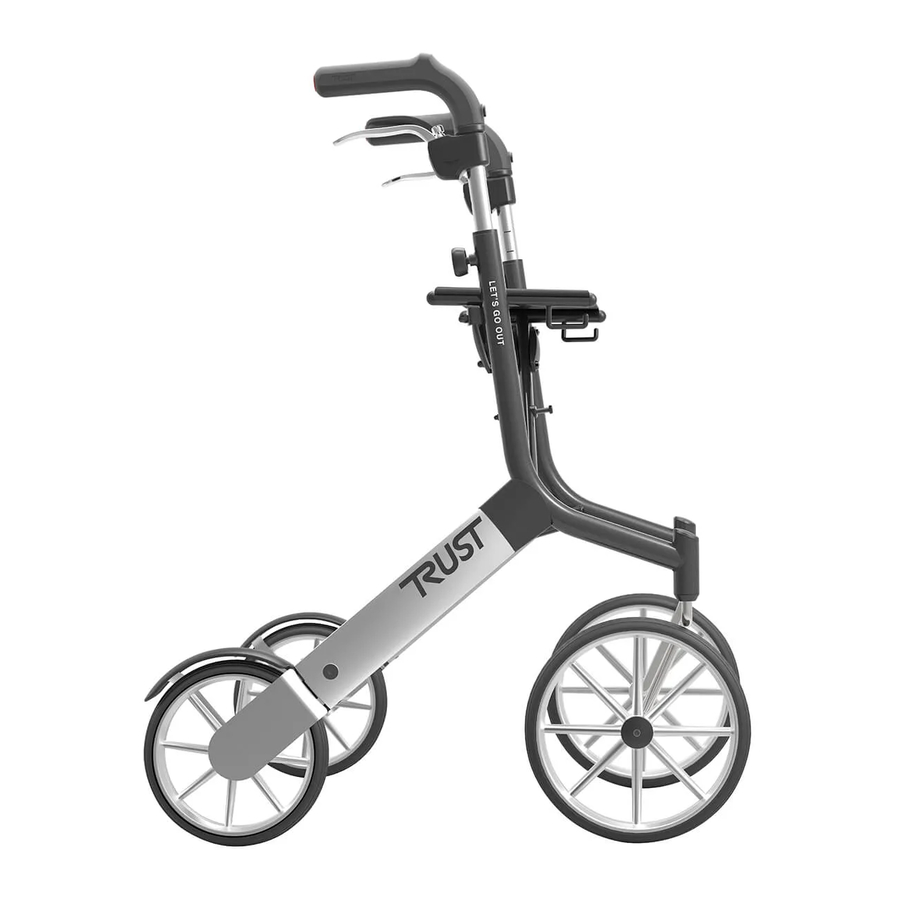
- Page 1 SERVICE MANUAL Outdoor rollator Let’s Go Out from TrustCare...
-
Page 2: Table Of Contents
TABL E OF C ON T E N T S Exchange of brake wire page 3 Exchange of wire adjustment screw page 7 Exchange of front wheel swiwel with screw page 8 Exchange of front wheel swiwel without screw page 9 Unfold hook adjustments page 10 Exchange of linkage arm for folding... -
Page 3: Exchange Of Brake Wire
Exchange of brake wire. Year of manufacturing 2012. Bushel Locking Washer sleeve 1. For disassembling the brake mecha- 2. Pull out the rear wheel, the fender and 3. First completely unscrew the adjust- nism, unscrew the double screw A and the mounting plate with the brake mecha- ment knob to release the bushel. - Page 4 Form a loop Form a loop New wire Important: Important: This part of t This part of t wire on top wire on top old wire sleeve Washer Brake Brake mechanis Bottom plug Bottom plug mechanism Bottom plug Wire guide Wire guide forming the forming the...
- Page 5 Exchange of brake wire. Year of manufacturing from 2013 onward. Rear leg Rear leg Rear leg Rear leg Adjustment Wire guide screw Wire guide Slit Slit Brake lever Wire guide Wire guide Slit Slit Fender Fender Washer Fender Fender Spring 1.
- Page 6 Rear leg Handle tube Adjustment screw Form a loop Bushel Important: Adjustmen This part of the wire on top Brake Bottom plug mechanism Wire guide Spring Wire to form the loop Bottom plug Front leg tube 10. Use a bent steel wire to pull the end of 11.
-
Page 7: Exchange Of Wire Adjustment Screw
6. Push back the brake housing and screw it in place. Adjust slits correspond and put back the wire. slits correspond and put back the wire. the wire tensin with the new screw. the wire tensin with the new screw. www.trustcare.se www.trustcare.se... -
Page 8: Exchange Of Front Wheel Swiwel With Screw
Exchange of front wheel swivel with screw fixture. Joint Year of manufacturing 2012. Snap lock Snap lock Snap lock Snap lock Snap lock Snap lock Snap lock Snap lock Joint Joint Joint 1. Remove the black plastic cap over the 2. -
Page 9: Exchange Of Front Wheel Swiwel Without Screw
YTE AV FRAMGAFFELLAGER Exchange of front wheel swivel without screw fixture. Å LET’S GO OUT Year of manufacturing from 2013 onward. 2. KNACKA UT DE 1. LYFT AV PLASTLOCKET BEFINTLIGA LAG MED EN HAMMA OCH EN METALL Snap lock SOM MELLANLÄ BYTE AV FRAMGAFFELLAGER PÅ... -
Page 10: Unfold Hook Adjustments
Unfold hook adjustments. Year of manufacturing 2012. Seat Opening Wire Hook loop Locking Locking peg Black linkage arm 1. Below the seat of the rollator there is a 2. First make sure that the locking peg is 3. If the hook is not locking around the peg metal hook and a locking peg inside the not damaged or missing. -
Page 11: Exchange Of Linkage Arm For Folding
EXCHANGE OF THE PLASTIC LINKAGE ARM ON THE LET’S GO Exchange of the linkage arm for folding. 1. Drill out t that hold th EXCHANGE OF THE PLASTIC LINKAGE ARM ON THE LET’S GO OUT ROLLATOR 1. Drill out the rivets that hold the plastic arm in place. -
Page 12: Parking Brake Adjustments
Parking brake adjustments. Year of manufacturing 2012. Brake lever Brake lever Brake lever Brake housing (cross section) Brake housing (cross section) Brake housing (cross section) Brake wire 1. This is the function of the brake system on Let’s Go Out. When the brake lever is pulled up (A) the wire is stretched and the rollator Brake wire brakes. -
Page 13: Mounting The Middle Joint Of The Folding Cross
Mounting the middle joint of the folding cross. Year of manufacturing 2012. Dome nut plastic washers Metal sleeve Screw Brickor av metall 1. These are the parts of the joint and how they should be mounted together. Front side Rear side of rollator of rollator 2.
Need help?
Do you have a question about the Let's Go Out and is the answer not in the manual?
Questions and answers
The backrest fell off my Let's Go Out rollator. It has a black screw that is supposed to somehow be screwed back in. I looked at a video. It has an Allen wrench but the video is not clear. My rollator did not come with wrench nor directions. I purchased it last fall (November 2024)to take on my trip to Japan. It was great, but now without the backrest, it is useless.
To reattach the backrest on your TrustCare Let's Go Out Rollator, adjust the handles and attach the back strap as desired. No tools or assembly are required beyond this.
This answer is automatically generated
die Feststellbremsen funktionieren ****. Ich habe 2 neue Bremshebeleinheiten gekauft. Kann aber die Bremshebelgehäuse **** wechseln, da sich die Handgriffe **** lösen lassen
Zou graag een service manual van de trust let's go out rollator