Table of Contents
Advertisement
Quick Links
Advertisement
Table of Contents

Related Manuals for TrustCare Let’s Fly


Summary of Contents for TrustCare Let’s Fly
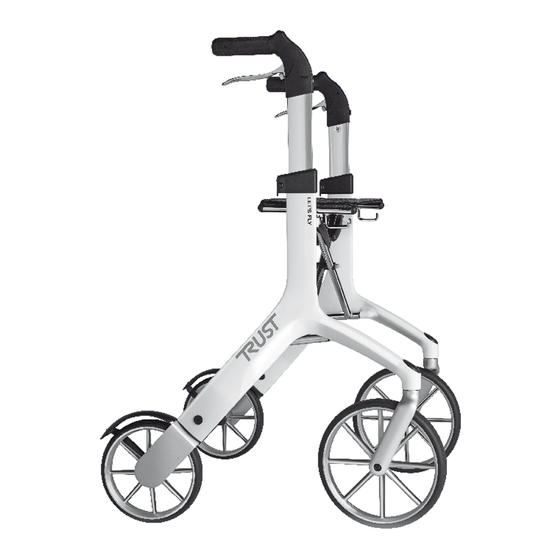
- Page 1 SERVICE MANUAL Let’s Fly Outdoor rollator from Trustcare...
-
Page 2: Table Of Contents
TABLE OF CONTENTS Exchange of fender Art. No. 0468N Page 3 Exchange of rear wheel Art. No. 0473N Page 4 Exchange of rear wheel mounting plate Art. No. 0474, 0475 Page 5 Art. No. 0476 Exchange of brake yoke Page 7 Art. -
Page 3: Art. No. 0468N
3. Unscrew the wheel cap and remove the damaged fender. 6. Push the assembly into the rear leg and screw back 5. Turn the fender into correct position and tighten the the screws A and B. wheel cap screw.. 3. www.trustcare.se... -
Page 4: Art. No. 0473N
8. Turn the fender in correct position 7. Screw the fender and the wheel 9. Screw back the screws A and B. and tighten the wheel cap screw. cap back in place. 4. www.trustcare.se... -
Page 5: Art. No. 0474, 0475
Groove 9. Use the pliers to lock the snap-ring 7. Remove the wheel from the old 8. Put the wheel on the new firmly into the groove on the axle. mounting plate mounting plate. 5. www.trustcare.se... - Page 6 Sleeve Rubber Distance Rubber Fender 17. Put the fender in place. 18. Push the whole assembly into 16. Mount the brake yoke and wire rear leg and screw back the screws. onto the wheel plate. 6. www.trustcare.se...
-
Page 7: Art. No. 0476
5. Mount the yoke and distance sleeve and wire on the new one. wheel mounting plate. 6. push the whole assembly into the rear leg including 7. Screw the double screw A and the two screws B the fender. back in place. 7. www.trustcare.se... -
Page 8: Art. No. 0480
4. Don’t forget to put the distance sleeve into the yoke. new ones. Fender 5. Put fender in place and push the whole brake assembly 6. Screw the double screw B and the two screws C into the rear leg including the fender. back in place. 8. www.trustcare.se... -
Page 9: Art. No. Lf304
2. Remove the old wheel from the front fork. 3. Put the new wheel onto the axle including the two ball 4. Lock the wheel with the C-clip and screw the hub cap bearings. in place over the hub with screw B. 9. www.trustcare.se... -
Page 10: Art. No. Lf306
3. Pull out the brake fender. sleeve and wire guide separately. 6. Unscrew the screw on the handle and pull out the 7. Dont remove the brake wire from the old brake handle. brake housing and brake lever . 10. www.trustcare.se... - Page 11 Fender 13. Mount the yoke on the wheel mounting plate and 14. Push the whole assembly into the rear leg and turn the fender into correct angle. screw back the screws B and C. 11. www.trustcare.se...
-
Page 12: Art. No. Lf318
4. Mount the wheel on the new fork with clip C and screw wheel from the fork. B including the two ball bearings. 5. Mount the new bearing into the front leg of the 6. Put back the plastic top cap. rollator and tighten nut A. 12. www.trustcare.se... -
Page 13: Art. No. Lf301, Lf302, Lf324
7. Put the fabric band into the slot in the unfold hook. Adjust the length of the band so that the hook locks the rollator in open position and releases when you lift the seat in the middle opening. 13. www.trustcare.se... -
Page 14: Art. No. Lf305
7. Unscrew the wire adjustment 8. Remove the old brake wire entirely 9. Insert the new wire in the handle screw and take out the brake wire. from the frame and the handle. tube from bottom and up. 14. www.trustcare.se... - Page 15 Sleeve Rubber Distance Rubber Fender 17. Turn the fender in place. 18. Push the whole assembly into 16. Mount the brake yoke and wire rear leg and screw back the screws. onto the wheel plate. 15. www.trustcare.se...
-
Page 16: Art. No. Lf307, Lf308
Wire adjustment screw 7. Unscrew the wire adjustment 8. Remove the wire from the old 9. Move the plastic bushing from the screw and take out the brake wire. handle tube. old handle tube to the new one. 16. www.trustcare.se... - Page 17 Sleeve Rubber Distance Rubber Fender 17. Put the fender in place. 18. Push the whole assembly into 16. Mount the brake yoke and wire rear leg and screw back the screws. onto the wheel plate. 17. www.trustcare.se...
-
Page 18: Art. No. Lf312, Lf321
3. Mount the new plastic arm with the reinforcement 4. Mount the parts using screws, washers, and nuts. bar inside. On the left side the hook for folding and the spring should also be mounted. 18. www.trustcare.se... -
Page 19: Art. No. Lf313
8. push the whole assembly into 7. Turn the fender into correct angle 9. Screw the double screw A and and tighten the wheelscap screw. the rear leg including the fender. the two screws B back in place. 19. www.trustcare.se... -
Page 20: Art. No. Lf320
1. Unscrew screw A and remove the damaged height adjustment. 3. Check that the holes in the plastic bushing, the frame 4. Put in the adjust mechanism and screw the screw A and the handle tube correspond. in place. 20. www.trustcare.se... -
Page 21: Art. No. Lf326
3. Tighten the dome nut securely. Fix the nut with a drop of Loctite so it will not fall off. The metal sleeve serves as a fixture peg for the hook when the rollator is folded. 21 www.trustcare.se... -
Page 22: Art. No. Lf311
Adjust the length of the band so that the hook locks the rollator in open position and releases when you lift the seat in the middle opening. 22 www.trustcare.se... -
Page 23: Art. No. Lf311
1. If the brake is to loose the wire tension can be 2. If the brake is too hard the tension can be loosened increased by turning the screw B counter clockwise. by turning the screw B clockwise. 23 www.trustcare.se...
Need help?
Do you have a question about the Let’s Fly and is the answer not in the manual?
Questions and answers
Lf326 midline replacement screw