Table of Contents
Advertisement
Available languages
Available languages
Quick Links
Advertisement
Table of Contents

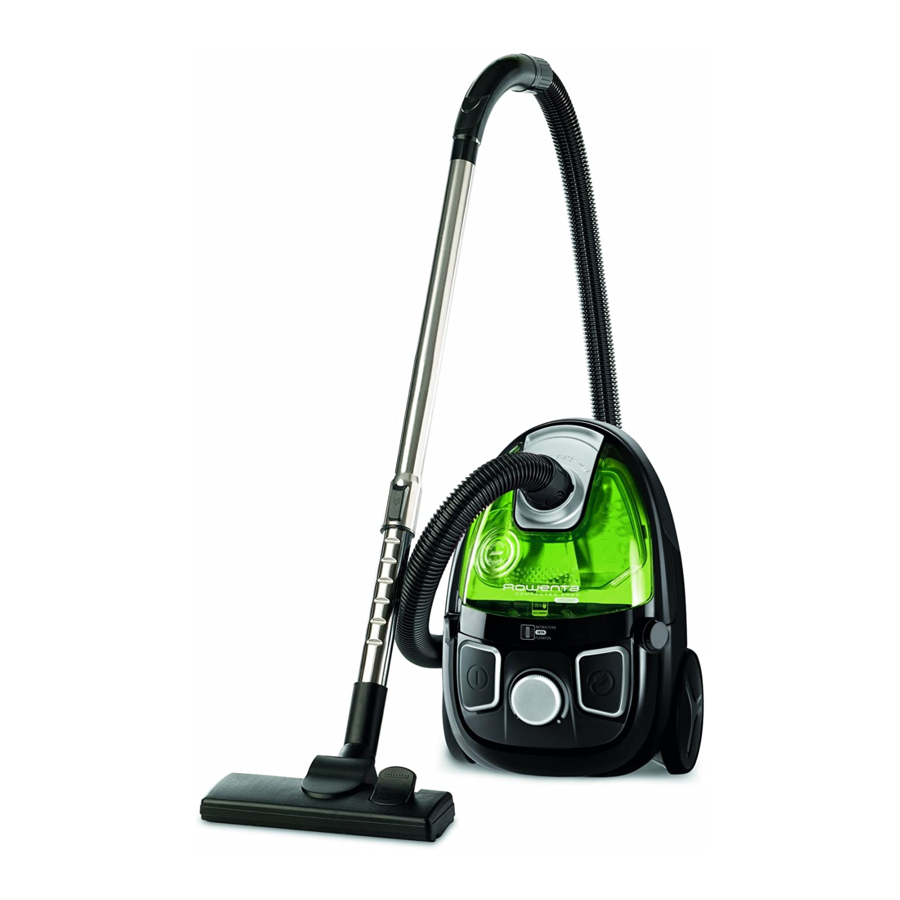
Related Manuals for Rowenta Compacteo Ergo Cyclonic


Summary of Contents for Rowenta Compacteo Ergo Cyclonic
- Page 1 903507/01 1/14...
- Page 2 14a bis 19a* 19b*...
- Page 3 fig. 1 fig. 2 fig. 3a fig. 3b fig. 5 fig. 6 fig. 4 fig. 7 fig. 8 fig. 9 fig. 10 fig. 11 fig. 12 fig. 13 fig. 14 fig. 15 CLICK fig. 16 fig. 17 fig. 18a fig. 18b OPEN PULL PULL...
- Page 4 CLICK fig. 22 fig. 23 fig. 24a fig. 24b CLOSE fig. 25 fig. 26 fig. 27 fig. 28a fig. 28b fig. 29 fig. 30 fig. 31 fig. 32 fig. 33a fig. 33b fig. 33c CLICK fig. 33d fig. 33e fig. 34...
-
Page 5: Conseils De Sécurité
N’utilisez pas l’appareil : si le cordon est endommagé. Afin d’éviter un danger, l’ensemble enrouleur et cordon de votre aspirateur doit être remplacé impérativement par un Centre Service Agréé Rowenta. CONDITIONS D’UTILISATION • Votre aspirateur est un appareil électrique : il doit être utilisé dans les conditions normales d’utilisation. -
Page 6: Avant La Première Utilisation
• Ne faites jamais fonctionner l’aspirateur sans boîte à poussière (13) ni sans cassette filtre HEPA (14) : filtre mousse noir (14a) et fitre HEPA (14b). • N’utilisez que des filtres d’origine Rowenta. • N’utilisez que des accessoires d’origine Rowenta. -
Page 7: Branchement Du Cordon Et Mise En Marche De L'appareil
BRANCHEMENT DU CORDON ET MISE EN MARCHE DE L’APPAREIL • Déroulez complètement le cordon, branchez votre aspirateur - fig.6 et appuyez sur la pédale Marche/Arrêt (2) - fig. 7. • Réglez la puissance d’aspiration : - avec le variateur électronique de puissance* (3) : tournez le bouton du variateur électronique* pour régler la puissance d’aspiration: vers position max pour les sols et sur la position min pour le mobilier et les tissus fragiles - fig. - Page 8 • Séchez-les à l’aide d’un chiffon - fig 24b. • Une fois secs, replacez puis clipsez le séparateur de poussière (15) sur le support séparateur de poussière (16), en respectant le sens de verouillage ( ) - fig 25. • Replacez les sur la boîte à poussière (13) - fig 26 . •...
-
Page 9: Dépannage
Laissez refroidir 30 minutes avant de remettre l’aspirateur en marche. Si un problème persiste, confiez votre aspirateur au Centre Service Agréé Rowenta le plus proche. Pour connaître la liste des Centres Service Agréés, contactez le Service Consommateur Rowenta dont vous trouverez les coordonnées dans la carte de ga- rantie internationale jointe. -
Page 10: Safety Recommendations
• Do not use the appliance if it has fallen and has visible damage or appears to be working abnormally. In this case, do not open the appliance, but send it to the closest Approved Service Centre or contact the Rowenta Consumer Service. -
Page 11: Tips And Precautions
• Use only original Rowenta filters. • Use only original Rowenta accessories. • In the event that you find it difficult to obtain accessories and filters for this vacuum cleaner, contact the Rowenta customer service. • Stop and disconnect your vacuum cleaner after each use. -
Page 12: Cleaning And Maintenance
• Set the suction power: - using the electronic power regulator* (3): turn the switch on the electronic regulator* to set the suction power: towards maximum position for floors and minimum position for furniture and fragile fabrics – fig. 8. - with the mechanical power regulator on the grip: open the slider on the grip to manually reduce suction power, e.g.: on fragile surfaces…... -
Page 13: Troubleshooting
• Close it, respecting the locking direction ( ) - fig 27. • Clip the HEPA filter capsule (14) (black foam filter (14a) + HEPA filter (14b)) in the compartment - fig 28a. • Close the dust compartment (13) and replace it in its housing (7) - 28b. 2. -
Page 14: Warranty
Leave to cool down for 30 minutes before using the vacuum cleaner again. If the problem persists, take your vacuum cleaner to the nearest Rowenta Approved Service Centre. For a list of Approved Service Centres, contact the Rowenta Customer Service, whose contact details are in the attached international warranty card. - Page 15 Děti si nesmějí s přístrojem hrát. Čištění a údržbu nesmí provádět děti bez dozoru. Přístroj a přívodní kabel uchovávejte mimo dosah dětí. Přístroj nepoužívejte: pokud má poškozenou šňůru. Pro předejití nebezpečí je třeba, aby na- víjecí systém a šňůru od vašeho vysavače vyměnili v Autorizovaném licenčním středisku Rowenta.
- Page 16 Drážka na prodlužovací trubce* (28), pokud je potřeba.
- Page 20 Prístroj a elektrický kábel uchovávajte mimo dosahu detí. Nepoužívajte tento prístroj, ak je napájací kábel poškodený. Aby sa zabránilo nebezpečenstvu, musí byť zostava navíjacieho bubna a kábla vymenená výhradne v servisnom stredisku Rowenta.
- Page 21 19 a. Ohybná hadica s dýzou, mechanické ovládanie výkonu* b. Ohybná hadica s dýzou, mechanické ovládanie výkonu a zabudovaná kefa*...
- Page 25 A készüléket, és annak vezetékét a gyermekek elől el kell zárni. Ne használja a készüléket: ha a vezetéke megsérült. A veszélyek elkerüléséhez a vezetékfel- tekerő rendszert és magát a porszívó vezetékét szükség esetén csak a hivatalos Rowenta szervizközpont cserélje le.
- Page 50 • Спрете и изключете уреда от контакта: Подвижна хоризонтална ръкохватка за пренасяне...
- Page 51 • Притиснете силно маркуча (19) към отвора за засмукване (9) и го завъртете, докато се закопчее - фиг. 1. • За изваждане завъртете в обратна посока и издърпайте- фиг. 2.
- Page 54 За да намерите списъка на упълномощените сервизни центрове, се свържете с отдела за обслужване на клиенти на Rowenta, чиито координати можете да видите в приложената международна гаранционна карта.
- Page 56 28. Tub extensor*...
- Page 59 Pentru a găsi o listă de centre de service agreate, contactaţi Serviciul pentru clienţi Rowenta, ale cărui detalii de contact sunt disponibile în fişa de garanţie internaţională ataşată.
- Page 61 28. Cev za podaljševanje*...
-
Page 80: Güvenli̇k Öneri̇leri̇
• Cihazı asla suya daldırmayınız, üzerine su püskürtmeyiniz ve dışarıda bırakmayınız. • Cihaz düştü yse ve gözle görülür hasarları veya çalışma anormallikleri bulunuyorsa, cihazı kullanmayın. Bu durumda, cihazı açmayın ve en yakın Yetkili Servis Merkezine götürün veya Rowenta tüketici servisi ile irtibata geçin. -
Page 81: Paketi̇ Açma
• Sadece orijinal Rowenta filtreler kullanınız. • Sadece orijinal Rowenta aksesuarları kullanın. • Bu elektrik süpürgesi için aksesuarları ve filtreleri temin etme zorluğu olması halinde, Rowenta tüketici servisi ile irtibata geçin. • Her kullanımdan sonra elektrik süpürgenizi kapatın ve fişini çekin. -
Page 82: Temi̇zli̇k Ve Bakim
Dikkat! Aksesuarlarını değiştirmeden önce elektrik süpürgenizi kaparın ve fişini prizden çekin KABLONUN TAKILMASI VE CİHAZIN ÇALIŞTIRILMASI • Kabloyu tamamen açın, elektrik süpürgenizin fişini prize takın – şekil 6 ve açma/kapama pedalı (2) üze- rine basın – şekil 7. • Emiş gücünü ayarlayın: - elektronik güç... - Page 83 yıkayın – şekil 24a. Hepsini bir bez yardımı ile kurutun – şekil 24b. • Hepsi kuruduktan sonra, kilitleme yönüne ( ) dikkat ederek toz ayırıcıyı (15) yeniden toz ayırıcı tabanı (16) üzerine yerleştirin ve takın – şekil 25. • Hepsini yeniden toz kutusu üzerine (13) yerleştirin –şekil 26. •...
-
Page 84: Ariza Gi̇derme
Elektrikli süpürgenizi tekrar çalıştırmadan önce, 30 dakika süre soğumasını bekleyin. Eğer sorun hala devam ediyorsa, elektrik süpürgenizi en yakın Rowenta Yetkili Servis Merkezine götürün. Yetkili Servisler listesini öğrenmek için, ekte sunulan uluslararası garanti kartında iletişim bilgilerini bula- bileceğiniz Rowenta Tüketici Danışma Servisiyle temasa geçiniz.
Need help?
Do you have a question about the Compacteo Ergo Cyclonic and is the answer not in the manual?
Questions and answers