NavePoint Performance Series Owner's Manual
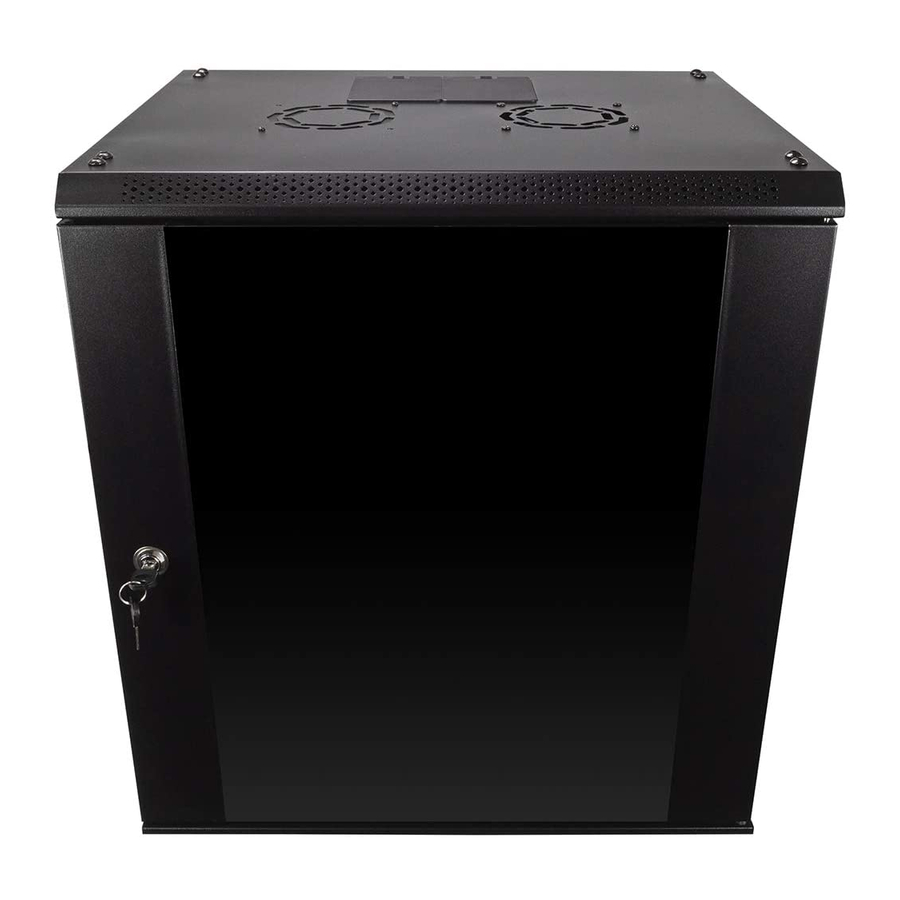
Wallmount cabinet
Hide thumbs
Also See for Performance Series:
- Manual (11 pages) ,
- Owner's manual (7 pages) ,
- Quick start manual (5 pages)
Advertisement
Quick Links
OWNER'S MANUAL: Performance Series Wallmount Cabinet
00301081
00301079
Keep this information for further reference.
Thank you for purchasing a NavePoint product.
Please examine the product for any damaged parts. If any part is damaged or missing, contact NavePoint for assistance. Do not attempt to install or
use product if it has been damaged. This product contains small items that could be a choking hazard – keep these items away from children.
During installation, lay product contents on cardboard or other protective surface to avoid any damage.
Do not use with equipment that is heavier than the indicated weight capacity for this product. This product is designed to be installed indoors on wood
stud walls, solid concrete walls or brick walls. Make sure that the supporting surface will safely support the weight of the equipment and all attached
hardware and components. It is recommended that installation be performed by a qualified installer. NavePoint cannot be held responsible for damage
to equipment or personal injury resulting from improper use or installation of product.
Maintenance: Check that the product is secure and safe to use at regular intervals (at least every three months).
Limitations of Liability: In no event will NavePoint, LLC. be liable for any damages, whether direct or indirect, special, punitive, incidental or
consequential damages (including, but not limited to, lost profits or revenue, loss of use, lost business opportunities or loss of goodwill) or for the costs
of procuring substitute products, arising out of or in connection with the use of the product, whether such liability arises from any claim based upon
contract, warranty, tort (including negligence), product liability or otherwise, whether or not seller has been advised of the possibility of such loss or
damage. In no event will seller's total cumulative liability, from all causes of action and all theories of liability, exceed the total amounts actually paid to
seller by customer under the order that gives rise to any liability hereunder.
© 2019 NavePoint, LLC
THIS MANUAL APPLIES TO THE FOLLOWING SKUs:
00301082
00301083
00301080
00301076
00301074
00301075
00301077
00301000
00301078
20191226—01
Advertisement

Related Manuals for NavePoint Performance Series


Summary of Contents for NavePoint Performance Series
- Page 1 Thank you for purchasing a NavePoint product. Please examine the product for any damaged parts. If any part is damaged or missing, contact NavePoint for assistance. Do not attempt to install or use product if it has been damaged. This product contains small items that could be a choking hazard – keep these items away from children.
-
Page 2: Parts Identification
(For Casters) x24 (15U~22U) M6 Cage Nuts x12 (6U~12U) H. Lock Kit x24 (15U~22U) M6 Plastic Washers x12 (6U~12U) I. Anchors x24 (15U~22U) J. Ground Wire Kit C. M4 Screw White Plastic Washer D. M8*12 Hex Head Screw www.NavePoint.com customerservice@navepoint.com... -
Page 3: Cabinet Assembly
Overlay the Horizontal Beams(#6) so that the notches interlay with large flanges on the Front and Rear Frames (#3). Be sure to orient the Horizontal Beams (#6) so that the flat, cage nut surface is facing inward. Attach with 8 M8 Hexagon Screws (Bag D) and 8 M8 Flange Nuts (Bag E). www.NavePoint.com customerservice@navepoint.com... - Page 4 (Bag A). When determining the appropriate depth, be sure to consider the equipment that you plan to mount inside the enclosure. Note: Be sure that the rail depth is the same on both sides of the cabinet. www.NavePoint.com customerservice@navepoint.com...
- Page 5 11’’ (280mm) for 450mm depth cabinet and 16.9’’ (430mm) for 600mm depth cabinet.) STEP 4. Install the two Side Panels (#5) into place using the Side Panel Latches. Once each Side Panel (#5) is attached, test to ensure that each Side Panel Lock locks properly. www.NavePoint.com customerservice@navepoint.com...
- Page 6 White Plastic Washer (Bag C) into the door hinge hole. With your thumb, pull down on the top spring pin and slide it into place over the second door hinge hole and release. NOTE: Each side of the front of the cabinet has door hinge holes; this allows you to choose the door swing orientation. www.NavePoint.com customerservice@navepoint.com...
- Page 7 STEP 7. Attach the Back Panel (#8) to the cabinet using 6 black M4 Screws (Bag C). Optional: Attach the Top and Bottom Cable Management (#11) Covers using 4 M4 Screws (Bag C) . www.NavePoint.com customerservice@navepoint.com...
- Page 8 2 mounting notches onto the 2 mounting hooks on the plate attached to the wall. The notches will fit over the hooks and the enclosure should slide down onto the hooks until secure. www.NavePoint.com customerservice@navepoint.com...
- Page 9 Optional: Attach Casters (Bag F) with 16 M6 Self Tapping Screws (Bag G) to Bottom Panel (#2). (Optional and only compatible and included with 15, 18 and 22U versions of the Performance Series Cabinets) www.NavePoint.com customerservice@navepoint.com...
-
Page 10: Equipment Installation
Repeat steps 1a and 1b until all required cage nuts are installed. 2 After installing the required cage nuts, use the included M6 Mounting Screws (Bag B) and M6 Plastic Washers (Bag B) to secure your equipment into the installed M6 Cage Nuts. www.NavePoint.com customerservice@navepoint.com...
Need help?
Do you have a question about the Performance Series and is the answer not in the manual?
Questions and answers