NavePoint Performance Series Quick Start Manual
Hide thumbs
Also See for Performance Series:
- Manual (11 pages) ,
- Owner's manual (10 pages) ,
- Owner's manual (5 pages)
Advertisement
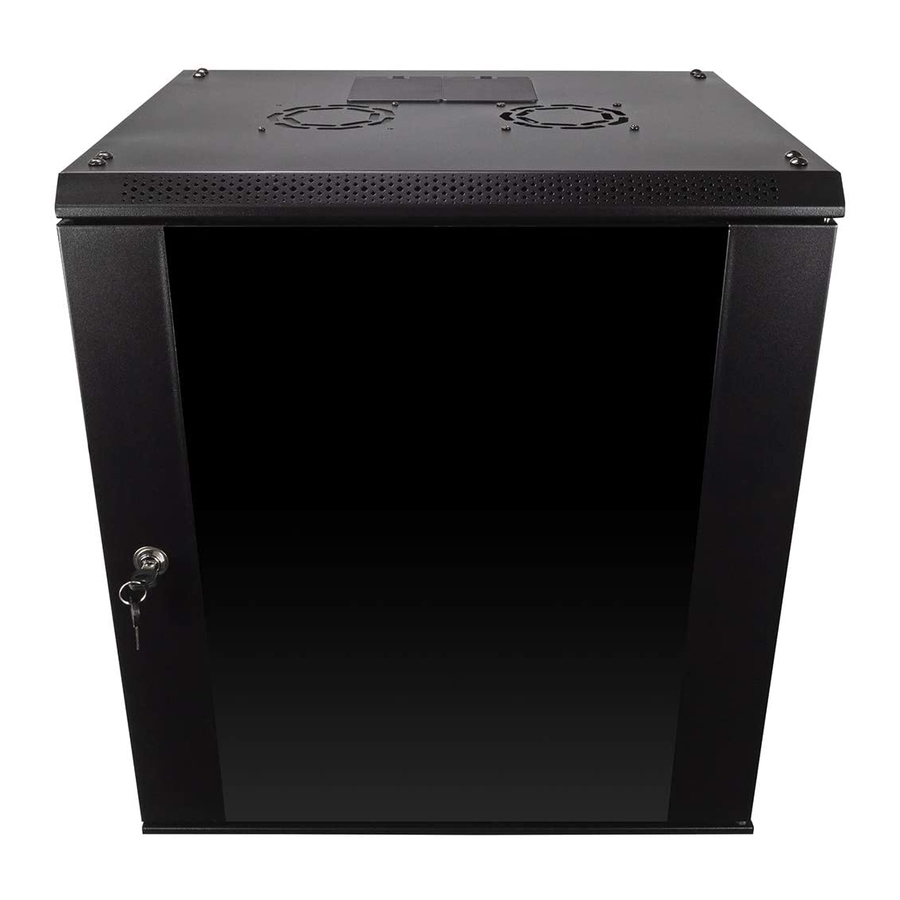
Performance Series
Thank you for purchasing a NavePoint product. NavePoint intends this manual to guide you through
a smooth installation of the product. NavePoint assumes that you are qualified in the servicing of
computer equipment and trained in recognizing any hazards that may occur in the installation of this
product. If you have any questions regarding the installation or use of your product, please call us at
888.505.1363.
Examine the package for any damaged or loose parts. If
anything is damaged or missing, contact NavePoint for
assistance. Do not attempt to install or use cabinet if it has
been damaged.
The information contained in this document is subject to change
without notice.
NavePoint makes no warranty of any kind with regard to this
material, including, but not limited to the implied warranties of
merchantability and fitness for a particular purpose.
NavePoint shall not be liable for errors contained herein or for
incidental or consequential damages in connection with the
furnishing, performance, or use of this material.
NavePoint assumes no responsibility for the use, application, or
reliability of the software or hardware that you install into the
product. Always install the heaviest equipment in the bottom.
It is highly recommended that installation of this product be
performed by a qualified and experienced installer. Improper
installation of this product could result in damage to the
product, other equipment, or personal injury. NavePoint cannot
be held responsible for damage to equipment or personal
injury resulting from improper use, installation or the misuse of
information presented in this document.
Part
Top Cover
Bottom Cover
Frames
Glass Door
Horizontal Rail
L Bracket
Rear Panel
Mounting Bracket
Vertical Rail
Identifier
1
2
3
4
5
6
7
8
9
10
www.NavePoint.com
customerservice@navepoint.com
© 2017 NavePoint, LLC
Rev. 20170517
Important information
Keep this information for further reference.
WARNING
Different wall materials require different type of
anchoring devices. Use anchoring devices suitable
for the walls which you are using in your application.
For advice on suitable anchoring systems, contact
your local specialist.
Limitations of Liability: In no event will NavePoint, LLC.
(or its officers, directors, employees or agents) be liable
for any damages, whether direct or indirect, special,
punitive, incidental or consequential damages (includ-
ing, but not limited to, lost profits or revenue, loss of use,
lost business opportunities or loss of goodwill) or for
the costs of procuring substitute products, arising out
of or in connection with the use of the product, whether
such liability arises from any claim based upon contract,
warranty, tort (including negligence), product liability
or otherwise, whether or not seller has been advised of
the possibility of such loss or damage. In no event will
seller's total cumulative liability, from all causes of action
and all theories of liability, exceed the total amounts
actually paid to seller by customer under the order that
gives rise to any liability hereunder.
Advertisement
Table of Contents

Related Manuals for NavePoint Performance Series


Summary of Contents for NavePoint Performance Series
- Page 1 Thank you for purchasing a NavePoint product. NavePoint intends this manual to guide you through www.NavePoint.com a smooth installation of the product. NavePoint assumes that you are qualified in the servicing of customerservice@navepoint.com computer equipment and trained in recognizing any hazards that may occur in the installation of this ©...
- Page 2 Tools needed: Allen Wrench (included) and Phillips screwdriver Lay Bottom Cover (2) on the floor and insert front and rear frames (3) into Bottom Panel. Lay Horizontal Rails (6) on frames so one of each end of rail sits on top of both frames. Use Hex screws (E) and Hex Nuts (F) to secure parts together.
- Page 3 M3.5 Attach Back Panel (8) to the rear of the cabinet frame,using M3.5 screws (C). Click Side Panels ( ) into place. Punch out cover To install the Tempered Glass Door (4), locate the side with two pins. Insert the fixed pin into door hinge hole. With your thumb, pull down on the spring pin and slide it into place over second door hinge hole and release.
- Page 4 Front Door Spring Pin Flat Washer Hex Washer Lock Cylinder Latch Washer Screw with star washer White Spacer To install locks on the Tempered Glass Door (G), unscrew the latch and washer using a Phillips screwdriver and place to the side. Then unscrew the large hex washer and flat washer and place to the side.
- Page 5 Mounting Instructions M3.5 Lift the cabinet up and slide onto Hanger Bar (9) hooks. Take two M3.5 screws (C) and secure the cabinet to the Secure Hanger Bar (9) to wall hanger bar tightly. with anchors and screws (not included). To install the Tempered Glass Door (4), locate the side with two pins.
Need help?
Do you have a question about the Performance Series and is the answer not in the manual?
Questions and answers