
Subscribe to Our Youtube Channel
Related Manuals for ElectrIQ eiQ-32HDT2SM


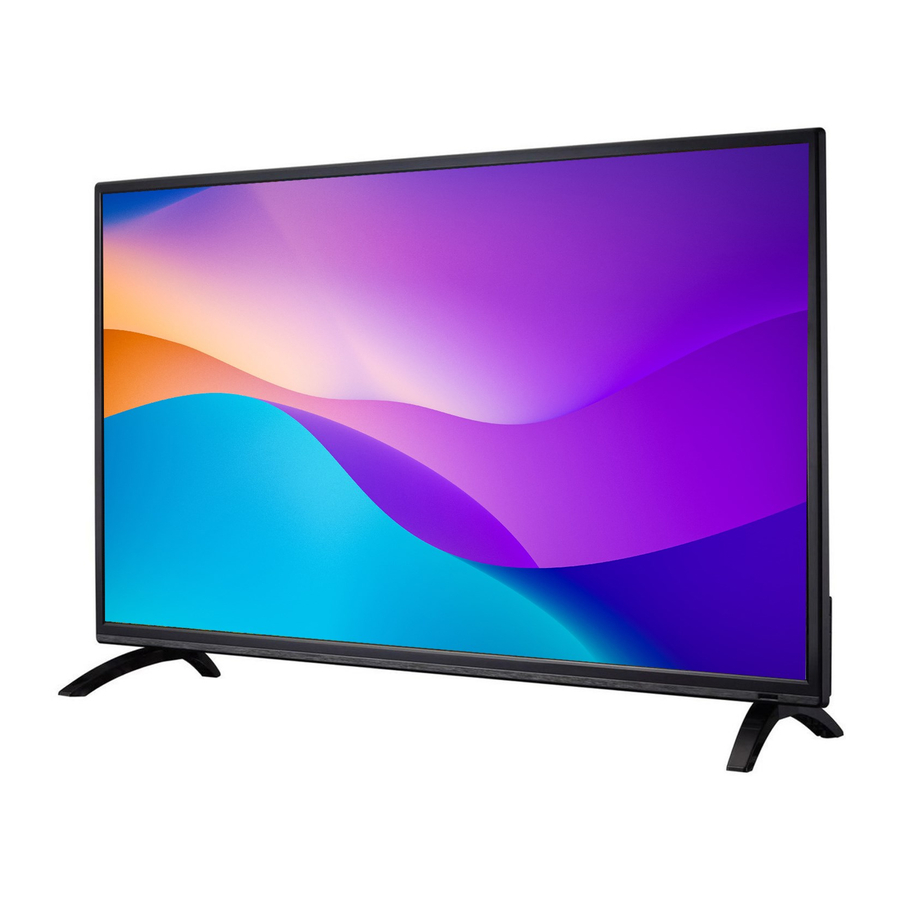
Summary of Contents for ElectrIQ eiQ-32HDT2SM
- Page 1 All manuals and user guides at all-guides.com USER MANUAL HD SMART LED TV eiQ-32HDT2SM...
-
Page 2: Table Of Contents
All manuals and user guides at all-guides.com CONTENTS SAFETY INFORMATION CONNECTION AND PREPARATION OF TV WHAT IS INCLUDED INSTALLATION OF LEGS WALL MOUNTING BUTTON FUNCTIONS INPUT / OUTPUT TERMINALS CONNECTING TO EXTERNAL DEVICES REMOTE CONTROL INSTALLATION OF BATTERIES INITIAL SETUP BASIC OPERATION SETTING OF STANDBY MODE MAIN MENU... -
Page 3: Safety Information
All manuals and user guides at all-guides.com SAFETY INFORMATION Read these instructions – All the safety and operating instructions should be read before this product is operated. Keep these instructions – The safety and operating instructions should be retained for future reference. Heed all warnings –... - Page 4 All manuals and user guides at all-guides.com cabinet but ensure the guidance on clearances are followed. Do not tap or shake the TV screen, this may damage internal components. Diagrams within the manual are for illustrative purposes only, and as such there may be differences to the actual product received.
- Page 5 All manuals and user guides at all-guides.com ATTENTION • Place the TV on a firm and 10 cm 30 cm 10 cm flat surface, leaving a space of at least 10cm around the set and 30cm from the top of the set to the ceiling or cabinet.Ensure the TV is positioned close to the wall to avoid it falling when...
-
Page 6: Connection And Preparation Of Tv
All manuals and user guides at all-guides.com ONNEC CTION A AND PRE EPARA ATION O OF THE T WHAT IS INCLUDE TV Set Remote Control User Manu (2 x AAA B Batteries) 4 Bolts 2 Legs STALLA ATION OF F LEGS Place the TV with th he front fac... -
Page 7: Wall Mounting
• electriQ and its distributors and dealers are not liable or responsible for damage or injury caused by improper installation, improper use or failure to observe these safety instructions. In such cases any guarantee will expire. -
Page 8: Button Functions
All manuals and user guides at all-guides.com BUTTON FUNCTIONS 1. POWER BUTON: To turn the TV ON/OFF 2. SOURCE Button: Repeatedly press to select the input source. 3. MENU Button: To enter menu to change settings on the TV. 4. CH-: To select previous channel 5. -
Page 9: Input / Output Terminals
All manuals and user guides at all-guides.com INPUT / OUTPUT TERMINALS 1. RJ45: Network port 2. VGA: PC Video input. 3. PC Audio: PC Audio input. 4. SCARTSocket: For connecting older equipment using a SCART lead. 5. RF: Antenna connection. 6. -
Page 10: Connecting To External Devices
All manuals and user guides at all-guides.com CONNECTING TO EXTERNAL DEVICES... -
Page 11: Remote Control
All manuals and user guides at all-guides.com RE EMOTE C CONTRO R: Turn the T TV On/Off. 1. POWER Mute or res store the sou und. 2. MUTE: NS: Change e the channe 3. NUMBE ER BUTTON 4. FAV: Sh how the list of favourite channels. -
Page 12: Installation Of Batteries
All manuals and user guides at all-guides.com STALLAT TION OF F BATTER RIES Remove e the batter ry cover fro om the rea ar of the re mote contr rol. Install tw wo AAA 1.5 5V batterie es.(Ensure the correc ct polarity o of the batte eries.) - Page 13 All manuals and user guides at all-guides.com 5. P Press the O OK button to initiate t the setup. 6. Use the▼ and d▲ buttons s to select the lan nguage.Pre ess the OK K button to select the highlig ghted langu uage before...
-
Page 14: Basic Operation
All manuals and user guides at all-guides.com ASIC OP PERATI TANDBY MODE • • Press t the STAND DBY button n to turn on n the televi ision. • • Press t the STAND DBY butto n again to return the e television n to standb by mode. -
Page 15: App
All manuals and user guides at all-guides.com ovides links s to the Ap pp Store to download apps to yo our SMAR T TV. The e applicatio ons button n also be s elected to view all cu urrently ins stalled App APPL ICATIONS... -
Page 16: Video
All manuals and user guides at all-guides.com e the ◄ an nd ► butto ons to sele ect the vide eo to play. Press to p play previo ous video. Press to p play fast ba ackward. Press to stop/play t the video. -
Page 17: Photo
All manuals and user guides at all-guides.com USIC e the ◄ an nd ► butto ons to selec video to p play. Press to o play fast b backward. Press to o stop/play the music Press to o play fast f forward. -
Page 18: Setting The Input Source
All manuals and user guides at all-guides.com LECT THE E INPUT SOURC ROUGH T THE MAIN MENU ect source e to show t he input so ource d use the ▲ ▲ and▼ bu uttons to s select input. ess the EN TER butto on on the mote to con... - Page 19 All manuals and user guides at all-guides.com ONTRAST/ BRIGHTN ESS/COLO OUR/SHA ARPNESS/ BACKLIG ntrast Adjus st image c ontrast. Brig ghtness Adjus st image b rightness. Adjus st image c olour dens sity. arpness Adjus st the imag ge edge sh harpness.
-
Page 20: Music
All manuals and user guides at all-guides.com SOUND e Sound se ection prov vides you w with the op ptions to ch hange the s sound sett ings, allow wing you to dify the ou utput based d on your p personal pr references vigate the... -
Page 21: Channel Setup
All manuals and user guides at all-guides.com CHAN NNEL OUNTRY Allo ows the co untry to be e changed from the c country sel ected durin ng the initi al setup. TENNA TY YPE-AIR ect the Ty pe of input t on the RF F connectio on betwee... -
Page 22: System Lock
All manuals and user guides at all-guides.com ANNEL LI ess the ME ENU button n edit the c hannel(Sk elete /Fav). G (Electron nic Progra am Guide) electronic program g guide allow ws you to b browse the e channels, view the c urrent and upcoming... -
Page 23: Time Settings
All manuals and user guides at all-guides.com TIME S SETTING e TimeSett ting section n provides you with t the options s to change e the Time settings. vigate the Time Setti ng section n using the ▼ and ▲ buttons, an nd select o or modify th... -
Page 24: Technical Specification
All manuals and user guides at all-guides.com TECHNICAL SPECIFICATION Product Model eiQ-32HDT2SM Screen Size 32” Diagonal Aspect Ratio 16:9 Power Supply AC 100-240V, 50/60Hz Power Consumption PAL DVB-T2/-T/-C TV System (There is no DVB-C signal in some Countries or Areas.) -
Page 25: Supported Signal Modes
All manuals and user guides at all-guides.com SUPPORTED SIGNAL MODES YPbPr MODE Resolution Horizontal Frequency (Khz) Vertical Frequency (Hz) 480i 15.734 59.94 480p(720x480) 31.468 59.94 576i 15.625 50.00 576p(720x576) 31.25 50.00 37.50 50.00 720p(1280x720) 45.00 60.00 28.13 50.00 1080i 33.75 60.00 67.50 60.00... -
Page 26: Simple Troubleshooting
All manuals and user guides at all-guides.com SIMPLE TROUBLESHOOTING If the display fails or the performance changes dramatically, check the display in accordance with the following instructions. Remember to check the peripherals to pinpoint the source of the failure. Symptom Solution Power cannot be turned -Check that both ends of the power cable are plugged into the... -
Page 27: Manufacturer Support
UK K SUPPO Compl ete online support fo orm on www w.electriQ. .co.uk/sup port Service Lin ne: 0871 6 20 1057 Office h hours: 9AM M - 5PM Mo onday to F...
Need help?
Do you have a question about the eiQ-32HDT2SM and is the answer not in the manual?
Questions and answers