Advertisement
Quick Links
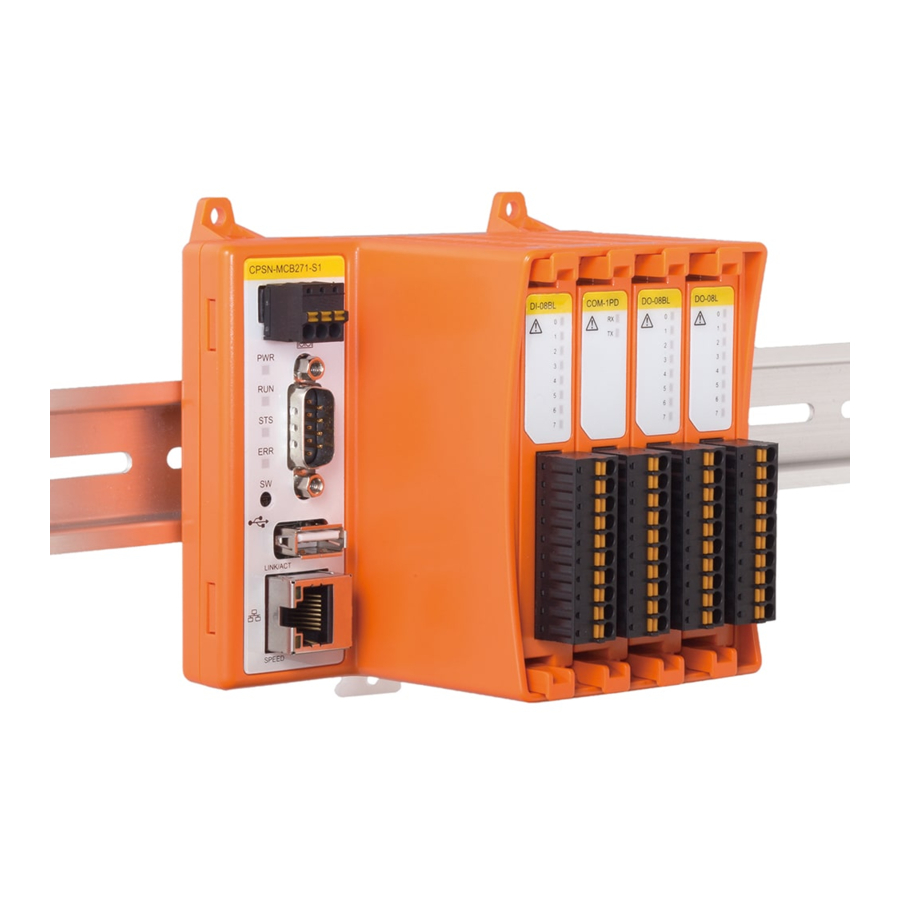
Advertisement

Related Manuals for Contec CONPROSYS


Summary of Contents for Contec CONPROSYS
- Page 1 Introduction Guide Cloud Data Service CONTEC CO., LTD.
-
Page 2: Table Of Contents
Table of Contents Items to Set Up The list of items to set up the CONPROSYS. Before installation Connector Positions for Setup The names and positions are illustrated. Connect the Controller How to connect the computer, the controller, and the power unit. -
Page 3: Items To Set Up
Items to Set Up (Integrated type) The product requires the items listed below to set up. Have the followings ready. Controller Computer Battery unit (CONPROSYS product) (Individually sold: CPS-PWD-15AW12-01 recommended) AC power cable LAN cable Power cable (Individually sold: IPC-ACCODE3 recommended) -
Page 4: Connector Positions For Setup
Connector Positions for Setup (Integrated type) See the positions to connect each cable. Power [Top] [Front] RS-232C COM B 12-24VDC Isolated RS-422A/485 LAN A LAN B DI/CNT COM A [Bottom] Digital I/O This layout of the connectors is the example of the multiple I/O model.Please see an appropriate controller manual for your model. -
Page 5: Connect The Controller
Connect the Controller ( Integrated type ) Follow the instructions below to connect the computer, the controller, and the power unit. Connect to LAN A Connect to the power connector Connection diagram Battery unit AC plug Computer LAN cable Controller AC power cable +12V (Green) - Page 6 Connect the Controller (Configurable type) Follow the instructions below to connect the computer, the controller, and the power unit. Connect to LAN A Connect to the power connector Connection diagram Battery unit AC plug Computer Controller LAN cable AC power cable +24V (Red) (Black)
-
Page 7: Set The Computer Network
Set the Computer Network Follow the “Computer Network Setting Procedure” described below and set the network to make the IP addresses as shown. The product must set a unique IP address for the bold part (200 or 101) that is not used by other devices on your network. - Page 8 Click [Property] in [Ethernet Status] dialog box. Double-click [Internet protocol version 4(TCP/IPv4)] in [Ethernet Properties] dialog box. In the [Internet protocol version 4 (TCP/IPv4) property], set IP address and Subnet mask as shown below. IP address Subnet mask Select Click [OK] → [OK] → [Close] to close the dialog box and complete the network setting. ―...
-
Page 9: Check Communication
Check Communication Start the Internet Explorer 11 on your computer. Enter IP address (10.1.1.101) of the controller in the address bar, then press [Enter] key. The dialog box asking for the User name and Password appears, enter them and click [OK]. 10.1.1.101 [Default setting] mc341... -
Page 10: Set The Controller
Set the Controller (Integrated type) Mounting on a DIN Rail Pull down the two fixed hooks on the bottom to unlock; preferably with a slotted screwdriver. Fixed hook (1)Hang the controller on the upper part of a DIN rail, (2)and press the product to the lower side of the DIN rail. - Page 11 Set the Controller (Configurable type) Mounting on a DIN Rail Pull down the fixed hook on the bottom to unlock; preferably with a slotted screwdriver. Fixed hook (1)Hang the controller on the upper part of a DIN rail, (2)and press the product to the lower side of the DIN rail.
-
Page 12: Check Operation
Check Operation (Digital I/O of the Integrated type) Connect the pin number 2 (DI0) and 7 (DO0+), then 6 (DI_MCOM) and 8 (DO0-) of the digital I/O connector with the lead-wire to create the connector for operation check. * The lead-wires are not included in the package. Please use the recommended wire, AWG28-16. Pin number Signal name ▼... - Page 13 From Web browser menu, click [Monitoring view] in [Status menu] to show the screen for I/O check. Click [DO0] in Digital Output on the I/O check screen of the controller to switch on/off. This turns on/off the [DIO0] lamp of Digital Input. This confirms that the controller is operating properly.
- Page 14 Check Operation (Digital I/O of the Configurable type) Connect the pin number 2 (DIO0) and 3 (DIO1) of the digital I/O connector with the lead-wire to create the connector for operation check. * The lead-wire is not included in the package. Please use the recommended wire, AWG28-16. Pin number Signal name Operation check connector...
- Page 15 From Web browser menu, go to [Module setting] in [Maintenance menu] and click the Controller image or Configure in the Module list. Module set ting Change those DIO0, DIO1 set in the Step 1 to value DIO0⇒DI, DIO1⇒D 1O respectively. (Default settings are all DI) Click after setting.
- Page 16 After changing the settings, go to in the Maintenance menu and click the button save save to ROM to ROM to save the changes. PWR LED will be on once the changes are saved (saving time: approx. 20 seconds). After completion of the saving, click [Reboot/Shutdown] to reboot the controller (approx. 1 minute). To create a monitoring view screen, open [Monitoring edit] in [Maintenance menu], and change to [Run] in the Mode that is located on the upper-right side.
- Page 17 From Components list on the left side, select “Switch” and “Lamp” controls and drag & drop them onto the “Layer area”. Drag & Drop Layer area (1) Click the “Switch” control on the layer area to activate. (2) Click [! OnPressd] in the [Property tab] on the right side, (3)and click “ ”...
- Page 18 (1) Click the “Lamp” control on the layer area to activate. (2) Click [value] in the [Property tab] on the right side, (3) and click “ ” icon in the Link Box. (4) Select [CPU_DI00] in Device Tree and click (5) This connects the Lamp and the connector [DIO0].
-
Page 19: Handy Functions
Easy creating a monitoring screen. Remote location M2M controller Facilities For operation details, please visit the Contec website and refer to the manuals on line. http://data.conprosys.com/help/hmi/v1/en/ Task function - No development environment is required. Signal processing can be added easily through Web browser. - Page 20 Security Warning When connecting to the network, be aware of security-related problems. See the examples of Security measures below and set up the product properly along with the network devices. [Information security risks] - Unauthorized access from the outside through a network could cause the system halt, data damage, or exposure to malware * 1.
- Page 21 MEMO ― 20 ―...
- Page 22 Tel. : +86-21-5401-2288 Tel. : +65-6459-1667 THE NETHERLANDS KOREA http://www.contec.com CONTEC CO., LTD. AMSTERDAM BRANCH CONTEC CO., LTD. Korea Liaison Office WTC Amsterdam Tower C Level 12, 19, Cheongmyeong-ro 21beongil, Strawinskylaan 1249, Yeongtong-gu, Suwon-si, Gyeonggi-do, Headquarters: CONTEC CO., LTD. 1077XX Amsterdam, THE NETHERLANDS KOREA Tel.
Need help?
Do you have a question about the CONPROSYS and is the answer not in the manual?
Questions and answers