
Subscribe to Our Youtube Channel
Related Manuals for Bissell POWERFORCE COMPACT 2112 Series


Summary of Contents for Bissell POWERFORCE COMPACT 2112 Series
- Page 1 POWERFORCE ® COMPACT ___________ USER GUIDE 2112 SERIES More of a video person? Look for this icon and go online for an instructional how-to video at www.BISSELL.ca/ videos...
- Page 2 If it still does not fit, contact a qualified electrician to install a proper outlet. Do not change the plug in any way. SAVE THESE INSTRUCTIONS This model is for household use only. www.BISSELL.ca...
-
Page 3: Table Of Contents
Thanks for buying a BISSELL® vacuum! We love to clean and we’re excited to share one of our innovative products with you. We want to make sure your vacuum works as well as it does today for years to come, so this guide has tips on using (page 11), maintaining (pages 14-17), and if there is a problem, troubleshooting (page 18). -
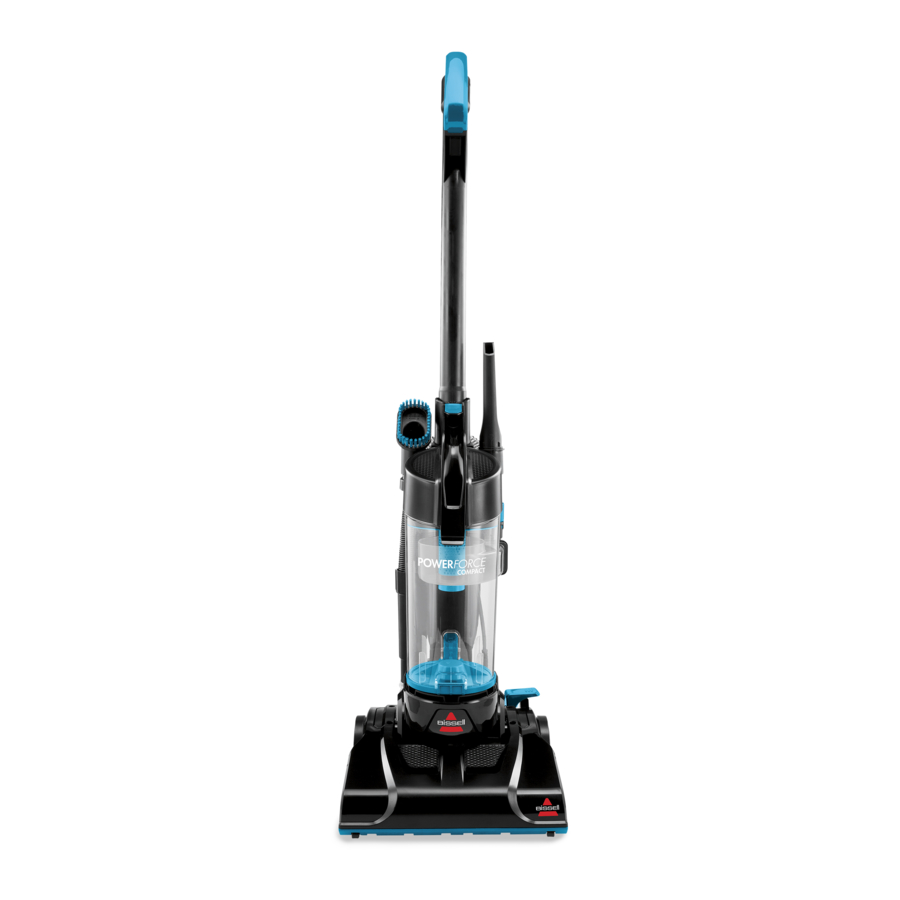
Page 4: Product View
15 Upper Quick Release Cord Wrap Accessory Holder 16 Power Cord Dirt Container 17 Power Switch Pedal 18 Hose Holder Dirt Container Empty Button Handle Recline Pedal 19 Foot Hose 10 Cord Hook 20 Product Rating Label & Serial Number www.BISSELL.ca... -
Page 5: Assembly
Insert the handle into the base and push until Wrap the power cord around you hear it lock Upper and Lower Cord Wraps. into place. Attach tools by inserting them onto the on-unit tool holders. Crevice Tool Dusting Brush www.BISSELL.ca... - Page 6 NOTE: Some berber carpets have a tendency to fuzz with wear. Repeated strokes in the same area may enhance this condition. www.BISSELL.ca...
- Page 7 ATTENTION: The brush roll will continue to rotate while using your vacuum for above fl oor cleaning. To prevent carpet damage, do not lean on the vacuum or let the power foot tilt forward. www.BISSELL.ca...
- Page 8 NOTE: The dirt container may be washed in warm water with a mild detergent. Rinse and dry thoroughly before re-attaching it. This is not dishwasher safe. www.BISSELL.ca...
- Page 9 Container and separator can be washed by hand with Remove hose by twisting to unlock and pull up. Check inlet for any warm water. Mild detergent may be used. Rinse well then air dry completely. clogging before reassembling. www.BISSELL.ca...
- Page 10 Rinse well, then air dry completely with the locating features in the tank lid. before returning to dirt container lid. NOTE: If the fi lter is still excessively dirty, damaged or torn, it will need to be replaced. www.BISSELL.ca...
- Page 11 Check air passageway for obstructions. When finished cleaning, align brush roll with belt turning by hand several times in the direction of the motor to align Replace the brush cover and 5 screws. the belt on the brush roll. www.BISSELL.ca...
- Page 12 When finished, align brush roll with belt turning by hand several times in the direction of the motor to align the Replace the brush cover and 5 screws. belt on the brush roll. www.BISSELL.ca...
- Page 13 Clean as necessary. NOTE: If the debris cannot be reached through the hose, then follow the instructions for cleaning the air passageway in “Cleaning the Brush Roll” section. www.BISSELL.ca...
-
Page 14: Troubleshooting
Drive belt stretched. Check drive belt area and remove obstructions. Replace drive belt if necessary. Brush roll bristles worn. Replace brush roll. Brush roll jammed. Remove brush roll and clean debris from brush and ends. Check drive belt for any damage. www.BISSELL.ca... -
Page 15: Warranty
This warranty is exclusive and in lieu of EXCLUSIONS identified below, upon receipt any other warranties either oral or written. of the product BISSELL will repair or replace Any implied warranties which may arise (with new, refurbished, lightly used, or... - Page 16 We’ll contact you with any important product maintenance reminders and alerts. Visit BISSELL.ca/registration! Parts & Supplies For Parts and Supplies, go to BISSELL.ca and enter your model number in the search fi eld. We’re Waggin’ Our Tails! BISSELL® proudly supports BISSELL Pet Foundation®...
Need help?
Do you have a question about the POWERFORCE COMPACT 2112 Series and is the answer not in the manual?
Questions and answers