Advertisement
eLEDing
®
/ EE800W-SHRC series
Installation Instruction
Solar Ultra Powerful CREE-LED Area, Sport Court Lighting
Introduction and Intellectual Property Rights Statement
This product is designed to provide years of trouble-free services by using environment-friendly Solar-Hybrid-Lithium based energy technologies. Covered
under US, European, China and other international patents granted and pending worldwide. All rights reserved.
The performance of this unit is highly related to its mounting location, direction of the solar panel, weather conditions and local environment. Therefore, to
maximize the performance of the unit, read instruction carefully before installation. DIY user(s) must have knowledge of AC/DC electric/electronic
projects and related construction/installation experiences. Otherwise, consult with local experienced electrical & electronics installers or technicians for
assistance. Before installation, be aware of and comply with local construction laws, electrical code and life & safety standards/regulations that are applied
for this lighting project. During installation, please follow proper safety guidelines to prevent any possible accidents or injuries.
Easy Activation & One Step Setup (with factory default: 75% power for 4hrs then 25% of dimming with full power pull up motion mode)
This light unit is limited charged for shipping. Keep the light OFF status for pre-charging 1-2 days under sunny days before light up is highly
recommended. The solar panel works as ambient light sensor to control the lighting system. Press the Main Power Button (latching type) on center of
light body to turn on the light and activate the system (Fig.1&2; do not need to set up with remote control) for all night long auto-illumination in most
lighting applications. During daytime testing, fully cover the solar panel with package box or cardboard to simulate nighttime environment. With
eLEDing's Intelligent Power Management (IPM) system (Fig,4), the light offers Dusk-to-Dawn lighting and auto power compensation during critical
weather and different geographic locations. During nighttime, the low ambient light level will trigger the light to provide all-night-long illumination based
on preset lighting mode & lighting profile.
Smart Lighting Profile with Remote Control (Press the Main Power Button to activate light before setting up via below chart and Fig. 4)
Based on user preset lighting mode & lighting profile. User tips for manually selectable lighting modes & profiles:
1. Playground: Normal manually ON-OFF control - Press ON to illuminate, press 100% full max brightness, then press OFF once finish the play.
2. Fixed daily basis lighting mode without motion profile: Press ON, press M1, press 100% e.g., press 4H (hour) e.g. then it will light up automatically
in every evening with set timing and brightness (note: decrease the brightness level setting can be extending more using hour up to 8H/8 hours).
3. Fixed lighting mode with motion of pulling up to max power profile (SMART mode): Press ON, press M2, press 4H e.g., press 75% e.g. for higher
fixed brightness of 4 hours, then dim to fixed 25% of max brightness in rest of the quiet evening until dawn, with pull up to max brightness when
sensor detects movement around.
4. Setup the lighting profile one by one if multiple units are used in the same project/area, but except for playground manually ON-OFF use.
Battery Model
for 2.4GHz
Remote Control:
A23, 12V
Installation Guidelines
(YouTube Video References: www.eleding.com)
1. Follow above standard setup procedure to activate the lighting system (Fig.2)
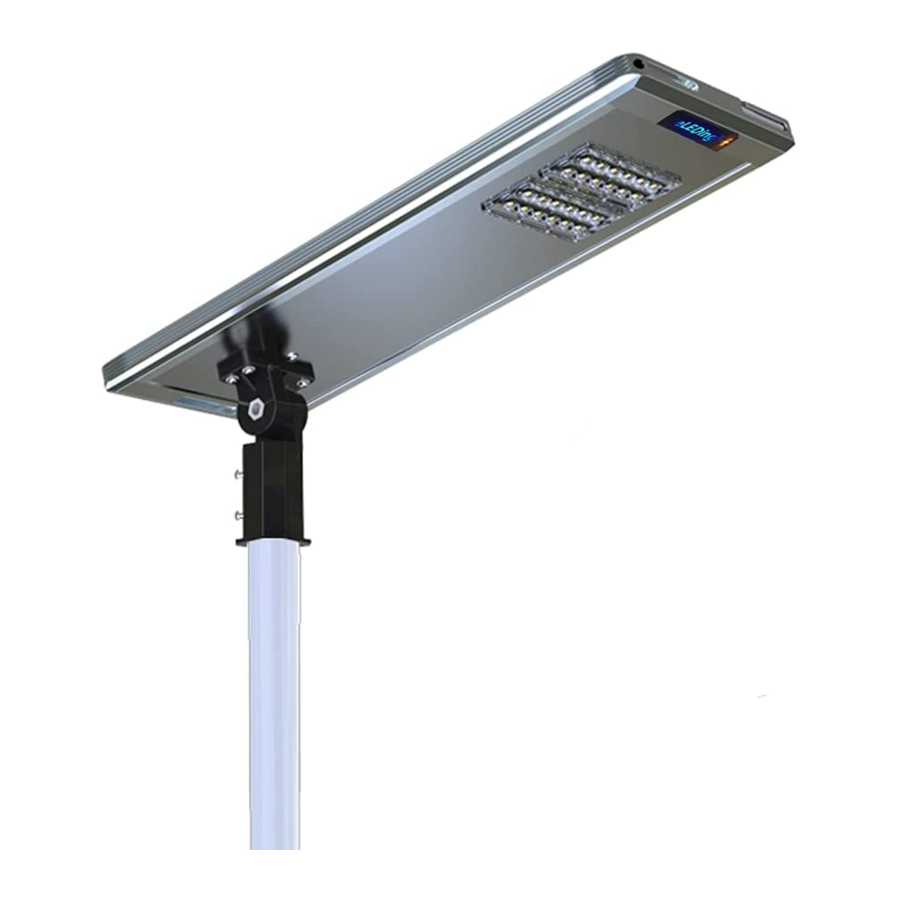
2. Securely mount the unit on the light pole, adjust the light head direction based on your need (Fig.3)
3. The light will automatically shut down and charge during daytime sunshine condition (Fig.3)
4. Suggested Mounting Height: 15-38 ft (Fig.4)
5. Diameter of Mounting Adaptor: SHRC30 (2-1/2"); SHRC40 to SHRC100 (3-1/2"), refer Specification table (Page. 2)
6. Fixed light head angle to ground: 10-20 degrees by fixed MFC
7. Solar Panel Direction: The solar panel must be mounted in a non-obstructed position where it will receive an average of at least 5 hours daily
direct sunlight all year round. For Northern hemisphere installations the solar panel can be mounted facing to East-South-West with direct
southerly facing position is best and visa-versa for Southern hemisphere installation. As a option as required, AUX DC power sources can be use
either for quickly charge light unit before installation, or/and for poor sunshine location or shadow position with AUX same size solar panel or
back-up power source or as a charging enhancement method, refer Specification table (Page. 2)
8. Solar Panel Maintenance: Use a soft wet cloth to periodically (at least once a one year) clean the solar panel to avoid the reduction of energy
output due to accumulated dust. Clean accumulated snow as soon as possible during the snowing season.
Fig.3
Fig.1
Fig.2
EE Systems Group Inc.
(Patented Technology)
12346 Valley Blvd, Suite A, El Monte, CA 91732 US
Phone Number: 1-877-579-3889
info@eesgi.com www.eleding.com
Rev: 12092019
Advertisement
Table of Contents

Related Manuals for EE Systems Group eLEDing EE800W-SHRC Series


Summary of Contents for EE Systems Group eLEDing EE800W-SHRC Series
- Page 1 Clean accumulated snow as soon as possible during the snowing season. Fig.3 Fig.1 Fig.2 EE Systems Group Inc. (Patented Technology) 12346 Valley Blvd, Suite A, El Monte, CA 91732 US Phone Number: 1-877-579-3889 info@eesgi.com www.eleding.com...
- Page 2 ® / EE800W-SHRC series Installation Instruction Solar Ultra Powerful CREE-LED Area, Sport Court Lighting EE Systems Group Inc. (Patented Technology) 12346 Valley Blvd, Suite A, El Monte, CA 91732 USA Phone Number: 1-877-579-3889 info@eesgi.com www.eleding.com Rev: 12092019...
Need help?
Do you have a question about the eLEDing EE800W-SHRC Series and is the answer not in the manual?
Questions and answers