Advertisement
WARNING:
● Keep all children and pets away from assembly area. Children and pets should be
supervised when they are in the area of the Gazebo construction.
● Keep assembly area at least 6 feet from any obstruction such as a fence, garage,house,
overhanging branches, laundry line, or electrical wire.
● Some parts may container sharp edges. When assembling and using this product, basic
safety precautions should always be followed to reduce the risk of personal injury and
damage to the product. Please read all instructions before assembly and use
● Check all bolts for tightness before use, and periodically check and tighten bolts as
necessary.
● Gazebo is designed for wind speeds of up to 30 miles per hour. Customer should
disassemble the gazebos when there is a chance of wind speeds higher than 30 miles
per hour.
● Please take down the gazebo during strong wind. The manufacturer or retailer is not
liable for any loss of the product or other items due to the failure to take down the
gazebo during strong wind.
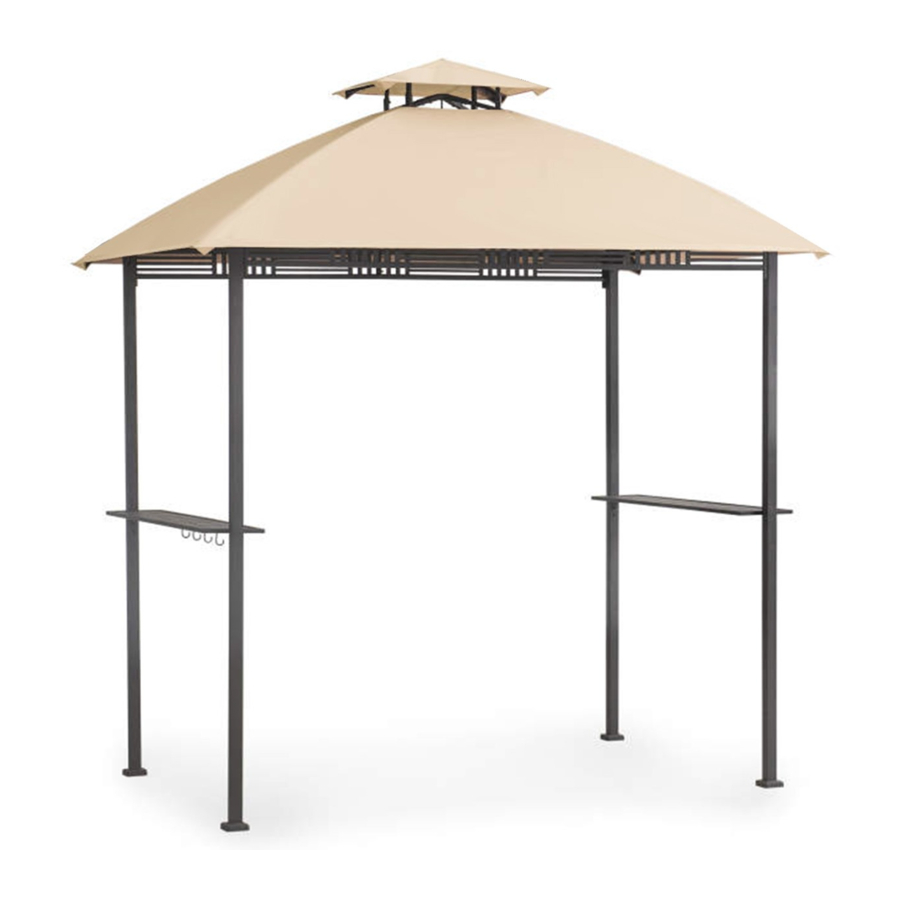
8'X 5' Grill Gazebo
TV. No: 162455
Advertisement
Table of Contents

Related Manuals for Four Seasons Courtyard 162455


Summary of Contents for Four Seasons Courtyard 162455
- Page 1 8’X 5’ Grill Gazebo TV. No: 162455 WARNING: ● Keep all children and pets away from assembly area. Children and pets should be supervised when they are in the area of the Gazebo construction. ● Keep assembly area at least 6 feet from any obstruction such as a fence, garage,house, overhanging branches, laundry line, or electrical wire.
- Page 2 Parts List Post 1 Post 2 Post 3 Base Base cover Beam Center connector Small top pole Long screen Short screen Glass side bar Glass side bar Support bar Hook rack Bottle opener (Pre-assembly) Big canopy Small canopy...
- Page 3 Hardware Pack 1 M6X15 Bolt 8 PCS M6 Flat washer 32 PCS M6X20 Bolt 16 PCS M6X35 Bolt 4 PCS M6 Nut 4 PCS M6 Wrench 1 PC F i g . 5 F i g . 3 Step 1 F i g .
- Page 4 Fig.6 Fig.4: Fix beam (D) to posts (A1, A2 and A3) with bolt (DD) and M6 flat washer(BB). Fig.5: Insert small top pole (G) into center connector (E). Fig.6: Put big canopy (O) onto the big top, do not fully spread, insert small top pole (G) to beam (D). Hardware Pack 2 15 PCS M6X15 Bolt...
- Page 5 Fig.8: Fix glass side bar (K2) to post (A2 and A1) by using bolt (AA) and flat washer (BB), also fix glass side bar (K1) to post (A2and A3) by using bolt (AA) and flat washer (BB). Fig.9: Attach another end of support bar (K) to posts (A3, A2 and A1) by using bolt (AA) and flat washer (BB). Fig.10: Attach hook rack (M) to glass side bar (K2) by using bolt (AA) and flat washer (BB).
Need help?
Do you have a question about the 162455 and is the answer not in the manual?
Questions and answers