
Subscribe to Our Youtube Channel
Related Manuals for Nordbo Robotics Palletizer


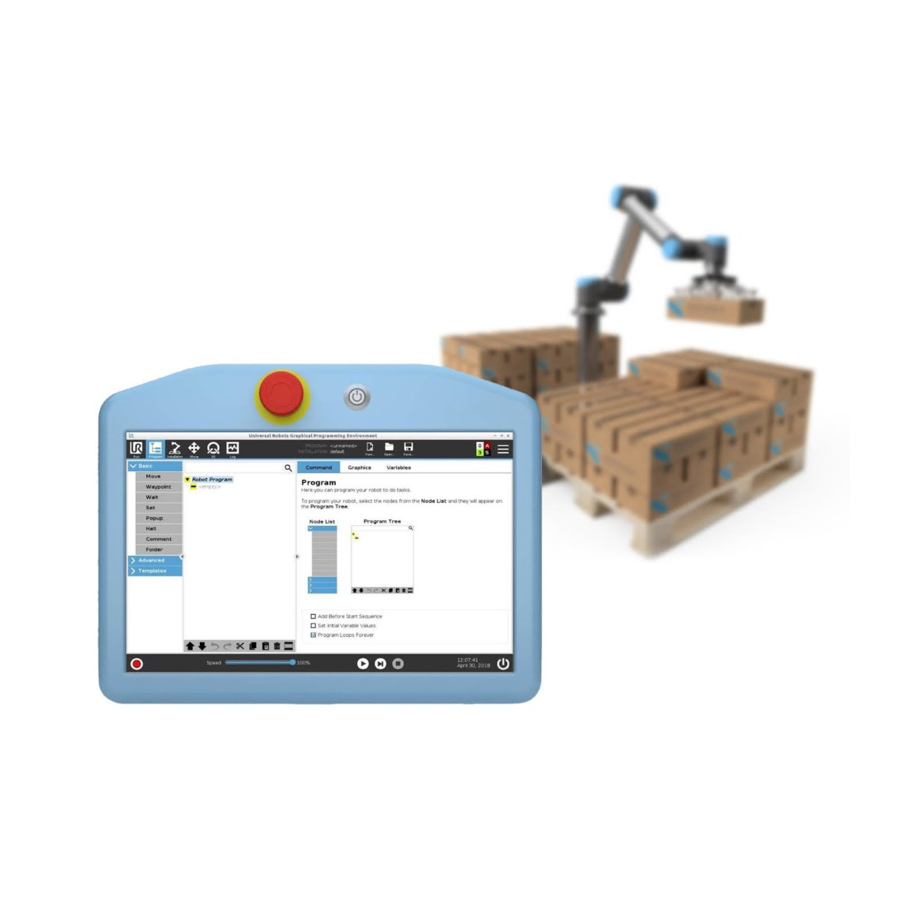
Summary of Contents for Nordbo Robotics Palletizer
- Page 1 Palletizer for Universal Robots User Manual Ver. 1.0 Nordbo Robotics A/S info@nordbo-robotics.com Agerhatten 27A Entrance 4 +45 81 81 98 81 5220 Odense Denmark Copyright © 2020, Nordbo Robotics A/S. All Rights Reserved.
- Page 2 Copyright Copyright © 2020 Nordbo Robotics. All Rights Reserved. No part of this manual may be reproduced or transmitted in any form or by any means, electronic or mechanical, including photocopying and recording, for any purpose without the exclick written permission of Nordbo Robotics.
- Page 3 The location from which products are picked up Layer A layer containing several products placed side by side on a pallet Stack Several layers on top of each other placed on a pallet Palletizer for Universal Robots - User Manual – Ver. 1.0 2 of 24...
-
Page 4: Table Of Contents
Transferring pattern files to URCap 3.3. Teaching pick up positions 3.4. Configuring the program 3.5. Stacking on two pallets 3.6. Starting the program 3.7. Runtime variables Troubleshooting Palletizer for Universal Robots - User Manual – Ver. 1.0 3 of 24... -
Page 5: Product Information
1. Product Information The UR palletizer system is divided into three parts and elaborated in this section: UR robot & grippers, Pallet Pattern Generator, and Nordbo Palletizer URCap. 1.1. UR robot Information about the installation of the UR robot can be found in the manuals provided by your supplier when purchasing the robot. -
Page 6: Nordbo Palletizer Urcap
The installation node contains the following six tabs: Patterns • Pallet • Pick up • Gripper • Lift • General • Figure 2: Nordbo Palletizing installation interface Palletizer for Universal Robots - User Manual – Ver. 1.0 5 of 24... - Page 7 The patterns tab is used to import stacking patterns from a USB drive, rename patterns, or delete patterns. The details for the selected pattern file are displayed when selecting a pattern file. Figure 3: Patterns tab Palletizer for Universal Robots - User Manual – Ver. 1.0 6 of 24...
- Page 8 This tab is only used if the physical robot setup has changed. For more information about how to configure a pallet can be found in the installation manuals section 7. Figure 4: Pallet tab Palletizer for Universal Robots - User Manual – Ver. 1.0 7 of 24...
- Page 9 The process of seting up a new pick up position is described in section 3.3. Figure 5: Pick up tab Palletizer for Universal Robots - User Manual – Ver. 1.0 8 of 24...
- Page 10 Note: The gripper tab is solely used to configure the control of the gripper. The size, weight, and mounting of the gripper must be configured using the native “TCP Configuration” installation node. Figure 6: Gripper tab Palletizer for Universal Robots - User Manual – Ver. 1.0 9 of 24...
- Page 11 The datapage is used to configure the control of the selected elevation. Figure 7: Lift tab Palletizer for Universal Robots - User Manual – Ver. 1.0 10 of 24...
- Page 12 Advanced tab: Is only used if the palletizing daemon needs to change port number. This will be done if needed when installing the URCap. Figure 8: General tab Palletizer for Universal Robots - User Manual – Ver. 1.0 11 of 24...
-
Page 13: Robot Program
2. Robot Program The program node contains the full program tree for simple palletizing applications. The flow of the palletizer system is divided into three sections; startup, execute and reset. Startup Execute Reset Figure 9: Robot program divided by sections... - Page 14 Figure 10: Program execution loop, illustrated Reset Section The reset phase resets the robot position to a “safe” position and the lift elevations to the lowest elevations. Palletizer for Universal Robots - User Manual – Ver. 1.0 13 of 24...
-
Page 15: Installing A Palletizing Setup
3. Installing a Palletizing Setup 3.1. Activating License Before you can use the palletizer it must be licensed. This is achieved by selecting the “General” tab and then the “License” subtab where the purchased license key is used to activate the software. To get a guide explaining how to activate the license scan the QR-code in the upper right corner or visit activate.nordbo-robotics.dk/howto. -
Page 16: Transferring Pattern Files To Urcap
Insert the USB flash drive into a USB port in the robot control box or on the teachpendant. Figure 12: Universal Robots CB teach pendant USB slot Palletizer for Universal Robots - User Manual – Ver. 1.0 15 of 24... - Page 17 Note: If you are trying to import a pattern with a name that already exists in the URCap, it will not be loaded. To overwrite a pattern the user needs to remove or rename the pattern from the URCap before importing the new pattern. Palletizer for Universal Robots - User Manual – Ver. 1.0 16 of 24...
-
Page 18: Teaching Pick Up Positions
Navigate to the “Pick up” tab in the “Nordbo Palletizing” installation node. Step 7 Click the “New pick up position” button. Figure 14: New pick up position Step 8 Insert a name to differentiate the pickup position. Palletizer for Universal Robots - User Manual – Ver. 1.0 17 of 24... - Page 19 Figure 15: Conveyor pick up position Step 10 Select which input on the robot the pick up sensor is connected to. Figure 16: Pick up sensor input Palletizer for Universal Robots - User Manual – Ver. 1.0 18 of 24...
-
Page 20: Configuring The Program
The program needs to be configured to start palletizing. The configuration is made in the first node of the program tree “Configure palletizing”. Figure 17: Palletizing program tree Step 13 Choose which pallet to configure. Palletizer for Universal Robots - User Manual – Ver. 1.0 19 of 24... - Page 21 Note: If the user has selected the custom gripper. The deactivate gripper and activate gripper need to be configured using the standard UR commands. Step 15 When the program is configured, save it by clicking the save icon. Palletizer for Universal Robots - User Manual – Ver. 1.0 20 of 24...
-
Page 22: Stacking On Two Pallets
1, then the second program must be set to Pallet 2. This second program must be configured like previously explained in section 3.4. When the program is configured, save it by clicking the save icon. Figure 19: Universal Robots CB teach pendant USB slot Palletizer for Universal Robots - User Manual – Ver. 1.0 21 of 24... -
Page 23: Starting The Program
In this case the user must click continue when the pallet is replaced with an empty pallet. 3.7. Runtime variables Name of Variable Description Palletizing_status Show the status of the running program Palletizer for Universal Robots - User Manual – Ver. 1.0 22 of 24... -
Page 24: Troubleshooting
The gripper is not aligned with • the configured TCP coordinate system. Palletizer for Universal Robots - User Manual – Ver. 1.0 23 of 24... - Page 25 Nordbo Robotics A/S info@nordbo-robotics.com Agerhatten 27A Entrance 4 +45 81 81 98 81 5220 Odense Denmark Copyright © 2020, Nordbo Robotics A/S. All Rights Reserved.
Need help?
Do you have a question about the Palletizer and is the answer not in the manual?
Questions and answers