Sign In
Upload
Download
Table of Contents
Contents
Add to my manuals
Delete from my manuals
Share
URL of this page:
HTML Link:
Bookmark this page
Add
Manual will be automatically added to "My Manuals"
Print this page
×
Bookmark added
×
Added to my manuals
Manuals
Brands
Itowa Manuals
Remote Control
BOGGY 8
User manual
Itowa BOGGY 8 User Manual
Synthesized set
Hide thumbs
1
2
3
Table Of Contents
4
5
6
7
8
9
10
11
12
13
14
15
16
17
18
19
20
21
22
23
24
25
26
27
28
29
30
31
32
33
34
35
36
37
38
39
40
41
42
43
44
45
46
47
48
49
50
51
52
53
54
55
56
page
of
56
Go
/
56
Contents
Table of Contents
Troubleshooting
Bookmarks
Table of Contents
Table of Contents
1 Introduction
2 General Rules for the Correct and Safe Use of the Radio Control
3 Description of the Set
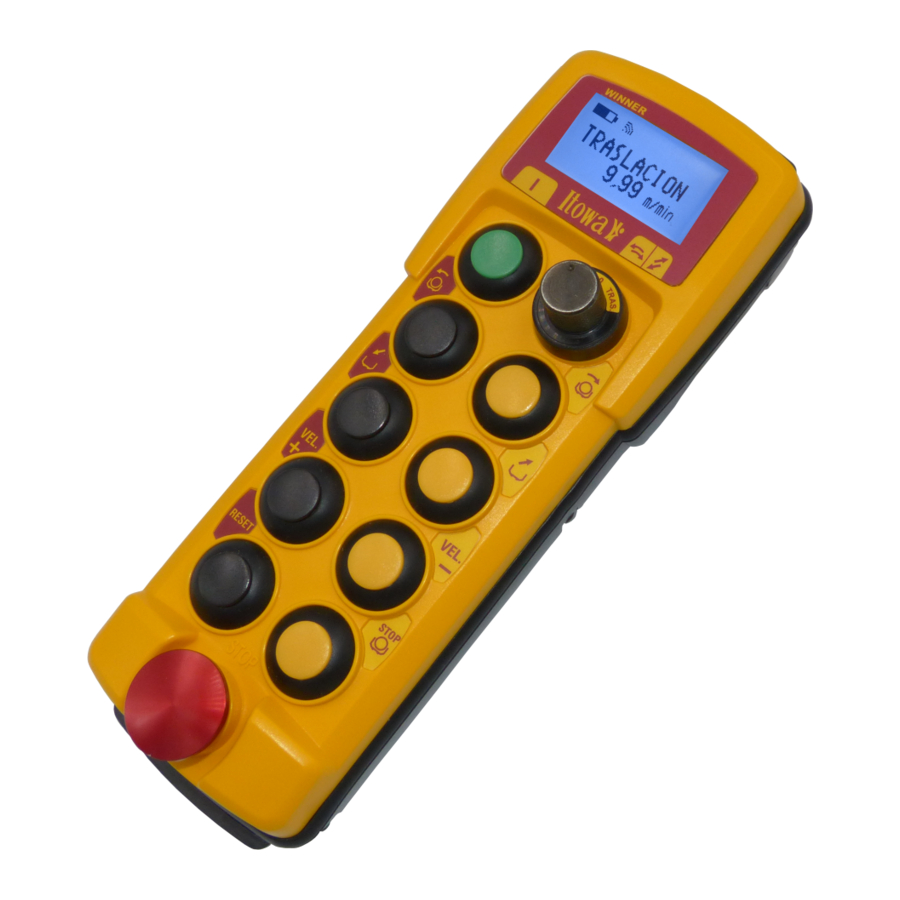
Transmitter
Boogy Transmitters
Winner Transmitters
Combi Transmitters
Beton Transmitters for Concrete Pumps
Receiver
Standard Receiver
Battery Charger
4 Technical Specification
General Spectification
Transmitter
Receiver
Accessories
Charger Transformer (Except Beton)
Battery Charger
5 Installation and Start-Up
Installation of the Receiver
Fastening Process
Magnetic Fastening (Optional)
Connecting the Set
Power Supply of the Receiver
Start-Up
Configuration of Transmitting Time
State of Batteries
6 Maintenance of Radio Control Equipment
Maintenance of the Transmitter
Maintenance of the Receiver
Maintenance of the Charger
Charging the Batteries
7 Displaying the Code and the Working Channel of the Set
Display of Code
Display of Working Channel
8 Scan
Automatic Scan
Manual Scan
9 Changing the Working Frequency (Not Valid for Gcfi Versions)
Operating Mode
Procedure to Automatically Change Frequency
Procedure to Manually Change Frequency
Checking the Selected Channel
Frequency Table
CHANNELS in the 433 Mhz BAND
CHANNELS in the 868 Mhz BAND
10 Troubleshooting
11 Quick Guide
Summary of Receiver Led Functions
Summary of Transmitter Led Functions
Summary of the Change of Requency (Not Valid for Gcfi Versions)
Summary of the Change of Frequency Mode (Not Valid for Gcfi Versions)
Summary to Change the Transmission Time with no Active Channel
Standard Wiring
12 Recycling
Packaging
Advertisement
Quick Links
1
Combi Transmitters
Download this manual
USER MANUAL
SYNTHESIZED
SETS
Table of
Contents
Previous
Page
Next
Page
1
2
3
4
5
Advertisement
Table of Contents
Need help?
Do you have a question about the BOGGY 8 and is the answer not in the manual?
Ask a question
Questions and answers
Related Manuals for Itowa BOGGY 8
Remote Control Itowa BOGGY User Manual
(33 pages)
Remote Control Itowa TUNNER SETS User Manual
(23 pages)
Remote Control Itowa LEVEL ITW Series User Manual
(24 pages)
Remote Control Itowa MATRNEN User Manual
(18 pages)
Remote Control Itowa SINDITO User Manual
Bidirectional level itw (25 pages)
Remote Control Itowa RUNNER G7 User Manual
(23 pages)
Remote Control Itowa TINY User Manual
(24 pages)
Remote Control Itowa WINNER User Manual
Synthesized set (56 pages)
Remote Control Itowa COMBI User Manual
Synthesized set (56 pages)
This manual is also suitable for:
Boggy 12
Boggy 12/4
Boggy 8/6
Winner
Combi
Beton
Table of Contents
Print
Rename the bookmark
Delete bookmark?
Delete from my manuals?
Login
Sign In
OR
Sign in with Facebook
Sign in with Google
Upload manual
Upload from disk
Upload from URL


Need help?
Do you have a question about the BOGGY 8 and is the answer not in the manual?
Questions and answers