Advertisement
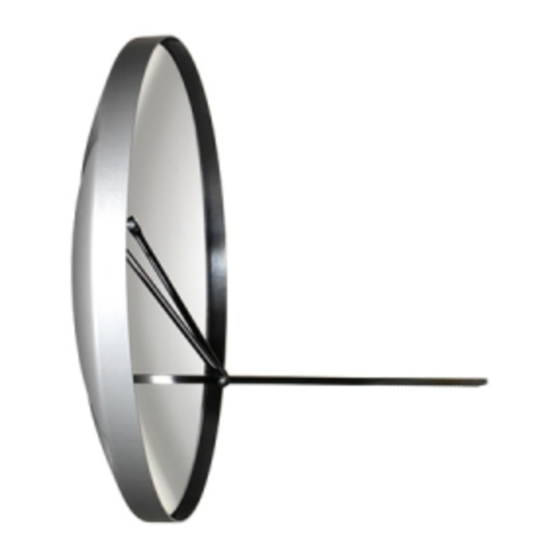
Mounting instructions for Mini-Satellite
1. Mounting of the Mini-Satellite reflector
Remove fixing screw of the rack from the side of the reflector (Image 1).
-
Insert the rack into the hole on the rear wall of the reflector and secure with fixing screw.
-
(Image 2).
Mounting of the Mini-Satellite reflector on the lamphead Pulso G, Pulso F2/F4 or broncolor HMI
-
F575. This is done by inserting the rack through the square hole of the lamp piece. (Image 3).
Equip the lamphead with a protecting glass matt "UVE" (5500 K) as well as an additional
-
reflector; both components are included in the scope of delivery. (Image 4 and 5).
Attention: If the lamphead is in an extremely inclined or upright position, the locking of the Mini-
Satellite cannot be ensured by the rack. In those cases it is absolutely necessary to use
the collar which is included in the scope of delivery. If the front side of the lamphead is
directed towards the ceiling, the collar must be mounted on the rack in front of the
lamp. (Image 5). If the front side of the lamphead is directed towards the floor, the collar
must be mounted on the rack behind the lamp. (Image 6).
Warning: For safety reasons never operate the lampheads used with Mini-Satellite without the
protecting glass in place.
2. Using the Unilite lamp head with the Mini-Satellite reflector
An adapter is required using the Unilite lamp with the Mini-Satellite reflector. This adapter is named
Unilite-holder for Mini-Satellite (art no. 35.213.00).
Unscrew the stop lever, take out the bolt and remove stand support (Image 7).
-
Remove the wing nut and the corresponding bolt of the Unilite holder (Image 8).
-
On their place attach the stand support, previously removed from the lamphead, with the bolt
-
and stop lever (Image 8). Attention: Only use the blue brake disc which is contained in the
scope of delivery of the Unilite-holder!
Insert the two blue metal mounting links of the Unilite lamphead into the two stand support slots
-
of the Unilite holder. (Image 9).
Fix the Unilite-holder with the previously removed bolt and the corresponding wing nut. (Image
-
10).
Mounting of the Mini-Satellite reflector on the Unilite lamphead. This is done by inserting the
-
rack through the square hole of the Unilite holder. (Image 11).
Equip the lamphead with the protecting glass mat "UVE" (5500 K) as well as the additional
-
reflector; both components are included in the scope of delivery. (Image 11 and 12).
The dismounting of the Unilite-holder takes place in exactly the reverse order of mounting.
Attention: If the lamphead is in an extremely inclined or upright position, the locking of the Mini
Satellite cannot be ensured by the rack. In those cases it is absolutely necessary to use
the collar which is included in the scope of delivery. If the front side of the lamphead is
directed towards the ceiling, the collar must be mounted on the rack in front of the
lamp. (Image 5). If the front side of the lamphead is directed towards the floor, the collar
must be mounted on the rack behind the lamp. (Image 6).
Warning: For safety reasons never operate the lampheads used with Mini-Satellite without the
protecting glass in place.
Advertisement
Table of Contents

Summary of Contents for Broncolor Mini-Satellite
- Page 1 2. Using the Unilite lamp head with the Mini-Satellite reflector An adapter is required using the Unilite lamp with the Mini-Satellite reflector. This adapter is named Unilite-holder for Mini-Satellite (art no. 35.213.00). Unscrew the stop lever, take out the bolt and remove stand support (Image 7).
- Page 2 Seite 2 Bron Elektronik AG CH-4123 Allschwil Schweiz (Switzerland)


Need help?
Do you have a question about the Mini-Satellite and is the answer not in the manual?
Questions and answers