Advertisement
Quick Links
AUT-DT1
AUTOMATIC TOUCH ON/OFF
AUT-DTM2
AUTOMATIC METERED TOUCH
AUT-DP3
AUTOMATIC TOUCHFREE
AUT-DPM4
AUTOMATIC METERED TOUCHFREE
Features:
•
Can be used with most Watermark deck mount spouts and finishes
•
No visible sensor – turns the spout itself into the sensor
•
Battery operated – no need for hardwiring
•
Safety timeout so water doesn't run indefinitely (DT1 and DP3 only)
•
Metered option to satisfy local codes for public bathrooms
•
No temperature control – water should be pre-tempered
Specifications:
1. Working water pressure: 20 PSI to 85 PSI
2. Working water temperature: 45°F to 120°F
3. Working environmental temperature: 35°F to 100°F
4. Flow Rate: 1.2 GPM lavatory, 1.75 GPM kitchen
5. IP55 water and dust protection
6. 6V CR-P2 lithium battery (included)
7. 12 second metering cycle (DTM2 and DPM4 only) provides 0.24 gallons per cycle
8. Shipping weight (lbs.): 10
9. Shipping dimension (in.): 29 x 12 x 4
Note:
•
DO NOT USE PLUMBER'S PUTTY ON ANY OF THE BRASS COMPONENTS
This will cause the finish to tarnish and void the warranty. A non-corrosive Alkoxy Silicone is
recommended.
•
DURING SWEATING OF LINES DO NOT OVERHEAT CASTING
Overheating may cause damage to internal mechanism and void the manufacturer's warranty as well
as increase the risk of scalding.
•
COPPER ADAPTORS MAY BE REQUIRED TO COMPLETE YOUR INSTALLATION
•
Not for use with metallic sinks or counters.
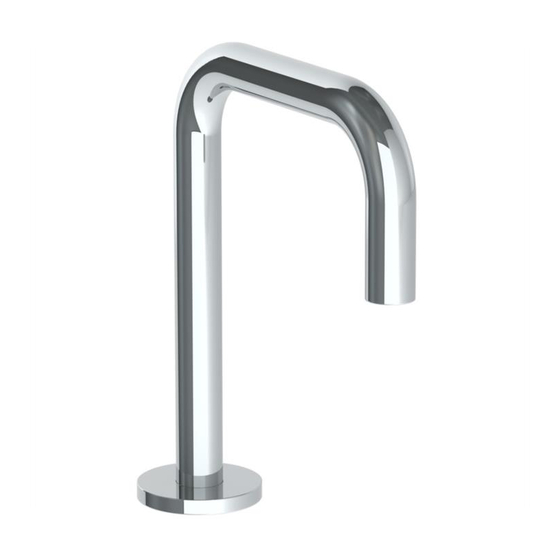
Diagram A - Dimensions
DECK MOUNT AUTOMATIC FAUCET
INSTALLTION FOR
Rev. 9/19
P a g e
| 1
Advertisement

Related Manuals for Watermark AUT-DT1


Summary of Contents for Watermark AUT-DT1
- Page 1 AUTOMATIC TOUCHFREE AUT-DPM4 AUTOMATIC METERED TOUCHFREE Features: • Can be used with most Watermark deck mount spouts and finishes • No visible sensor – turns the spout itself into the sensor • Battery operated – no need for hardwiring •...
-
Page 2: Installation
INSTALLTION FOR DECK MOUNT AUTOMATIC FAUCET Diagram B – Parts Checklist Description Qty. Spout Assembly Solenoid Valve Solenoid Bracket Electrical Box Supply Hose Spout Hose Sensor Washer L Sensor Washer S Battery 10 Wood Screw 11 Drywall Anchor 12 Wall Clip Installation 1. - Page 3 INSTALLTION FOR DECK MOUNT AUTOMATIC FAUCET Mounting Washer Tee Washer Note: Refer to Diagrams A, B and D for Steps 4 – 7. 4. Position Solenoid Bracket (3) on the wall so Solenoid Inlet (38) is within 12” of premixed water supply and Solenoid Outlet (39) is within 12”...
- Page 4 INSTALLTION FOR DECK MOUNT AUTOMATIC FAUCET Note: Refer to Diagrams B and E for Steps 8 – 12. 8. Position Electrical Box (4) on the wall so the top is within 12” of the Sensor Washer (7 or 8) and within 28”...
-
Page 5: Troubleshooting
INSTALLTION FOR DECK MOUNT AUTOMATIC FAUCET Troubleshooting Red LED Code Meaning Remedy Solid Light Calibration Wait for light to turn off. Do not touch faucet until light turns off. 1 Flash Battery level is low Replace battery (type CR-P2) 2 Flashes Cleaning mode or safety Wait for light to stop flashing timeout is activated...