
Related Manuals for Sonoff Mini


Summary of Contents for Sonoff Mini
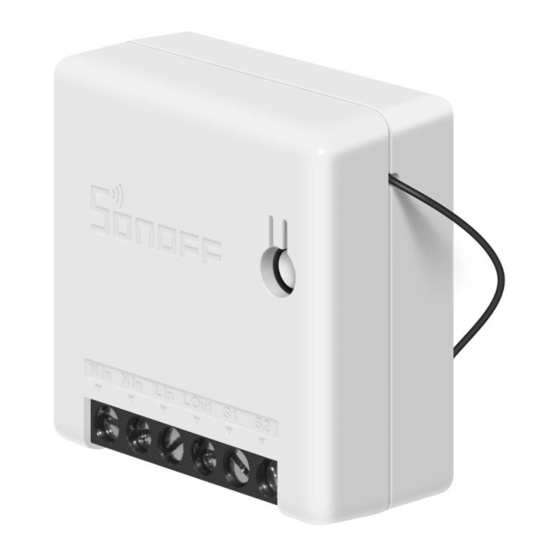
- Page 1 SONOFF (DIY) Driver for Control4 version 1.0.0 (2004) Step‐by‐Step guide Set your SONOFF Mini/Basic to DIY Mode by adding the provided 1‐ jumper to the internal pin of the device as pictured Mini : Add jumper here Basic R3: Add jumper here ...
- Page 2 2‐ Configure the SONOFF Switch to connect to your local Wi‐Fi Network For current devices with Firmware 3.5.0 and above: ‐ Press and hold the Pairing button on the device (this is the only button on this device) ‐ Wait until the blue LED flash steadily ‐ Connect your device to the ITEAD‐XXXXXXXX Wi‐Fi Network ‐ Browse to http://10.10.7.1/ to set the SSID to your local Wi‐Fi NOTE: the ITEAD‐XXXXXXXX SSID may ask for a password upon connection, if this happen, use 123345678 as password. 1 2 3 You may not be able to connect to the ITEAD‐XXXXXXXX Network or access the configuration webpage. To resolve this, try those troubleshooting steps: ‐ Power cycle the SONOFF device and put it in Pairing mode again (long button press) ‐ If does not work either you can try to pair the device with the eWeLink app and do see if there is a firmware upgrade available. Don’t forget to DELETE the device from the app once firmware upgrade is done, or else you will not be able to use it in Control4. ‐ Even if the firmware is up to date, sometime pairing the device with the app and deleting it can resolve the web configuration page access problem. Use the app only as a troubleshooting tool, do NOT leave any devices paired with the app or it will not work with Control4. For more info how to use the eWeLink app, see the in‐app help. ...
- Page 3 For legacy devices: ‐ Create a 2.4 Ghz Wi‐Fi SSID from your router or AP with the name sonoffDiy and password of 20170618sn. Using Phone or PC Wi‐Fi Hotspot is NOT recommended! (Example shown is from a TP‐Link AP, your Wi‐Fi setup may differ) ‐ Then use the DIY Tool software to configure Wi‐Fi. The tool is included in the driver download package. You can delete the sonoffDiy SSID when you’re done. 1 select the device 2 click Change SSID 3 enter your Wi‐Fi information...
- Page 4 Add the SONOFF Network driver first to the project and enter your 3‐ licensing information 4‐ Add SONOFF Switch/Relay drivers as needed ...
- Page 5 5‐ Wait a few seconds and all the available SONOFF devices should populate in the Device Selection property Select the device you want to control: You should be good to go. You can now control your SONOFF device through Control4 using the Light Switch Proxy or the relay connection. OR ...