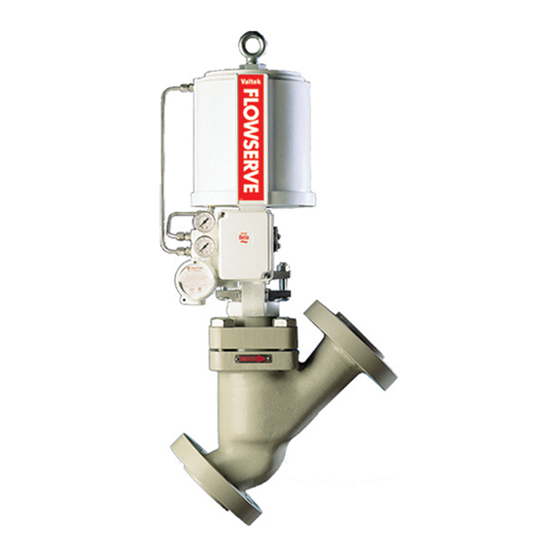
Flowserve Valtek Installation, Operation & Maintenance Instructions Manual
Extended bonnets
Hide thumbs
Also See for Valtek:
Table of Contents
Advertisement
Quick Links
Valtek Extended Bonnets
GENERAL INFORMATION
The following instructions are designed to assist in
installing, disassembling and troubleshooting Valtek
globe valves equipped with extended bonnets. Product
users and maintenance personnel should thoroughly
review this bulletin in conjunction with Installation, Op-
eration Maintenance Instructions 1 (Mark One and Two
Control Valves) before installing, operating or perform-
ing any maintenance on the valve.
To avoid possible injury to personnel or dam-
age to valve parts, WARNING and CAUTION
notes must be strictly adhered to. Modifying
this product, substituting nonfactory parts, or
using maintenance procedures other than out-
lined could drastically affect performance and
be hazardous to personnel and equipment, and
may void existing warranties.
Five bonnet designs exist: two extended bonnet de-
signs (one-piece bonnets) and three bonnet extension
designs in which the extension clamps to a standard
bonnet. This bulletin presents instructions and sec-
tioned-view drawings for all five designs.
Installation
Valtek valves equipped with extended bonnets are
designed to be installed vertically. This ensures a stag-
nated, moderate temperature vapor barrier inside the
bonnet, protecting the packing from the process.
CAUTION: Do not insulate the extended bonnet or
bonnet extension. Although thermal insulation may
be installed on the valve body and adjoining piping
for extreme temperature service, the extended bon-
net operates in hot service by radiating heat to
atmosphere, and in cryogenic service by collecting
heat from atmosphere. Insulating the bonnet will
affect performance and possibly damage the valve.
Valtek No. 49024
IM014 Extended Bonnets.p65
1
DISASSEMBLY AND REASSEMBLY
Disassembling One-piece or One-piece
®
Cryogenic Extended Bonnets
To disassemble valves equipped with extended bon-
nets, refer to Figures 1 and 2 then proceed as follows:
WARNING: Depressurize line to atmospheric pres-
sure, drain all fluids and decontaminate the valve (if
caustic or hazardous materials are present). Failure
to do so can cause serious injury.
1. Remove bonnet flange bolts or nuts.
2. Remove the entire actuator/bonnet assembly by
lifting it straight out of the body.
CAUTION: Heavy assemblies may require a
hoist. Attach lifting straps to actuator yoke legs.
3. Loosen the actuator stem clamp.
4. Remove the packing box bolting.
WARNING: Process fluid may be trapped in the
extended bonnet; therefore, be extremely cau-
tious when removing the plug from the bonnet.
Failure to do so can cause serious injury or
damage to equipment.
5. Remove yoke bolting, clamps, and half rings
(if present).
6. Remove the actuator by unscrewing the plug and
bonnet from the actuator stem. To avoid galling the
plug stem, the bonnet must be turned with the plug
when unscrewing it from the actuator. This ensures
the plug does not turn in relation to the packing box,
which may cause plug stem damage.
WARNING: Do not allow the plug or bonnet to fall
during removal from the actuator. Serious per-
sonal injury or valve damage may result.
7. Remove the bonnet flange from the bonnet.
8. Pull the plug carefully through the packing box.
8/21/01, 2:14 PM
14-1
Advertisement
Table of Contents

Summary of Contents for Flowserve Valtek
- Page 1 5. Remove yoke bolting, clamps, and half rings Installation (if present). Valtek valves equipped with extended bonnets are 6. Remove the actuator by unscrewing the plug and designed to be installed vertically. This ensures a stag- bonnet from the actuator stem. To avoid galling the...
- Page 2 Peen only enough to hold ing spacer and stem follower (and lower stem guide the guide in place. 14-2 Flowserve Corporation, Valtek Control Products, Tel. USA 801 489 8611 IM014 Extended Bonnets.p65 8/21/01, 2:14 PM...
- Page 3 If square flange bolting. Tighten the packing box nuts to packing is being installed, slip it over the plug stem slightly more than finger-tight. 14-3 Flowserve Corporation, Valtek Control Products, Tel. USA 801 489 8611 IM014 Extended Bonnets.p65 8/21/01, 2:14 PM...
- Page 4 Extended Twin "V" With Purge Extended Twin Square With Purge Extended "V" Extended Square Vacuum Seal Twin "V" With Purge Figure 3: Packing Configurations 14-4 Flowserve Corporation, Valtek Control Products, Tel. USA 801 489 8611 IM014 Extended Bonnets.p65 8/21/01, 2:14 PM...
- Page 5 14-5 Flowserve Corporation, Valtek Control Products, Tel. USA 801 489 8611 IM014 Extended Bonnets.p65 8/21/01, 2:14 PM...
- Page 6 Figures 3, 4, 5, 6 and 7 then proceed as face of the bonnet extension, slip the bonnet exten- follows: 14-6 Flowserve Corporation, Valtek Control Products, Tel. USA 801 489 8611 IM014 Extended Bonnets.p65 8/21/01, 2:14 PM...
- Page 7 11. Install bonnet flange bolting to finger-tightness. and proper alignment of the bonnet and bonnet Apply air pressure above the piston to seat the plug extension are maintained. 14-7 Flowserve Corporation, Valtek Control Products, Tel. USA 801 489 8611 IM014 Extended Bonnets.p65 8/21/01, 2:15 PM...
- Page 8 Flowserve Corporation has established industry leadership in the design and manufacture of its products. When properly selected, this Flowserve product is designed to perform its intended function safely during its useful life. However, the purchaser or user of Flowserve products should be aware that Flowserve products might be used in numerous applications under a wide variety of industrial service conditions.


Need help?
Do you have a question about the Valtek and is the answer not in the manual?
Questions and answers