Table of Contents
Advertisement
Quick Links
Advertisement
Table of Contents

Related Manuals for Bosch MBG5787.0A


Summary of Contents for Bosch MBG5787.0A
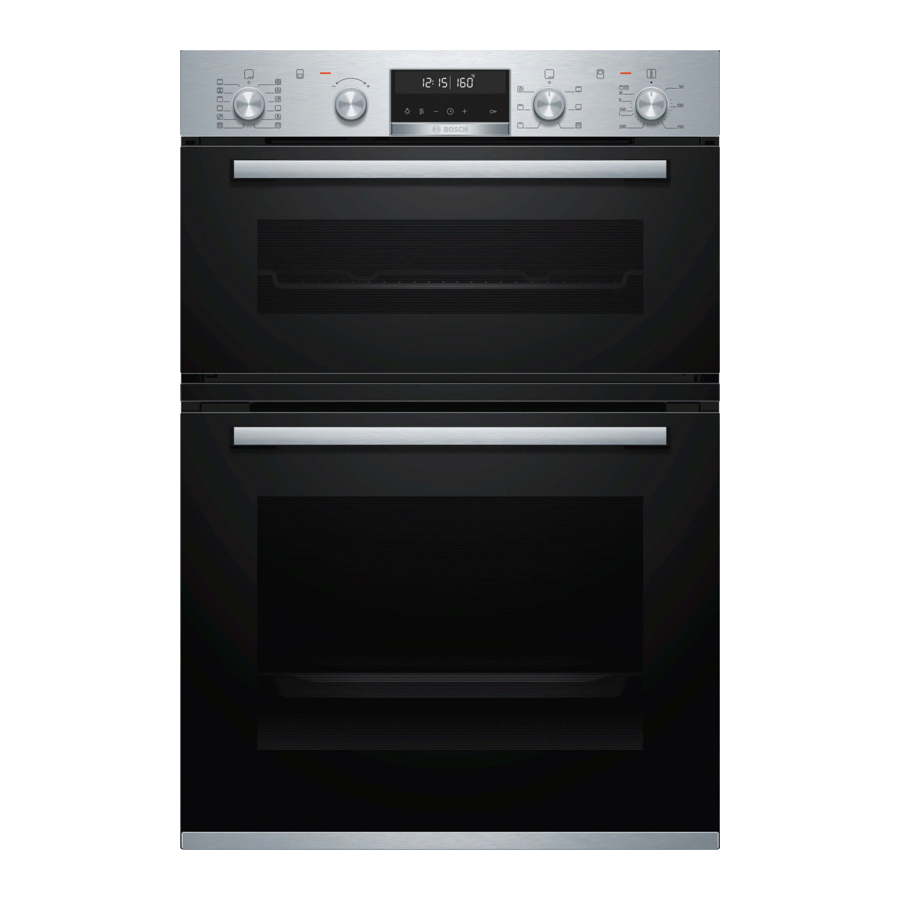
- Page 1 Double oven MBG5787.0A User manual and installation instructions [en]...
-
Page 2: Table Of Contents
en Safety ¡ Do not connect the appliance if it has been Table of contents damaged in transit. 1.2 Intended use USER MANUAL This appliance is designed only to be built into kitchen units. Read the special installation Safety .............. 2 instructions. - Page 3 Safety en Opening the appliance door creates a Components inside the appliance door may draught. Greaseproof paper may come into have sharp edges. contact with the heating element and catch ▶ Wear protective gloves. fire. WARNING ‒ Risk of electric shock! ▶ Never place greaseproof paper loosely Incorrect repairs are dangerous.
-
Page 4: Safety
en Safety ▶ Leave the front of the appliance clear. Children may breathe in or swallow small ▶ Keep children at a safe distance. parts, causing them to suffocate. If the door seal is damaged, a large amount ▶ Keep small parts away from children. of heat is generated around the door. -
Page 5: Preventing Material Damage
Preventing material damage en 2 Preventing material damage Take care not to trap anything in the appliance ▶ 2.1 General door. Only leave the cooking compartment to dry with the ATTENTION! ▶ door open if a lot of moisture was produced during Objects on the cooking compartment floor at over operation. - Page 6 en Familiarising yourself with your appliance 4 Familiarising yourself with your appliance 4.1 Controls You can use the control panel to configure all functions of your appliance and to obtain information about the operat- ing status. Note: On certain models, specific details such as col- our and shape may differ from those pictured.
-
Page 7: Familiarising Yourself With Your Appliance
Familiarising yourself with your appliance en Heating-up control Temperature selector Use the temperature selector to set the temper- → "Heating-up control", Page 9 ature for the type of heating and select settings for other functions. You can turn the temperature selector clock- wise and anti-clockwise. Depending on the appliance, the temperature selector can be pushed in. -
Page 8: Programme
en Familiarising yourself with your appliance Symbol Type of heating and What it's used for/how it works temperature range Defrosting Gently defrost frozen food. 30 - 60 °C Slow cooking Slowly and gently cook seared, tender pieces of meat in uncovered cookware. 70 - 120 °C The heat is emitted evenly from above and below at a low temperature. Full-surface grill Grill flat items such as steak and sausages, or make toast. - Page 9 Familiarising yourself with your appliance en The temperature can be set in 1 degree increments up 4.4 Temperature and setting levels to 100 °C, and in 5 degree increments thereafter. There are different settings for the types of heating and Note: For grill setting 3, the appliance lowers the set- functions.
- Page 10 en Accessories Cooling fan ATTENTION! The cooling fan switches on and off depending on the Do not cover the ventilation slot above the appliance door. The appliance overheats. appliance's temperature. The hot air escapes above Ensure that the ventilation slots are unobstructed. the door.
- Page 11 You will find a comprehensive range of products for your appliance in our brochures and online: www.bosch-home.com Accessories vary from one appliance to another. When purchasing accessories, always quote the exact product number (E no.) of your appliance.
- Page 12 en Basic operation Switch off the appliance after the specified cooking Main oven Top oven time. Temperat- Maximum 240 °C Wait until the cooking compartment has cooled down. Cooking 1 hour 1 hour Clean the smooth surfaces with soapy water and a time dish cloth.
- Page 13 Time-setting options en Cancelling the timer ¡ Food will spoil if you leave it in the cooking com- partment too long. You can cancel the timer duration at any time. Requirement: is highlighted on the display. Requirements ¡ A type of heating and a temperature or setting are Use the button to reset the timer duration to zero.
- Page 14 en Meat thermometer Press the button repeatedly until is highlighted Use the button to change the time. in the display. a The appliance applies the change after a few seconds. 9 Meat thermometer Cook with precision by inserting the meat probe into Plug the meat thermometer into the socket on the the food and setting a core temperature on the appli- left-hand side of the cooking compartment.
- Page 15 Programme en 10 Programme The programmes help you to use your appliance to Cookware made from the following material is not prepare different dishes by selecting the optimum set- suitable: tings automatically. ¡ Bright, shiny aluminium ¡ Unglazed clay ¡ Plastic or plastic handles 10.1 Cookware for programmes You should therefore use heat-resistant cookware that is suitable for temperatures up to 300 °C.
- Page 16 en Programme No. Food Cookware Weight range Add liquid Shelf Information posi- Weight setting tion Roasting dish with 0.1–0.8 kg Cover the 14 Chicken pieces Ready to cook, Weight of the bottom of the seasoned heaviest piece roasting dish Roasting dish with 0.5–2.5 kg Cover the 15 Turkey breast...
- Page 17 Programme en No. Food Cookware Weight range Add liquid Shelf Information posi- Weight setting tion Roasting dish with 0.5–2.5 kg Cover the Do not sear the meat 25 Joint of veal, lean E.g. tenderloin or eye Weight of meat bottom of the beforehand roasting dish, and add up...
-
Page 18: Childproof Lock
en Childproof lock For some programmes, the button can be When the programme ends: ‒ used to delay the end. Press any button to end the audible signal pre- ‒ → "Setting the end time", Page 13 maturely. To set a cooking time for further cooking, press a After a few seconds, the programme starts and the ‒... -
Page 19: Sabbath Mode
Basic settings en 14 Basic settings You can configure the appliance to meet your needs. 14.1 Overview of the basic settings Here you can find an overview of the basic settings and factory settings. The basic settings depend on the features of your appliance. Display Basic setting Selection... -
Page 20: Cleaning And Servicing
en Cleaning and servicing 15 Cleaning and servicing Do not use cleaning products with a high alcohol To keep your appliance working efficiently for a long ▶ content. time, it is important to clean and maintain it carefully. Do not use hard scouring pads or cleaning ▶... - Page 21 Pyrolytic self-cleaning en Cooking compartment Area Suitable cleaning agents Information Enamel surfaces ¡ Hot soapy water Soak any heavily soiled areas and use a brush or steel wool. Leave the appliance door open to dry the cooking compartment ¡ Vinegar water after cleaning it.
- Page 22 en Pyrolytic self-cleaning Allow the appliance to cool down. ▶ 16.1 Preparing the appliance for the Keep children at a safe distance. ▶ cleaning function The outside of the appliance gets very hot when the In order to achieve a good cleaning result, prepare the cleaning function is in progress.
-
Page 23: Cleaning Assistance
Cleaning assistance en Allow the appliance to cool down. ▶ a For safety reasons, the appliance door locks auto- Keep children at a safe distance. ▶ matically once a certain temperature is reached in the cooking compartment. appears in the display. Note: The oven light does not come on during the a Once the cleaning function has ended, an audible cleaning function. -
Page 24: Shelf Supports
en Shelf supports 18 Shelf supports To clean the rails and the cooking compartment, or to ATTENTION! replace the rails, you can remove these. The self-cleaning surfaces in the cooking compartment may be damaged by detaching and attaching the pull- 18.1 Detach the rails in the main cooking out rails. - Page 25 Shelf supports en Remove the pull-out rail. Keep the PUSH tab pushed in and swing the pull- out rail inwards until the front retainer is located between the two bars . Release the PUSH tab. ‒ Clean the pull-out rail. → "Cleaning products", Page 20 a The retainer clicks into place.
-
Page 26: Appliance Door
en Appliance door ¡ For both shelf supports, ensure that the hooks that Push the rail into the front socket until the rail are attached at the rear are pointing upwards. also rests against the cooking compartment wall, and then press this downwards ... - Page 27 Appliance door en Close the appliance door fully . Grab hold of the Using both hands, press down on the left and right appliance door with both hands (on the left and of the door cover from above to check whether the right) and pull it upwards and out ...
- Page 28 en Appliance door Clean the door cover. Turn the intermediate pane until the arrow is in → "Suitable cleaning agents", Page 20 the top right. Undoing and removing the left- and right-hand screws on the appliance door Place a folded-up tea towel in the appliance door. Pull the front pane up and out ...
- Page 29 Appliance door en Put the door cover in position and push down on it Close the appliance door fully . Grab hold of the until you hear it click into place. appliance door with both hands (on the left and right) and pull it upwards and out . Close the appliance door.
- Page 30 en Appliance door Close the locking levers on the left- and right-hand Remove the door cover . hinges. Remove the rail . Remove the inner pane and set it down carefully a The locking levers are closed. The appliance door is on a flat surface.
- Page 31 Appliance door en Slide the intermediate pane until it is in the left- and WARNING ‒ Risk of injury! right-hand retainers . Scratched glass in the appliance door may develop into a crack. Do not use glass scrapers, sharp or abrasive ▶...
- Page 32 en Appliance door Slide the inner pane in. In doing so, ensure that the Attach the door cover and use a screw to secure inner pane is in the retainer . it on the left- and right-hand sides . Push the inner pane upwards until it is in the left- Note: Ensure that the appliance door slides onto the and right-hand retainers ...
-
Page 33: Troubleshooting
Troubleshooting en 20 Troubleshooting You can rectify minor faults on your appliance yourself. Read the troubleshooting information before contacting after- sales service. This will avoid unnecessary costs. WARNING ‒ Risk of injury! WARNING ‒ Risk of electric shock! Improper repairs are dangerous. Incorrect repairs are dangerous. Repairs to the appliance should only be carried out Repairs to the appliance should only be carried out ▶... -
Page 34: Disposal
en Disposal Fault Cause and troubleshooting A message with ap- Electronics fault pears in the display, Press the button. e.g. If required, reset the time. ‒ a If the fault was a one-off, the error message disappears. If the error message appears again, call the after-sales service. Quote the exact error message and the E no. -
Page 35: Customer Service
Customer Service en 22 Customer Service If you have any queries on use, are unable to rectify 22.1 Product number (E-Nr.) and production faults on the appliance yourself or if your appliance number (FD) needs to be repaired, contact Customer Service. You can find the product number (E-Nr.) and the pro- Detailed information on the warranty period and terms duction number (FD) on the appliance's rating plate. - Page 36 en How it works ¡ Keep the appliance door closed when using the Cookware with lid grill. ¡ Place the cookware onto the wire rack. Never grill with the appliance door open. ¡ Meat, poultry and fish can also become crispy in a ¡...
-
Page 37: How It Works
How it works en Food Accessories/cookware Shelf pos- Type of Temperature Cooking ition heating in °C/grill set- time in mins ting Biscuits, 2 or 3 levels Baking sheet on wire 140-160 15-25 rack 5+3+1 Beef, top side/top rump Cookware without lid 40+30 Lamb leg (on the bone) Cookware without lid 160-170... - Page 38 en How it works Recommended settings for yoghurt Selection for the main oven Food Accessories/cookware Shelf position Type of Temperature in Cooking heating °C time in mins Yoghurt Individual moulds Cooking compartment 40-45 8–9 hrs floor Preheat the cooking compartment and cookware for 23.7 Slow cooking approx.
- Page 39 How it works en ¡ Baking tray: Level 5 Universal pan: Level 3 Baking tray: Level 1 Baking with two springform cake tins: Position baking tins/dishes either next to one another or offset on different shelves so that they are not dir- ectly one above the other in the cooking compartment.
-
Page 40: Installation Instructions
en Installation instructions Recommended settings for grilling Selection for the top oven Food Accessories/cookware Shelf pos- Type of Temperature in Cook- ition heating °C ing time in mins Browning toast Wire rack 24 Installation instructions Observe this information when installing the appliance. ¡... - Page 41 Installation instructions en 24.2 Appliance dimensions 24.4 Corner installation You will find the dimensions of the appliance here Observe the installation dimensions and the installation instructions when installing in a corner. ¡ To ensure that the appliance door can be opened, 24.3 Installation in a tall unit you must take the minimum dimensions into consid- Observe the installation dimensions and the installation eration when installing in a corner.
- Page 42 en Installation instructions Centre the appliance. 24.6 Installing the appliance Remove the transport locks on the right and left and then dispose of them. There must be an air gap of at least 5 mm between the appliance and adjacent unit fronts. Use a spirit level to adjust the appliance so that it is The appliance must be transported by two people perfectly level.
- Page 44 Expert advice for your Bosch home appliances, help with problems or a repair from Bosch experts. Find out everything about the many ways Bosch can support you: www.bosch-home.com/service Contact data of all countries are listed in the attached service directory.
Need help?
Do you have a question about the MBG5787.0A and is the answer not in the manual?
Questions and answers
Hi, we purchased a Bosch double oven a year ago, I do a lot of baking, but I struggle to get the settings correct on the oven. Please help me, which setting should I use for general baking ?