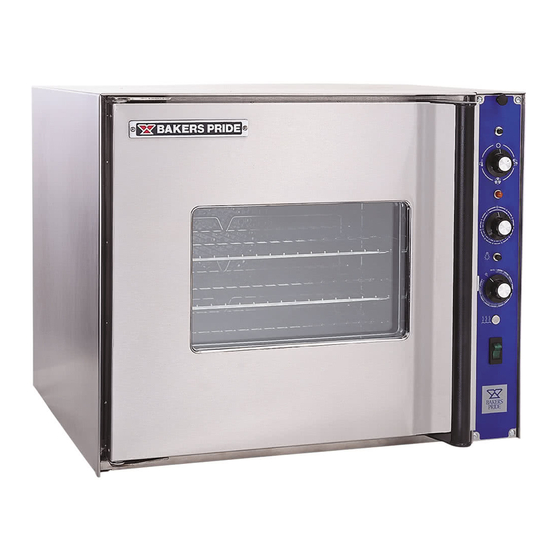
Bakers Pride COC-E1 Replacement Instructions
Door latch & catch replacement instructions
Hide thumbs
Also See for COC-E1:
- Specifications (2 pages) ,
- Installation and operating instructions manual (20 pages) ,
- Install and operation instructions (20 pages)
Advertisement
~
DOOR LATCH & CATCH REPLACEMENT INSTRUCTIONS
Do not start work without all the necessary components. This Latch & Catch installation requires the following
items:
1.
The Installation kit, consisting of:
-
a) 1
Installation Instructions (3 pages)
-
b) 1
Drawing (1035 LATCH & CATCH)
-
c) 1
Door Latch Assembly (LH S3030A) or (RH S3098A) complete with:
d) 1-3/8-16x 1" hex. Bolt Q2301A
e) 5 - 3/8" Flat Steel Washers Q3042A
-
f) 2
3/8" Flat Brass Washers Q
-
g) 1
3/8" Wavy Spring Washers Q
h) 1 - 3/8-16 hex. shipping nut Q2306A
-
i)
1
5/16 x 2 1/2" Spring S3005A
J) 2 - extra 3/8" Flat Steel Washers Q3042A
K) 1 - Door Catch (LH S3029A) or (RH S3097 A)
I) 4- 1/4-28 Flat Head Screws Q2008A
2.
Recommended tools such as:
-
m) 1
1/4" wide flat blade screw driver
n) 1 - 3/8" Ratchet Drive
0) 1 - 6" Extension Piece
p) 1 - 9/16" hex. socket
q) 1 - 7/16" hex. socket
r) 1 - 9/16" wrench
s) 1 -7/16" wrench
t)
Some Hi-Temperature Grease
Installation Procedure:
1.
Turn off electric power to the unit.
2.
Remove the access cover on the side, open the control panel and secure out of the way.
3.
Remove the micro-switch from its bracket and secure out of the way.
4.
Open the door, disengage and discard the latch spring, remove and discard the latch, the 3/8"
hex. bolt and the old steel washers.
5.
From the new 3/8-16 bolt remove the hex. shipping nut, apply some grease on both sides of
the latch and between the washers, then fasten it to the latch box and tighten firmly (see fig 1).
X300, X300-E and COC-E
1 of 4
Q:\1035 Latch Replacement (I)
1992-12-02 Rev.OI
Advertisement
Table of Contents

Summary of Contents for Bakers Pride COC-E1
- Page 1 DOOR LATCH & CATCH REPLACEMENT INSTRUCTIONS Do not start work without all the necessary components. This Latch & Catch installation requires the following items: The Installation kit, consisting of: a) 1 Installation Instructions (3 pages) b) 1 Drawing (1035 LATCH & CATCH) c) 1 Door Latch Assembly (LH S3030A) or (RH S3098A) complete with: d) 1-3/8-16x 1"...
- Page 2 Note 1: The latch has to be held in place quite solidly, just loose enough for the spring to pull it back. If the latch is too loose, remove the bolt and add one more thin steel washer under the head of the bolt, then retighten very firmly.
- Page 3 Adjustment Procedure: MICRO-SWITCH 17. With the door open and the latch all the way down, make a mark at point "D" onto the S/S Front Column as shown (see fig.2). 18. Make another mark "E" 1/16" above point "D", 19. Reinstall the micro-switch and adjust it so that it will click on and off when the latch is at that point. Adjustment Procedure: FINAL CHECKS 20.
- Page 4 1035 LATCH & CATCH (COCE & X-300) FIGURE 2 R.H. SIDE VIEW FIGURE 1 TOP SECTIONAL VIEW (LATCH ALL THE WAY DOWN) FIGURE 4 R.H. SIDE VIEW FIGURE 3 R.H. SIDE VIEW (LATCH ALL THE WAY UP (LATCH AND CATCH FULLY ENGAGED 4 of 4...


Need help?
Do you have a question about the COC-E1 and is the answer not in the manual?
Questions and answers