Advertisement
Quick Links
CARE INSTRUCTIONS
1. Dust often using a clean, soft, dry and lint-free cloth.
2. Blot spills immediately and wipe with a clean, damp cloth.
3. We do not recommend the use of chemical cleansers, abrasives or furniture polish on our lacquered finish.
IMPORTANT SAFETY INSTRUCTIONS
1. Please read all instructions carefully before assembling.
2. For your safety, assembly by two or more adults is strongly recommended.
3. Keep these instructions for future use.
4. Use only vendor-supplied hardware to assemble. Using unauthorized hardware could jeopardize the structural integrity of the item.
PARTS INCLUDED
A
[1]
HEADBOARD
B
[2]
SIDE RAILS
C
[1]
FOOTBOARD
D
[13]
BED SLATS
E
[1]
SUPPORT SLAT
ASSEMBLY INSTRUCTIONS
1. Place the headboard (A) and footboard (C) upright in the location you wish the bed to be in when fully assembled.
2. Align and insert the side rails (B) to the headboard and the footboard. Attach the side rails to the headboard and footboard by
using Allen bolts (1), lock washers (2) and flat washers (3). See FIGURE 1.
10/1/18
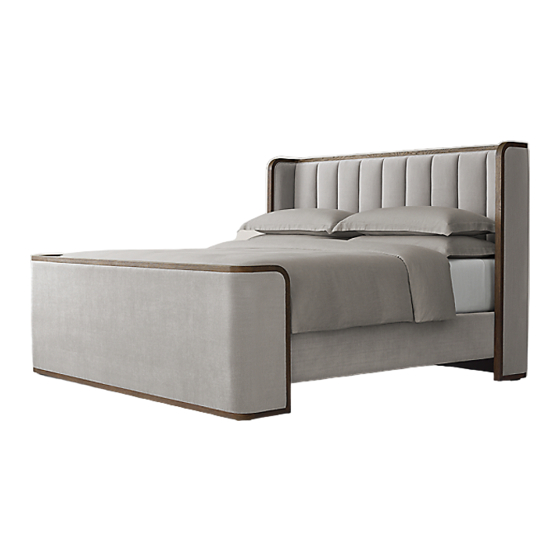
ASTON QUEEN BED WITH FOOTBOARD INSTRUCTIONS
FIGURE 1
HARDWARE INCLUDED
NO.
ITEM
DESCRIPTION
Allen bolt
1
2
Lock washer
3
Flat washer
4
Allen wrench
QTY.
16 pcs.
16 pcs.
16 pcs.
1 pc.
Page 1 of 3
Advertisement

Subscribe to Our Youtube Channel
Related Manuals for RH ASTON QUEEN BED


Summary of Contents for RH ASTON QUEEN BED
- Page 1 ASTON QUEEN BED WITH FOOTBOARD INSTRUCTIONS CARE INSTRUCTIONS 1. Dust often using a clean, soft, dry and lint-free cloth. 2. Blot spills immediately and wipe with a clean, damp cloth. 3. We do not recommend the use of chemical cleansers, abrasives or furniture polish on our lacquered finish.
- Page 2 On the inside surface of both side rails are cavities designed to hold the individual bed slats (D). Set individual slats on both sides of the rails, as shown in FIGURE 3. FIGURE 2 FIGURE 3 10/1/18 Aston Queen Bed - Page 2 of 3...
- Page 3 • Repeat the previous step for the wood brackets at front of headboard and back of footboard. Refer to FIGURE 5A - 5B. FIGURE 4A FIGURE 4B FIGURE 5B FIGURE 5A 10/1/18 Aston Queen Bed - Page 3 of 3...
Need help?
Do you have a question about the ASTON QUEEN BED and is the answer not in the manual?
Questions and answers