Chicco KeyFit Owner's Manual
Caddy
Hide thumbs
Also See for KeyFit:
- User manual ,
- Instructions manual (120 pages) ,
- Instructions for use manual (96 pages)

Related Manuals for Chicco KeyFit


Summary of Contents for Chicco KeyFit
- Page 1 Read all instructions BEFORE assembly and USE of product. KEEP INSTRUCTIONS FOR FUTURE USE. KeyFit Caddy ® Owner's Manual ©2020 Artsana USA, INC. 09/20 IS0202E_01 www.chiccousa.com...
- Page 2 • DISCONTINUE USING YOUR • ONLY USE this product with a • NEVER LEAVE CHILD CADDY should it become damaged Chicco infant car seat. Do not use UNATTENDED. Always keep child or broken. any other manufacturer's infant car in view while in the caddy.
-
Page 3: Parts List
Parts List Parts List A. - Caddy Frame E. - Parent Tray F. - Basket Brace B. - Front Swivel Wheels C. - Rear Axle Assembly D. - Bumper Bar... -
Page 4: Attach Rear Wheels
How To Attach Basket Brace Attach Rear Wheels 2. Attach Rear Axle Assembly (C) to the 1. Insert Basket Brace (F) through Basket Caddy Frame as shown. The assembly Brace sleeve and snap securely onto rear will click into place. Pull on each Wheel frame tube. - Page 5 How to Attach Basket Brace How to Attach Basket Brace “CLICK!” 3B. Locate the Storage Basket Brace. Flip 3A. Locate the Storage Basket frame the Brace over and snap it into position, (painted metal bar) on the Caddy Frame attaching it onto the Basket frame. (A) and flip it open as shown.
- Page 6 How to Open Caddy How to Open Caddy 4. Using the Caddy Handle, stand the Caddy up so that it is resting on the Caddy Basket frame. 3C. Locate the Caddy Handle. Pull up on the Caddy Handle to lock it into the first position.
- Page 7 How to Open Caddy Assemble Parent Tray WARNING 5A. With the Caddy in an upright position, rotate the Release Handle To prevent tipping, do not place more than 2 lbs (0.9 kg) in the parent's tray. Never put towards the Caddy Handle. Push on the hot liquids in the cup holders.
- Page 8 How to Open Caddy Attach Bumper Bar 7A. Stand behind the Caddy. Place one 8. Attach Bumper Bar (D) to the frame hand on the Caddy Handle and one hand as shown. You will hear an audible click on the Release Handle. Lean the Caddy when Bumper Bar is in place.
- Page 9 Attach Front Swivel Wheels Assemble Storage Basket 9. Attach Front Swivel Wheels (B) to the Caddy frame as shown. The Wheels will click into place. Pull down on each Wheel Snap button to make sure the Wheel assembly is securely attached to the frame. “CLICK!”...
- Page 10 Assemble Storage Basket Storage Basket Access 10B. Snap the 6 buttons into place as 11. To access the Storage Basket from the shown. front, unzip both zippers located on each side of the front of the Basket. “CLICK!”...
- Page 11 Storage Basket Access Adjust Caddy Handle 12. Extend the storage capacity of the 13. The Caddy Handle height can be Basket from the rear. Locate the edge of adjusted for comfort. To adjust the “CLICK!” the extension flap, which is tucked inside Caddy Handle position, push in on the rear Basket edge.
- Page 12 Always apply both brakes whenever the caddy is stationary. Never leave the caddy on ONLY use this product with a Chicco infant car seat. Use of this product with other a sloped surface, with a child on board, even with the brakes applied.
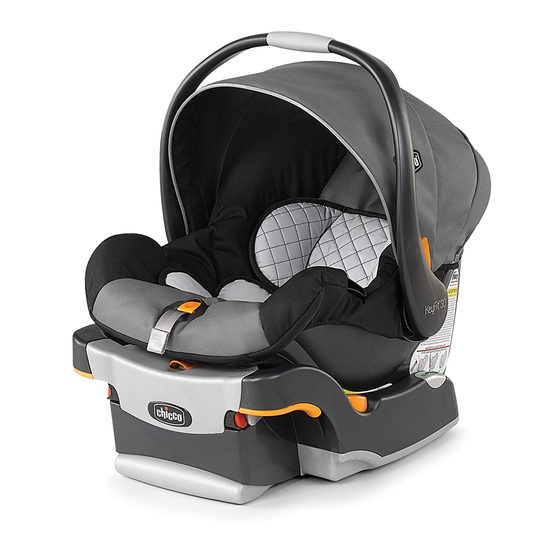
- Page 13 How to Attach Chicco Infant Car Seat How to Remove Chicco Infant Car Seat 16. To remove the infant car seat, squeeze 15. Place the Chicco infant car seat into the Release Handle on the back of the the caddy frame (15A). The infant car...
- Page 14 How to Fold Caddy How to Fold Caddy WARNING 17B. While pulling up on the Release Handle, push down on the Storage Basket When folding the caddy, make sure that your child and other children are at a safe with your foot. The Caddy will distance.
-
Page 15: Cleaning And Maintenance
Periodically check the caddy for loose screws, worn parts, torn material or stitching. Replace or repair the parts as needed. Use only Chicco replacement parts. To avoid 1826 William Penn Way friction that may prevent the correct operation of the caddy, ensure that all the movable Lancaster, PA 17601 plastic parts placed along the metal frame are clean of dust, dirt or sand. - Page 16 www.chiccousa.com...
Need help?
Do you have a question about the KeyFit and is the answer not in the manual?
Questions and answers