Advertisement
Quick Links
OKIDATA
C5100
®
TONER & DRUM CARTRIDGE REMANUFACTURING INSTRUCTIONS
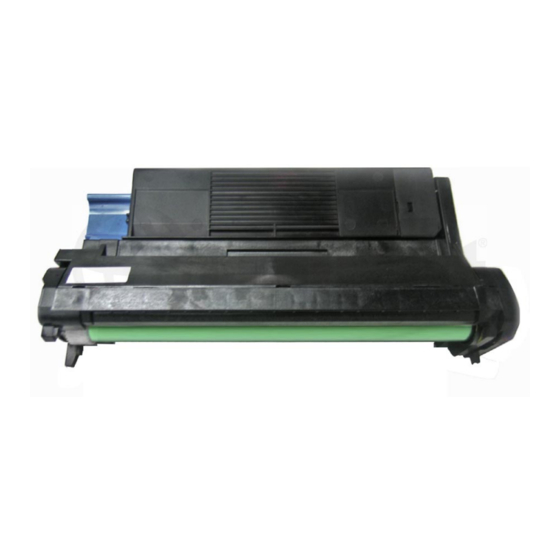
OKIDATA C5100 TONER & DRUM CARTRIDGE
www.uninetimaging.com
© 2012 UniNet Imaging Inc. All trademark names and artwork are property of their respective owners. Product brand names mentioned are intended to show compatibility only.
UniNet Imaging does not warrant downloaded information. Unauthorized sale, reproduction or distribution of this article is prohibited. For additional support, please contact techsupport@uninetimaging.com
Advertisement

Related Manuals for OKIDATA okidata


Summary of Contents for OKIDATA okidata
- Page 1 ® TONER & DRUM CARTRIDGE REMANUFACTURING INSTRUCTIONS OKIDATA C5100 TONER & DRUM CARTRIDGE www.uninetimaging.com © 2012 UniNet Imaging Inc. All trademark names and artwork are property of their respective owners. Product brand names mentioned are intended to show compatibility only.
- Page 2 TONER & DRUM CARTRIDGE By Javier Gonzalez and the Technical Staff at UniNet Given its high-quality printing and optimized performance for all job types, the Okidata C5100 gradually became quite popular in the global market. UniNet offers a wide variety of toners and cartridge components for this machine and would like to share some useful tips for the Okidata C5100 remanufacturing process.
- Page 3 OKIDATA C5100 TONER & DRUM CARTRIDGE REMANUFACTURING INSTRUCTIONS 1. Unlock the blue security mechanism on the toner unit by 2. Remove toner unit and set aside. moving it counter clockwise as shown. 3. Remove the two screws from the drum unit shown.
- Page 4 OKIDATA C5100 TONER & DRUM CARTRIDGE REMANUFACTURING INSTRUCTIONS 5. Turn the cover right-side up again, and pry off the front 6. The plastic cover and drum unit can now be separated. panel shown. 7. You are now ready to disassemble the drum unit.
- Page 5 OKIDATA C5100 TONER & DRUM CARTRIDGE REMANUFACTURING INSTRUCTIONS 9. NOTE: Be careful when removing the doctor blade, as it can 10. Remove the two screws from the small end cap shown to bend or break easily. loosen it. 11. Close-up view of the small end cap with two screws.
- Page 6 OKIDATA C5100 TONER & DRUM CARTRIDGE REMANUFACTURING INSTRUCTIONS 13. The drum axle will slide out along with the end cap. 14. Remove the primary charge roller (PCR). 15. The developer roller should easily come out next. 16. Remove the two screws from the large end cap shown.
- Page 7 OKIDATA C5100 TONER & DRUM CARTRIDGE REMANUFACTURING INSTRUCTIONS 17. The large end cap should easily come off. 18. Carefully remove the drum as shown (gear side first). 19. Clean the drum using a dry, lint-free cloth. Do NOT use any 20.
- Page 8 OKIDATA C5100 TONER & DRUM CARTRIDGE REMANUFACTURING INSTRUCTIONS 21. Remove the two wiper blade screws shown. 22. Gently pry the wiper blade up from the locking clip, using a small flat head screwdriver. 23. Remove the wiper blade 24. Clean using air pressure.
- Page 9 OKIDATA C5100 TONER & DRUM CARTRIDGE REMANUFACTURING INSTRUCTIONS 25. NOTE: Before reinstalling the plastic cover, you must first 26. Use a small screwdriver to pry off the toner fill plug. install a new fuse to reset the counter and avoid any error messages.
- Page 10 OKIDATA C5100 TONER & DRUM CARTRIDGE REMANUFACTURING INSTRUCTIONS 29. Use compressed air to remove any residual toner from the 30. After cleaning use alcohol to clean both the cartridge and waste hopper. the tab openings, then reinsert the adhesive tab.
- Page 11 OKIDATA C5100 TONER & DRUM CARTRIDGE REMANUFACTURING INSTRUCTIONS 33. To insure that the toner sensor works properly, turn the 34. A complete turn of the gear will make the white tab lift up gear located on the opposite side of the blue cap shown.
Need help?
Do you have a question about the okidata and is the answer not in the manual?
Questions and answers