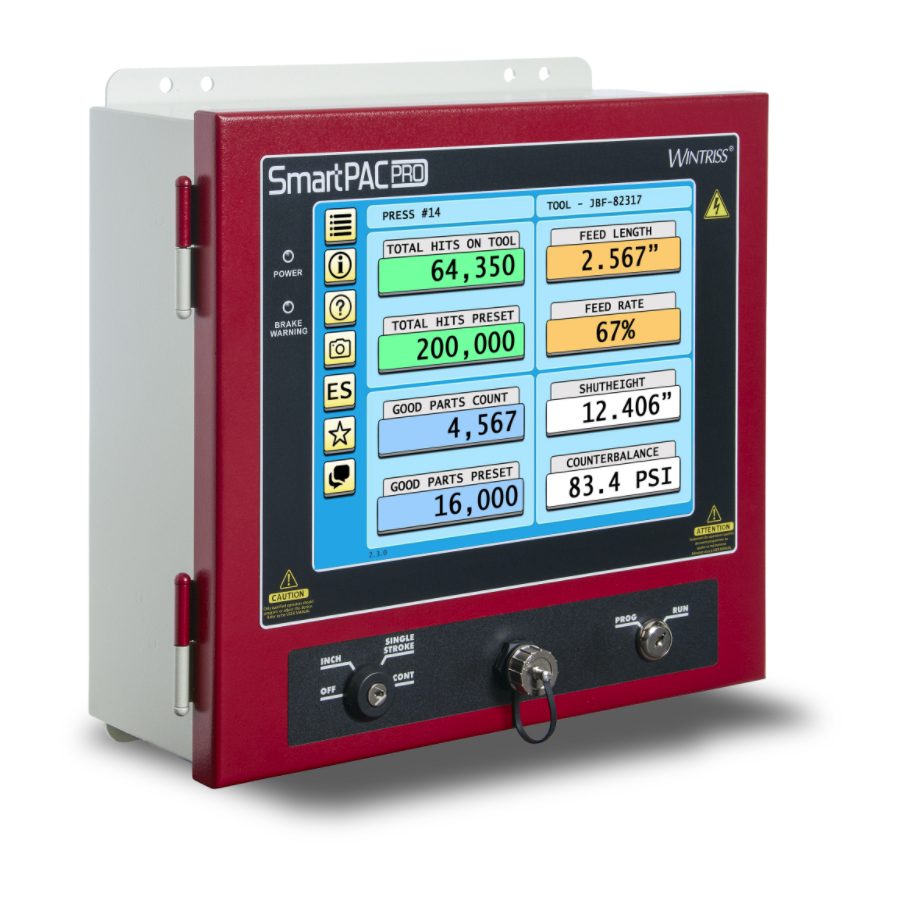
Wintriss SmartPAC PRO Instruction Sheet
Hmi board
Hide thumbs
Also See for SmartPAC PRO:
- User manual (318 pages) ,
- Integration manual (134 pages) ,
- Installation manual (92 pages)
Advertisement
Instruction Sheet – Replacing SmartPAC
PRO HMI Board
The following procedures show you how to unpack and install a replacement SmartPAC PRO
HMI board that is either new or one you have received through the Wintriss Board Exchange
(BD EX) program.
NOTICE
Under the Wintriss Board Exchange program, a replacement board can usually be shipped to
you overnight if you contact Wintriss Tech Support the previous day. Full details about the
program are available by calling Wintriss Tech Support
Unpacking the Replacement Board
Perform the following steps as soon as you receive your replacement SmartPAC PRO HMI
board:
CAUTION
DAMAGE TO BOARD FROM STATIC DISCHARGE
Ground yourself before touching circuit boards or chips by touching a large metal object such
as the press. Static electricity can destroy electronic components.
Failure to comply with these instructions could result in property damage.
1. Making sure you are grounded, carefully unpack the replacement PC board and remove it
from its anti-static bag
NOTICE
Be sure to save the shipping box and anti-static bag in case you need to return the
replacement boards
2. Verify that the board has not been damaged during shipment. If damage has occurred,
contact Wintriss Tech Support immediately.
3. If your replacement board was shipped with an SD card (component U124, outlined in white,
Figure 1 on page 3), verify that the serial number located on its label matches the serial
number on the SD card on the board being replaced.
NOTICE
The label on the top-mounted flange of the SmartPAC PRO enclosure also shows the serial
number.
4. Put the PC board back in its anti-static bag until you are ready to install it.
Instruction Sheet
Replacing SmartPAC PRO HMI Board
Wintriss Controls Group
.
September 2018
Rev. A
978-268-2700
1143500
Page 1
toll free 800-586-8324
Advertisement
Table of Contents

Summary of Contents for Wintriss SmartPAC PRO
- Page 1 Instruction Sheet – Replacing SmartPAC PRO HMI Board The following procedures show you how to unpack and install a replacement SmartPAC PRO HMI board that is either new or one you have received through the Wintriss Board Exchange (BD EX) program. NOTICE Under the Wintriss Board Exchange program, a replacement board can usually be shipped to you overnight if you contact Wintriss Tech Support the previous day.
- Page 2 1143500 Replacing SmartPAC PRO HMI Board Installing the Replacement Board To remove the old SmartPAC PRO HMI board and install the new replacement board, perform the following steps: WARNING ELECTRIC SHOCK HAZARD Ensure that the power source is off before you replace electronic components in a control.
- Page 3 1143500 Replacing SmartPAC PRO HMI Board Figure 1. SmartPAC PRO HMI Board 9. Using both hands, carefully lift the PC board off of the enclosure door, or from the mounting plate if your unit is a panel mount. 10. Tag or label the board in a conspicuous place to identify it.
- Page 4 15. Close the door of the enclosure or console. 16. Power up the SmartPAC PRO with the PROG/RUN key in the PROG position. 17. Once the main program screen appears touch the blue INITIALIZATION Menu button, then touch the NEXT button until you can select DIAGNOSTICS.
- Page 5 NOTICE Before setting up and running a job, it is a good idea to test a few SmartPAC PRO modes and menus to make sure the touch screen is properly calibrated and the unit is operating normally.


Need help?
Do you have a question about the SmartPAC PRO and is the answer not in the manual?
Questions and answers