Advertisement
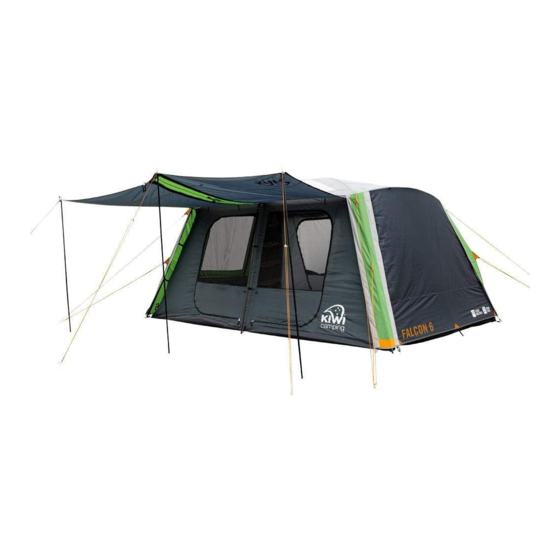
Falcon 6 Tent
Model No. KC072-701
PITCHING INSTRUCTIONS
Your tent includes:
41 x pegs
9 x ropes
2 x YELLOW fibreglass roof poles (3850mm x 11mm)
1 x GREEN fibreglass roof pole (2170mm x 11mm)
2 x WHITE curved steel roof poles (2000mm x 19mm)
4 x BLACK steel roof poles (1580mm x 16mm)
4 x YELLOW steel leg poles (1950mm x 19mm)
2 x GREEN steel leg poles (1810mm x 19mm)
2 x black PORCH poles (1900mm x 16mm)
1 x black PORCH poles (2100mm x 16mm)
1. Select a dry, level site and clear
To make sure the tent stays in place,
insert the pegs into the ground at a
the ground of any sharp objects.
45° angle.
Remove the tent from its carry
bag, untie fabric ties and unroll
the tent.
2. Spread out the floor of the inner
tent and peg out the four main
corners. Ensure that the tent is
pulled taut and square. Proceed
to peg out the remaining pegging
points. Unzip and open the doors
to make erecting the tent easier.
Pitch the tent so it is in line with
YSL
the wind, never side on.
3. Open the pole bag and assemble
WSR
the poles grouping them by
colour.
4. Take the two YELLOW fibreglass
YSL
roof poles and feed them through
the pole sleeves to create an 'X'
Key:
YFR = Yellow Fibreglass Roof
over the roof of the inner tent.
GFR = Green Fibreglass Roof
WSR = White Steel Roof
5. Take the GREEN fibreglass roof pole and feed it through the
pole sleeve over the YELLOW poles.
6. Insert the two WHITE curved steel roof poles into the corner
quad knuckles at the front and back of the tent. Note: Make
sure metal pin locks into slot on knuckle, you may have to
twist pole from side to side. Attach the speed-clips.
7. Take the four BLACK steel roof poles
and one at a time lock them into the quad
knuckles on each side of the roof of the
tent. Attach the speed-clips.
8. Once all the steel roof poles are inserted
into the knuckles proceed to insert the
YELLOW fibreglass roof poles into the corner quad knuckles.
Attach the speed-clips.
9. Take the four YELLOW steel leg poles
and insert them into the remaining
knuckle openings on the four corners.
This will take 2 people to assemble. It is
recommended to erect adjacent corners.
Fit the bottom of each pole onto the
corresponding pin at the base of the
inner so that the tent now stands. Attach
the speed-clips.
10. Take the remaining two GREEN steel leg poles and insert
into the centre knuckle. Fit the bottom of each pole onto the
GSL
YSL
BSR
BSR
corresponding pin and attach the speed-clips. The inner tent
is now pitched.
YFR
11. Carefully pull the fly over the inner making sure the windows
WSR
and doors line up. Attach the ties on the underside of the fly
GFR
around the frame. This will secure the fly and help the tent
YFR
to perform better in the wind. Once the fly is secure, zip the
BSR
BSR
GSL
YSL
doors up and peg out the fly ensuring there is an adequate
gap between the inner and the fly.
BSR = Black Steel Roof
YSL = Yellow Steel Leg
12. Finally, rope out the guy ropes and fine tune the fly so it
GSL = Green Steel Leg
remains taut and positioned correctly over the tent.
13. When pegging out the black PORCH poles, make sure the
ropes are at a 45° angle to ensure adequate tension. When
raining, remove the centre pole or adjust the pole height to allow
water build-up to run off. Zip-out the gussets for added weather
protection.
14. Please read the care instructions for more product information
about your tent.
REVERSE THE PROCEDURE TO LOWER THE TENT
PACKING INSTRUCTIONS
Insert the pin into the end of
Pack the poles and pegs into their bags, place into their separate
the steel ferrule.
frame bag. Evenly lay out the fly inside the tent inner (this is best done
when the inner is still pitched) leaving all doors and windows open.
Replace the provided knuckle covers to protect the tent inner. Fold the
tent as shown below, forcing all of the air out the front door. Roll into
the tent bag provided.
Ensure the tent is completely dry and clean before storing away and
store it in a dry environment.
Lay flat
Fold once
Fold twice
Fold again
Roll
Advertisement
Table of Contents

Related Manuals for Kiwi Camping Falcon 6


Summary of Contents for Kiwi Camping Falcon 6
- Page 1 Falcon 6 Tent 5. Take the GREEN fibreglass roof pole and feed it through the 13. When pegging out the black PORCH poles, make sure the pole sleeve over the YELLOW poles. ropes are at a 45° angle to ensure adequate tension. When Model No.
- Page 2 5. Keep all flame and heat sources away from this tent fabric. Do not details are on the Kiwi Camping website - www.kiwicamping.co.nz. use open flame or gas appliances in or near your tent.
Need help?
Do you have a question about the Falcon 6 and is the answer not in the manual?
Questions and answers