
Related Manuals for AudioBahn A12001DT


Summary of Contents for AudioBahn A12001DT
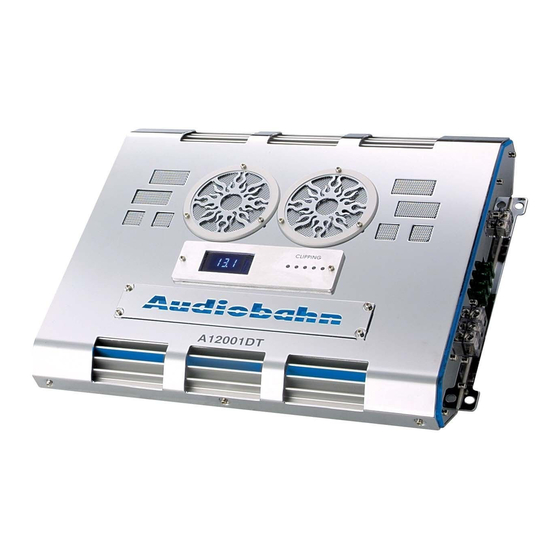
- Page 1 QUALITY, RELIABILITY, & PURE BLISS CLASS D AMPLIFIERS A18001DT A12001DT A8001DT OPERATING INSTRUCTIONS PLEASE RETAIN MANUAL FOR FUTURE USE AND REFERENCE...
- Page 2 With four levels of play, one is right for you to get started in the Audiobahn family. Our Technical Department and entire staff look to strive above and beyond the rest of the pack by going that extra mile to help you out.
-
Page 3: Table Of Contents
Table of Contents Table of Contents Introduction Features and Specifications Control and Functions Planning / Mounting Your System Wiring Diagram Bridging 2 Amplifiers Adjusting and Tuning Troubleshooting Warning and Disclaimer Warranty 5-10 13-14 18-19... -
Page 4: Introduction
Installer Training Programs. Please read your warranty, keep your receipt, and original carton for possible future use. To get a free brochure on Audiobahn products in the US call (714) 988-0400 or e-mail us at sales@audiobahn.com. Continuous exposure to sound pressure levels over 100dB may cause permanent hearing loss. -
Page 5: Features And Specifications
INTO 2 OHMS @ 12.5V DC...1 x 500 WATTS RMS Power INTO 1 OHM @ 12.5V DC...1 x 800WATTS RMS Power A12001DT 2400 WATTS ACH POWER INTO 4 OHMS @ 12.5V DC...1 x 400 WATTS RMS Power INTO 2 OHMS @ 12.5V DC...1 x 750 WATTS RMS Power INTO 1 OHM @ 12.5V DC...1 x 1200 WATTS RMS Power... -
Page 6: Control And Functions
Controls and Functions... - Page 7 Controls and Functions 1. Bass Boost Gain Remote Control This plug connects the amplifier and the remote bass knob using the supplied cable. 2. Input Sensitivity Control This control adjusts the amplifier's input sensitivity. The input sensitivity is variable from 200 Millivolts to 8 volts.
- Page 8 Controls and Functions 4. Low Level LINE OUT RCA Jacks The LINE OUT allows you to build a multiple amplifier system without having to use splitter cords or Y-adapters to distribute the signal. Now it is simply a matter bringing one set of RCAs into the first amplifier, then using the line out RCA jacks as the feed to the next amplifier.
- Page 9 Controls and Functions 7. Low-Pass Filter Control For use as a dedicated subwoofer channel, set the filter switch to the "LPF" (Low Pass Frequency). Adjust the variable crossover frequency with control knob as desired. The amplifier input circuit filters out everything above 50Hz ...
- Page 10 Controls and Functions 11. Speaker Terminals These terminals are used to wire your subwoofer(s) to the amplifier. 12. B- Terminal (Chassis Ground) To avoid unwanted ignition noise caused by ground loops, it is essential that the amplifier be grounded to a clean, bare, metal of the vehicle's chassis.
-
Page 11: Control And Functions
Controls and Functions 14. Remote Turn-on Input The remote terminal needs to be wired to the car's stereo or source unit remote turn on wire. This amplifier is turned on remotely when the vehicle's stereo is turned on. NOTE: iF YOUR RADIO DOES NOT HAVE A +12 VOLT OUTPUT LEAD WHEN THE CAR IS TURNED ON, THE "REMOTE"... -
Page 12: Planning / Mounting Your System
Planning and Mounting Your System Planning Your System Before beginning the installation, consider the following: a. If you plan to expand your system by adding other components sometime in the future, ensure that adequate space is left, and cooling requirements are met. If your radio/source is equipped with Pre-Amp outputs, it is possible to utilize them to drive an Amplifier and connecting (Amplifier) to the 2 rear speakers. -
Page 13: Wiring Diagram
Wiring Diagram... -
Page 14: Bridging 2 Amplifiers
Bridging 2 Amplifiers IF BRIDGED SWITCH POSITION IS ON SLAVE, ALL CONTROLS ARE NON-FUNCTIONAL. ALL CONTROLS ARE NOW CONTROLLED BY THE MASTER AMPLIFIER. - Page 15 Bridging 2 Amplifiers...
-
Page 16: Adjusting And Tuning
Adjusting and Tuning ADJUSTING THE GAIN / LEVEL SETTING Below you will find information on adjusting the amplifiers gains. Adjusting the gain correctly is essential to proper operation of the amplifier. the amplifier and connected speakers and will void your MANUFACTURER an amplifier is not a volume control. -
Page 17: Troubleshooting
Troubleshooting SYMPTOMS NO SOUND AMP NOT SWITCHING NO SOUND IN ONE CHANNEL TURNING OFF MEDIUM/HIGH VOLUME STATUS LAMP ON CHECK POINTS Is the power LED illuminated ? ( NO ) Is the Diagnostic LED illuminated ? ( YES ) No power to power wire No power to remote wire with receiver on Fuse broken... -
Page 18: Warning And Disclaimer
Using a fuse of different type or rating may result in damage to this system which is not covered by the warranty. Disclaimer Specifications are subject to change with out notice. For the most updated Specifications call Audiobahn, your local Authorized Audiobahn Dealer, or check the Audiobahn website. www.audiobahn.com... -
Page 19: Warranty
Warranty... - Page 20 Dealer look at the product to confirm the source of the problem. Any product found to have a manufacturer defect will be replaced with a new piece of the same or similar model, or repaired at the discretion of Audiobahn. Any product found to have no manufacturer defect will be returned to the sender at their cost.
Need help?
Do you have a question about the A12001DT and is the answer not in the manual?
Questions and answers