Table of Contents
Advertisement
Assembly, Use and Care
Thank You!
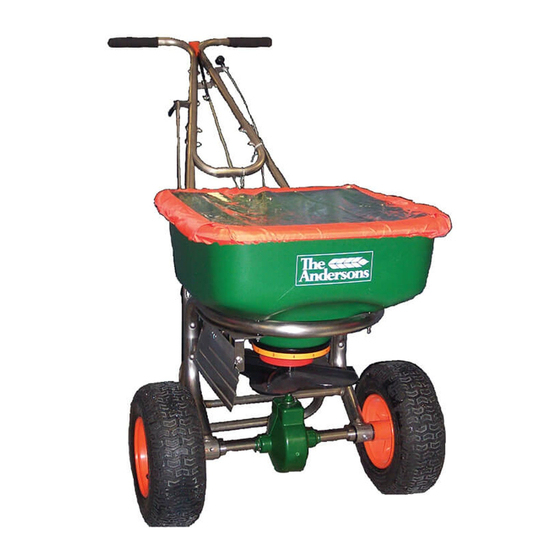
You have purchased the highest quality professional broadcast spreader available on the market today. The
Model 2000 SR is the accumulation of proven performance and will provide you with years of trouble-free service.
In the event you should have any questions or comments, please call our professional support staff.
Our toll-free number is
Before You Begin ...
To assemble your new spreader,
we highly recommend that you
read all the instructions
thoroughly, familiarize yourself
with the assembly and
components, and verify that all
parts are included in the
package.
You Will Need ...
The following tools:
1/2", 7/16" and 3/8" open-end wrenches
—
(or adjustable wrench
Pliers
—
—Phillips head screwdriver
Grease gun
—
1-800-225-2639
)
Model 2000 SR
(U.S. Only)
Professional Rotary Spreader
Advertisement
Table of Contents

Related Manuals for The Andersons 2000 SR


Summary of Contents for The Andersons 2000 SR
- Page 1 You have purchased the highest quality professional broadcast spreader available on the market today. The Model 2000 SR is the accumulation of proven performance and will provide you with years of trouble-free service. In the event you should have any questions or comments, please call our professional support staff.
- Page 2 Assembly Turn the spreader upside-down. Place the wheels Insert the bent end of the main shutoff on the axle with the longer portion of the hubs connecting rod through the hole in the lever facing inward. Secure the drive wheel “A” (right side) to and secure with a 3/32”...
- Page 3 Assembly continued Aux. Shutoff Bracket Attach the auxiliary #10-24 x 1 1/4” Insert the opposite end of Screws & Lock shutoff bracket to the deflector control rod Nuts the left side of the into the loop end of the handle using (2) #10-24 x 1 deflector shield assembly.
- Page 4 Operation The deflector shield is used to block off the HOW TO USE right side portion of the swath width. It should be Rate Control used in the “ON” position (shield is down) Plate together with the auxiliary shutoff in the “CLOSED”...
- Page 5 Calibration Instructions Calibration depth Calibration Key Pointer Setting “E” Rate Control Plate Your professional spreader has been factory calibrated. For best results, occasionally check calibration and adjust if necessary. Pull the main shutoff lever to the closed position. Slide the rate control plate to the right until it comes in contact with the protruding end of the Set the rate control plate to the “E”...
- Page 6 Parts Diagram–Model 2000 SR (includes 2,3,7, 8, 9, 10,11,& 12) (includes 4,5, 6, &13) (includes 16,17,18, &19) (includes 30 & 31...
- Page 7 Ordering Parts See diagram for assistance in identifying specific parts. For parts orders, call 1-800-294-0671. (Note: Sales of parts for the Andersons spreaders are handled by EarthWay IMPORTANT: When ordering replacement parts, always provide the following information: 1) Part number (DO NOT use key numbers when ordering parts. ALWAYS use part numbers.)
- Page 8 This warranty does not extend to any Product or parts thereof that have been allowed to corrode, subjected to misuse, neglect, accident, or modification by anyone other than The Andersons or that have been affixed to any nonstandard accessory attachment or that have been used, stored, installed, maintained operated in violation of The Andersons instructions or standard industry practice.
Need help?
Do you have a question about the 2000 SR and is the answer not in the manual?
Questions and answers