Rimage Producer III Alignment Manual
Hide thumbs
Also See for Producer III:
- Manual (2 pages) ,
- User manual (24 pages) ,
- Quick start manual (4 pages)
Table of Contents
Advertisement
Quick Links
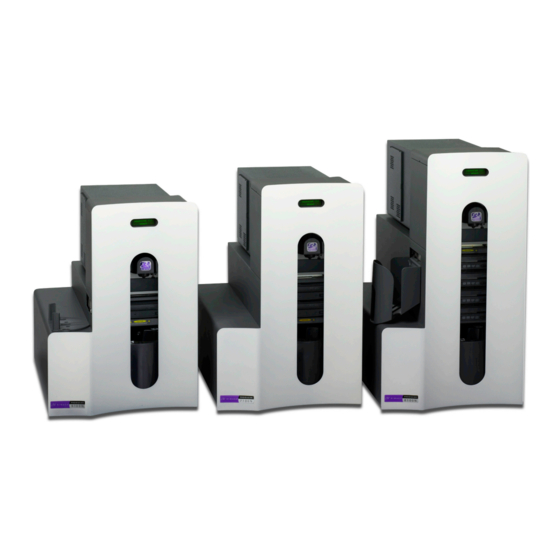
Producer™ III and IIIN
This section provides instructions to align the Everest or Prism printer to your autoloader.
#
Required tools:
•
Torx T25 screwdriver
•
5/32" Allen wrench
1.
Power on the
autoloader.
2.
Wait for the autoloader to complete initialization.
Tip:
The autoloader takes one to two minutes to complete initialization.
3.
Open the
front door of the autoloader.
4.
Prepare the unit for alignment.
a.
Manually move the
lift arm to the top of
the column.
b.
Press one
disc into the gripper while
you press the disc release button.
c.
Release the
disc release button. The
gripper holds the disc.
d.
Press the
printer button. The printer
tray opens.
5.
Open the
top access cover.
Tip:
Look down through the top opening to observe the printer
alignment.
1
Gripper
Top Access Cover
Lift Arm
Disc Release Button
2000538_C
Advertisement
Table of Contents

Related Manuals for Rimage Producer III


Summary of Contents for Rimage Producer III
- Page 1 Producer™ III and IIIN Align the Printer This section provides instructions to align the Everest or Prism printer to your autoloader. Required tools: • Torx T25 screwdriver • 5/32” Allen wrench Power on the autoloader. Wait for the autoloader to complete initialization. ...
- Page 2 Align the Printer Align the printer. Slowly move the lift arm down until the disc touches the recessed print pad. Lift Arm Printer Button Side to Side Alignment Holding Pins Print Pad If the disc is not centered side to side on the print pad, align the printer side to side. Loosen the side to side screws.
- Page 3 Producer™ III and IIIN If the disc is not centered front to back on the print pad, align the printer front to back by turning the front to back alignment screw until the gap between the raised edge of the disc retainer and the disc is correct. Everest: 0.063”...
Need help?
Do you have a question about the Producer III and is the answer not in the manual?
Questions and answers