Table of Contents
Advertisement
Quick Links
This chapter provides information on:
·
·
·
Web Support
·
Phone Support
·
·
Preparing the Site
Before you begin installing the Model EN516 hub, prepare the installation site.
Make sure the operating environment meets the physical requirements of the hub.
The ambient temperature must be between 0° C and 40° C. The maximum relative
humidity must not exceed 90%.
You can install the hub on a flat surface, such as a tabletop or shelf, or within a
standard 19-inch rack. You should ensure that the front and rear panel of all units
to be connected are easily accessible for connecting cables and power and for
monitoring the LED indicators.
Package Contents
The package should contain the following items:
·
·
·
·
·
·
·
·
Call your dealer if there are any wrong, missing, or damaged parts. Keep the
carton, including the original packing materials. Use them to repack the hub if
there is a need to return it for repair.
Preparing the site
Package contents
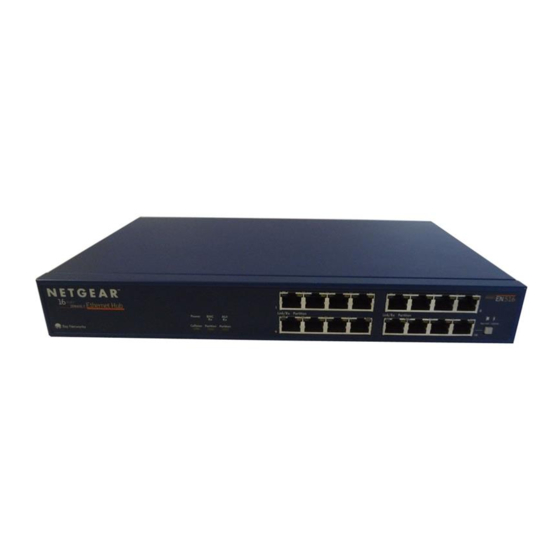
Model EN516 hub
This manual
AC power cord
Rack mount kit
Four rubber pads for installation on a flat surface
One BNC T-connector
One BNC terminator
Warranty and Owner Registration Card
CAUTION:Use the appropriate power cord as required by your national
electrical codes and ordinances.
Advertisement
Table of Contents

Related Manuals for NETGEAR EN516


Summary of Contents for NETGEAR EN516
- Page 1 Completing and verifying the installation Preparing the Site Before you begin installing the Model EN516 hub, prepare the installation site. Make sure the operating environment meets the physical requirements of the hub. The ambient temperature must be between 0° C and 40° C. The maximum relative humidity must not exceed 90%.
- Page 2 Be sure to complete the Owner Registration Card and return it to NETGEAR to qualify for product updates and product warranty registration. Required Tools To install the hub on a flat surface, you do not need any special tools. However, to install the hub in a rack, you need the following tools: ·...
- Page 3 This section discusses connecting to the hub, cascading to multiple hubs, and connecting to other NETGEAR products. For instructions on connecting to the ports or connecting to other NETGEAR products, refer to the following sections: · "Connecting to the RJ-45 Ports" on this page ·...
- Page 4 Figure 3-2 illustrates a workstation connected to an RJ-45 port on the Model EN516 hub. Figure 3-2. Connecting a workstation to an RJ-45 port on the Model EN516 NOTE: Ethernet specifications limit segments to 328 feet (100 m) in length.
- Page 5 Connecting to the BNC Port The BNC port at the rear panel of the Model EN516 hub is used for connecting to a thin coaxial segment. You can connect servers, workstations, or other devices to the BNC port or several Model EN516 hubs as shown in Figure 3-5.
- Page 6 Specifications." Connecting to the AUI Port The AUI port at the rear panel of the Model EN516 hub is normally used for connecting a thick coaxial segment. When using the AUI port, refer to Figure 3-6 and follow these steps: 1.
- Page 7 You can extend your network by connecting to an Ethernet switch, such as the NETGEAR Model SW507 Ethernet Switch. Figure 3-7 illustrates power users on a 100 Mbps network using the NETGEAR Model FE516 Fast Ethernet Hub and connecting to the 10 Mbps network through a Model SW507 switch.
- Page 8 To complete the installation, connect the power cord first to the power entry receptacle on the hub rear panel and then to the power outlet on the wall. When power has been applied to the hub, the following conditions should exist: ·...
Need help?
Do you have a question about the EN516 and is the answer not in the manual?
Questions and answers