Table of Contents
Advertisement
Quick Links
Models/Modèles/Modelos
694LF
Series/Seria/Series
Struct™
Write purchased model number here.
Inscrivez le numéro de modèle ici.
Escriba aquí el número del modelo comprado.
You may need / Articles dont vous pouvez avoir besoin / Usted puede necesitar:
For easy installation of your Delta
faucet you will need:
● To READ ALL the instructions completely before
beginning.
● To READ ALL warnings, care and maintenance
information.
● To purchase the correct water supply hook-up.
Pour installer votre robinet Delta
facilement, vous devez:
● LIRE TOUTES les instructions avant de débuter.
● LIRE TOUS les avertissements ainsi que toutes les
instructions de nettoyage et d'entretien.
● Acheter le bon nécessaire de raccordement.
Para instalación fácil de su llave
Delta usted necesitará:
● LEER TODAS las instrucciones completamente
antes de empezar.
● LEER TODOS los avisos, cuidados, e información
de mantenimiento.
● Comprar
las
conexiones
suministro de agua.
correctas
para
el
Please leave this instruction sheet with the installed faucet.
S.V.P., laissez cette fiche d'instructions avec la robinetterie nouvellement installée.
Deje esta hoja de instrucciones con la llave instalada.
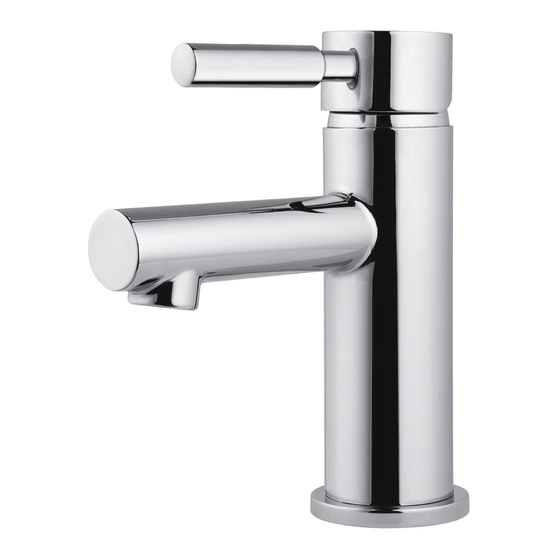
SINGLE HANDLE LAVATORY
FAUCETS
ROBINET MITIGEUR
MONOCOMANDE POUR LAVABO
LLAVES MONOCONTROL PARA
LAVABO
212219 Rev. B
Advertisement
Table of Contents

Summary of Contents for Delta Struct 694LF Series
- Page 1 Inscrivez le numéro de modèle ici. Escriba aquí el número del modelo comprado. You may need / Articles dont vous pouvez avoir besoin / Usted puede necesitar: For easy installation of your Delta faucet you will need: ● To READ ALL the instructions completely before beginning.
- Page 2 Faucet Installation 1. Install lift rod (1). 2. Position faucet (2) with single or three hole escutcheon (3) and baseplate or gasket (4) on sink. 3. Place mounting hardware (5) over mounting studs (6) under sink. 4. Secure with mounting nuts (7). Tighten mounting nuts securely. Note: If surface of sink is uneven, use silicone under the baseplate or gasket.
- Page 3 Pop-Up with Metal Flange and Plastic Tail Piece A. Remove stopper (1), brass nut and washer (2), black gasket (3) and tailpiece (4). B. Apply silicone to underside of flange (1). Insert flange into sink. C. Install black gasket (1), washer and brass nut (2) onto flange (3) from below sink but do not tighten brass nut (2).
- Page 4 Water Line Connections Ensure all fittings and end connections are free of debris. Faucet fittings (1) are 3/8” compression, with hot water hose labeled. Secure metal nut (2) on faucet hose to supply valve connection (3) and hand tighten, with a wrench tighten one additional turn. Caution: DO NOT OVERTIGHTEN.
- Page 5 Maintenance ● If faucet leaks from under handle: Remove handle cap (1) and tighten retainer ring (2). ● If leak persists: SHUT OFF WATER SUPPLIES. Replace cartridge (3). ● If faucet leaks from spout outlet: SHUT OFF WATER SUPPLIES. Replace cartridge (3). Entretien ●...
- Page 6 ▲Specify Finish Précisez la Finition Especifique el acabado RP64379▲ Handle Assembly Montage de la manette Conjunto de manija RP64380▲ Embase Tapa RP64381 Cartridge and Retainer Ring Cartouche et anneau de rétention Cartucho y anillo de retención RP64386▲ Lift Rod Tirette de vidage Varilla elevadora RP51345 Aerator - 1.5 GPM (5.7 L/min)
- Page 7 Faucets ® Parts and Finish - All parts (other than electronic parts and batteries) and nishes of this Delta® faucet are Proof of purchase (original sales receipt) from the original purchaser must be made available to Delta Faucet Company for all warranty claims unless the purchaser has registered the product with Delta Faucet Company.


Need help?
Do you have a question about the Struct 694LF Series and is the answer not in the manual?
Questions and answers